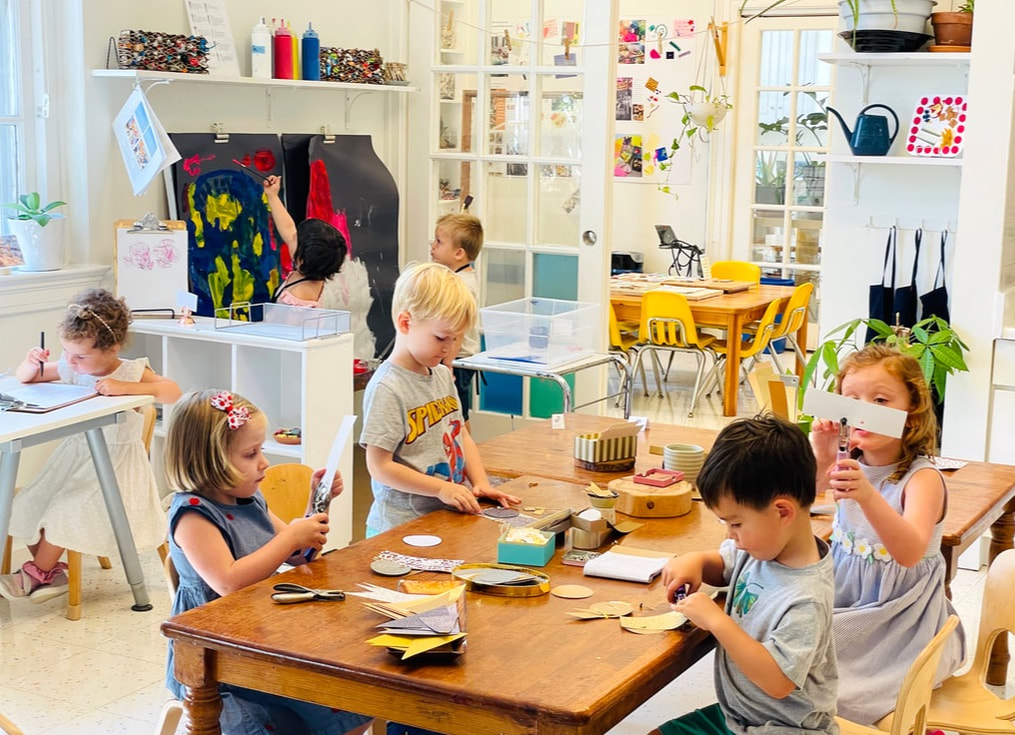
Making movable collages for our portfolio drawers
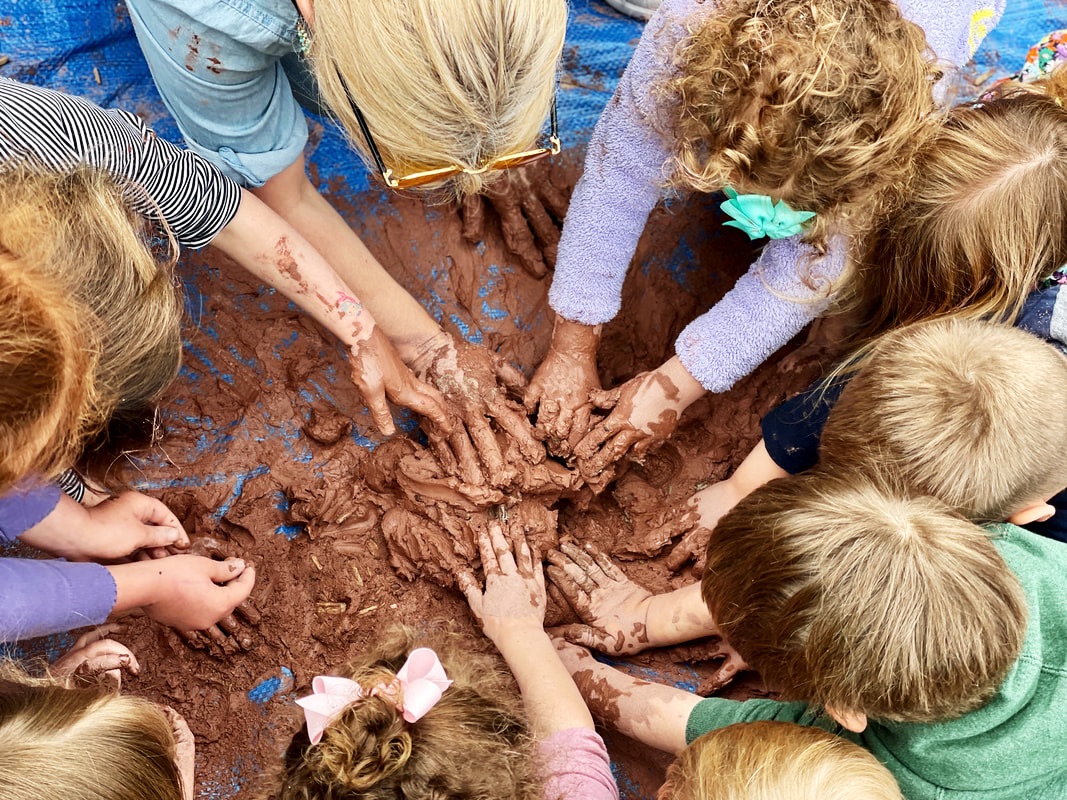
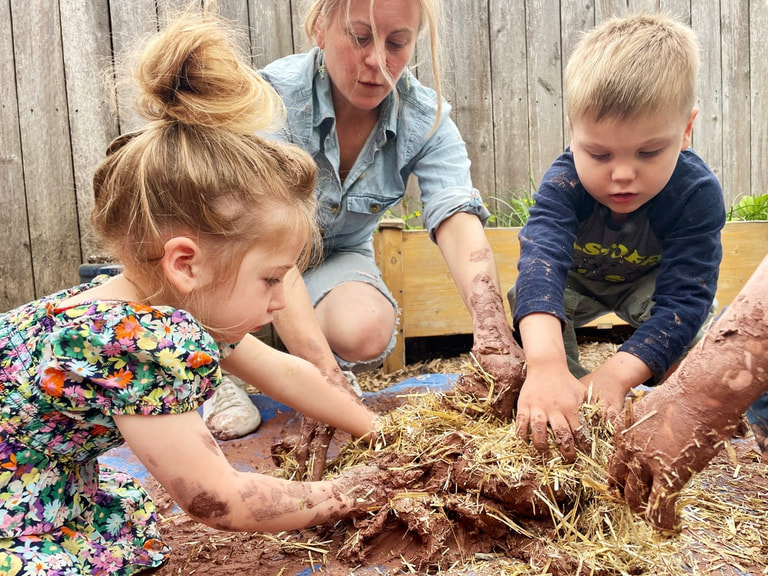
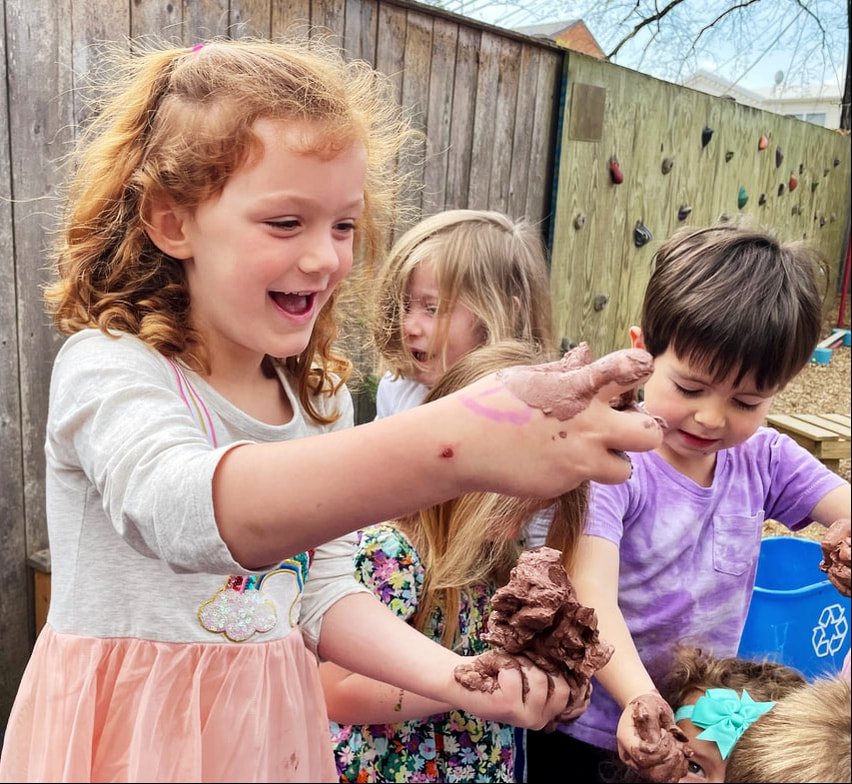
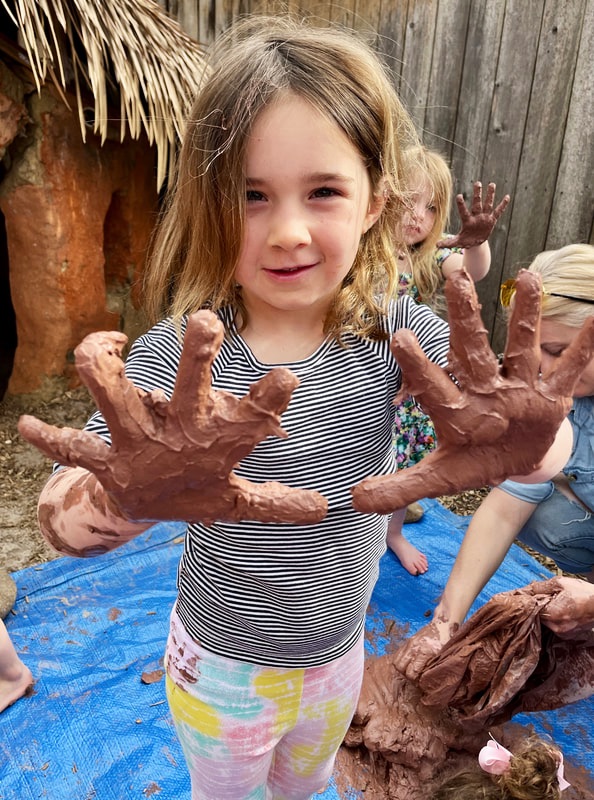
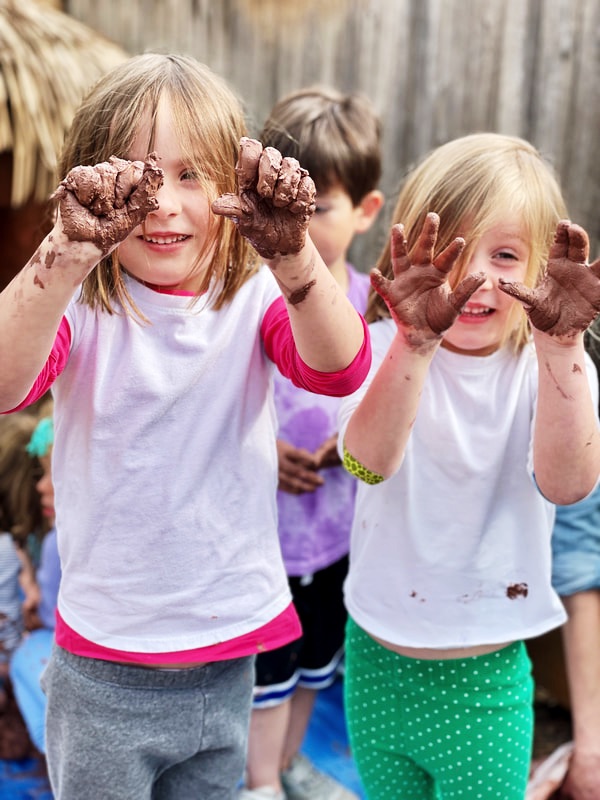
Creating CobbAfter making Cobb houses out of red clay, firing them in the kiln, and adding roofs to them, it was time to move on to making a model of the Cobb house using actual Cobb material. This model will live on at St. Johns. But first, we had to make some Cobb. What is Cobb we wondered and researched, and how does it hold its structure if it is not fired in the kiln? We found out that we needed three basic materials. Clay, straw, & sand. "We had clay and straw and sand. 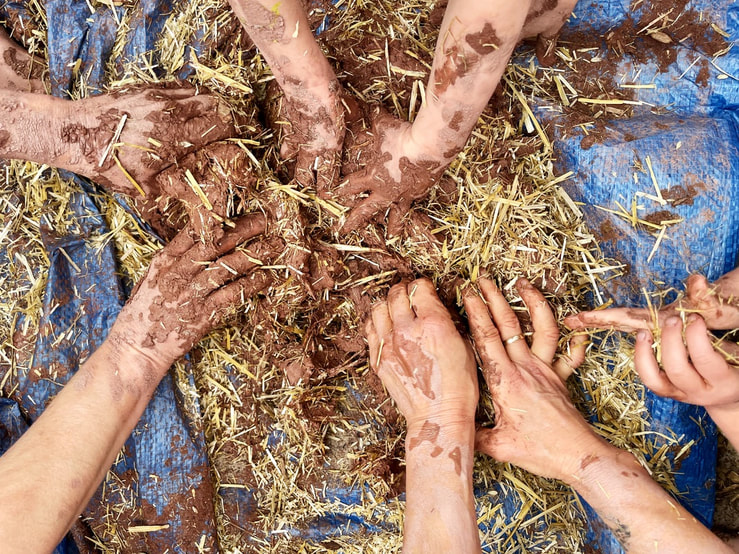 We started with a tarp placed on the ground next to the existing Cobb house. We took wet, but not too wet, red clay and placed it on the tarp. Next, sand was added. Not too much at once though because we could add more but we could not take away. We did not want the clay to get too dry with the sand. If the clay got too dry it would begin to loose its elasticity for molding. Many hands make light work, and the sand was gradually merged into the sand. Now for the straw, the additional adhesive and structural material. We continued to mix the materials together--pushing and smooshing with our hand and body strength. We added some more sand and more straw as we worked to get the mixture to a pliable consistency that we thought was just right.
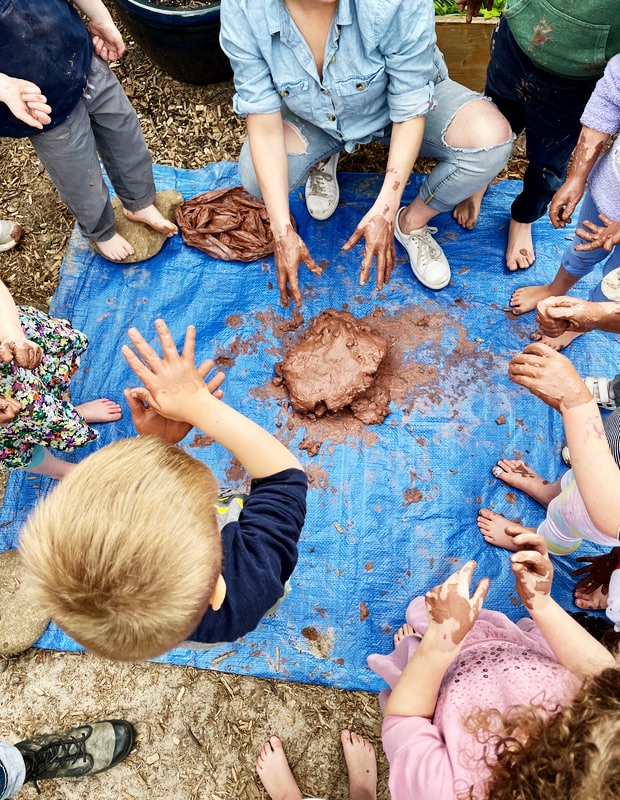
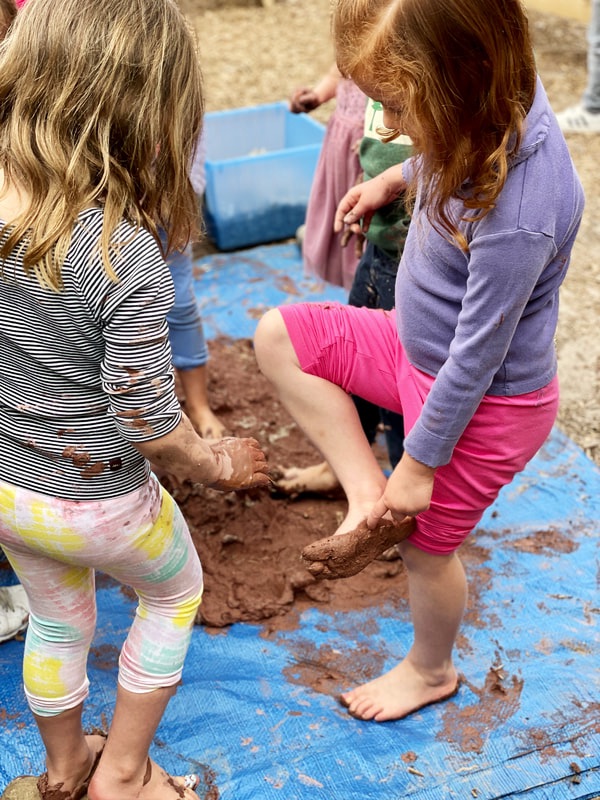
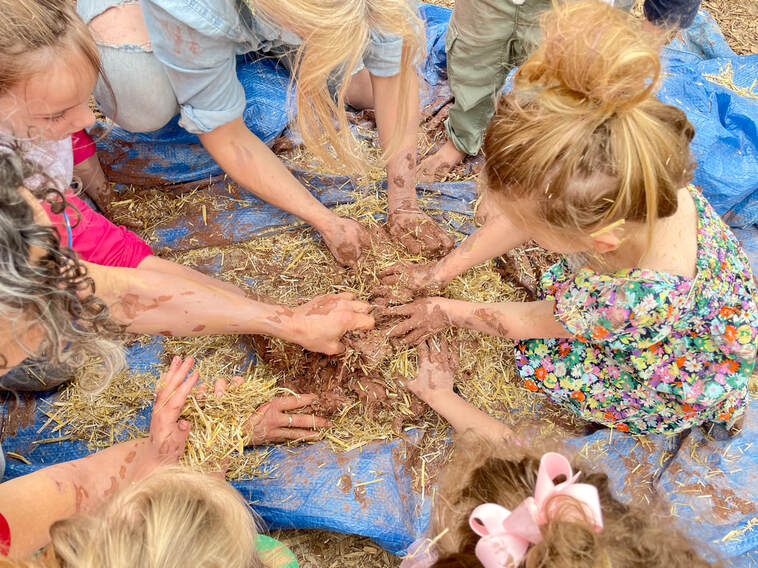  "We're going to put our feet in it?!" -Georgia Oh, we also used our feet! 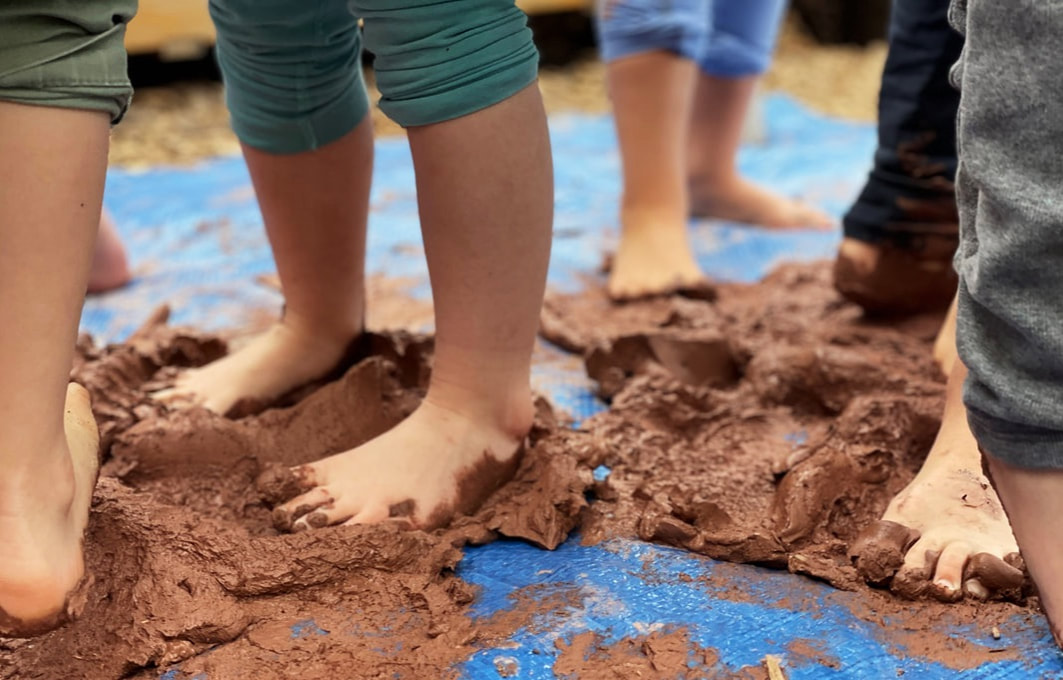
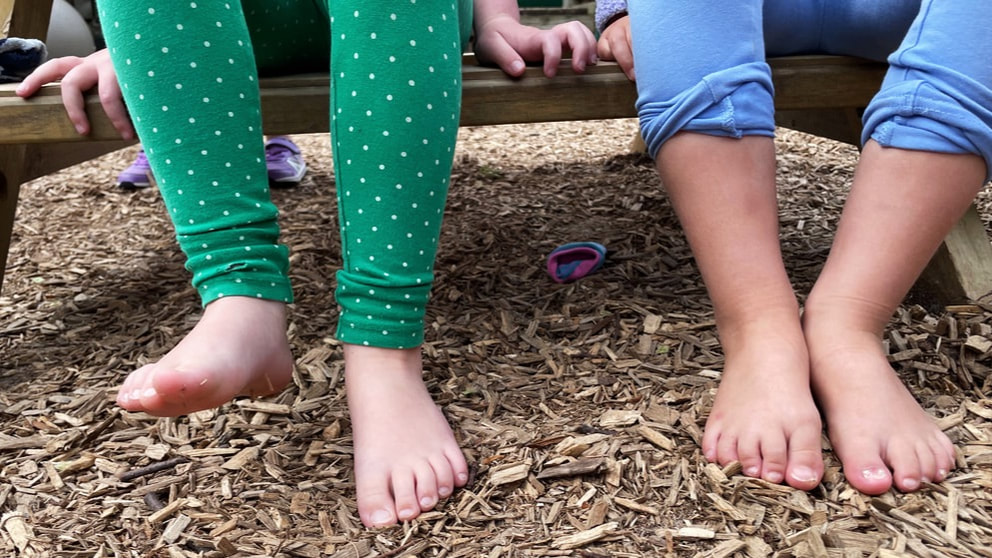
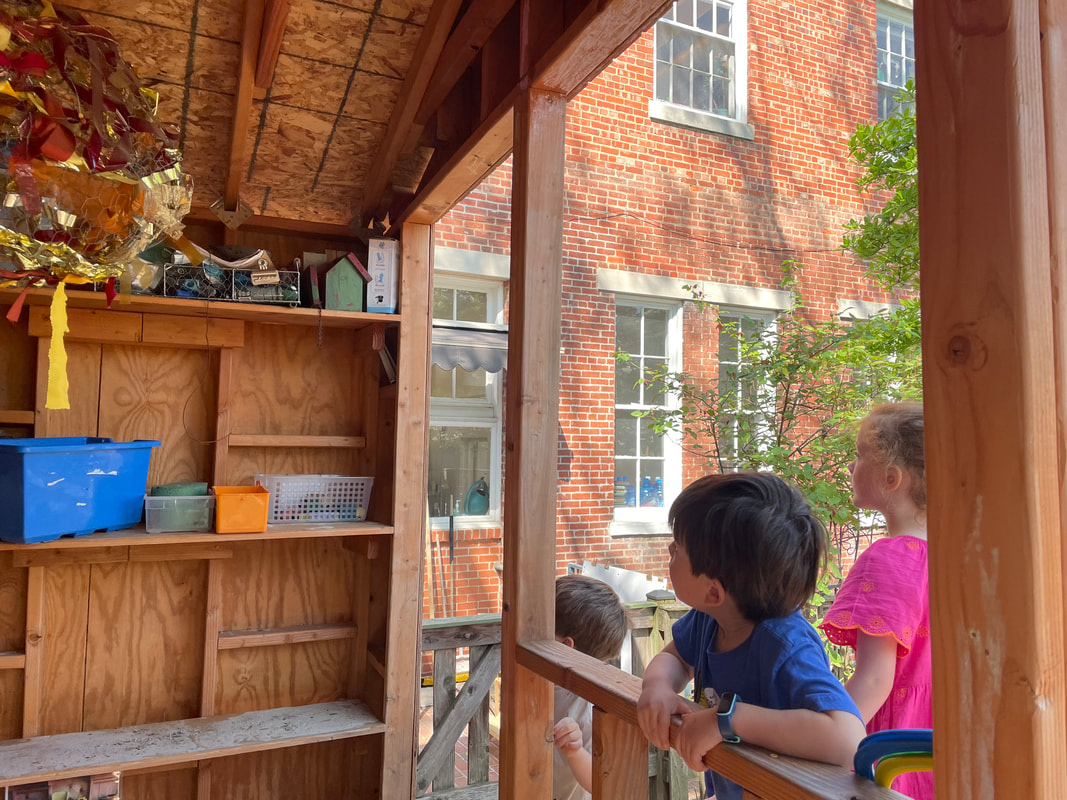
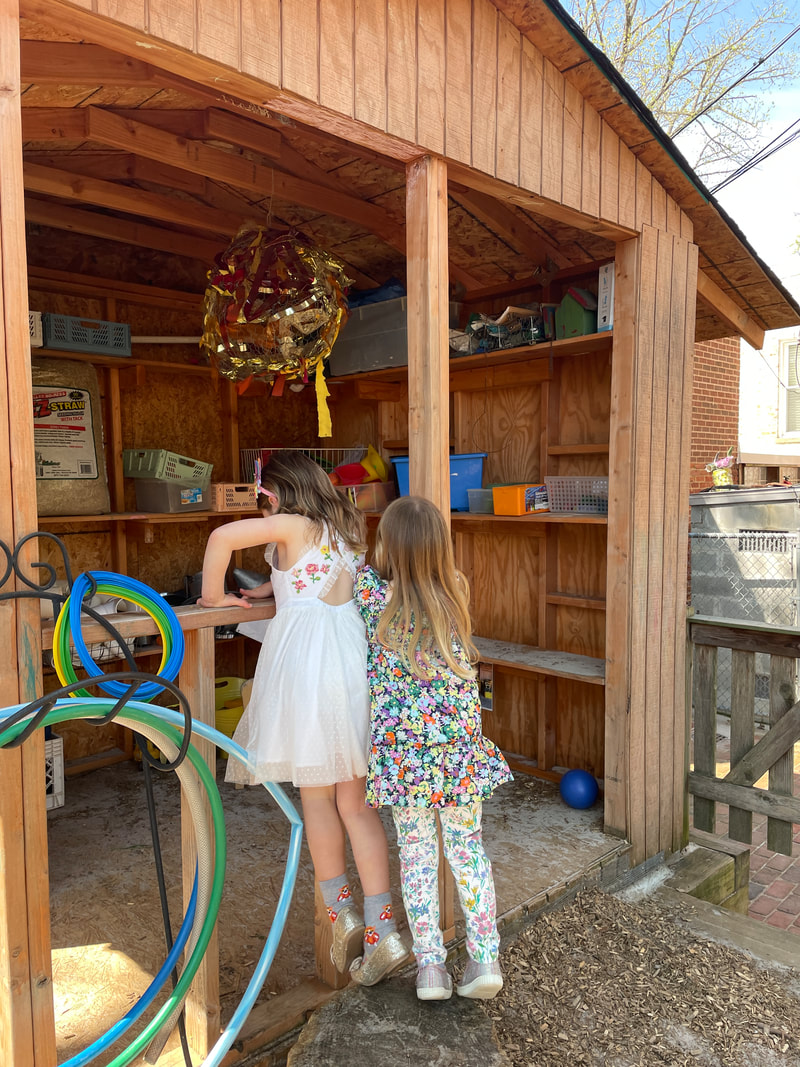
Our Cobb is mixed and feet and hands are washed away of the clay that was covering them! The Cobb awaits for day 2 of our project or Cobb House Model part 2: Using the Cobb to Construct the Cobb House Also...An unexpected change in the outdoor classroom. A mourning dove is nesting in the shed. Respectfully and empathetically, we are keeping out of the shed and being quiet when nearby, but first a glimpse at the bird.
0 Comments
Leave a Reply. |
AuthorWrite something about yourself. No need to be fancy, just an overview. Archives
April 2024
Categories |
 RSS Feed