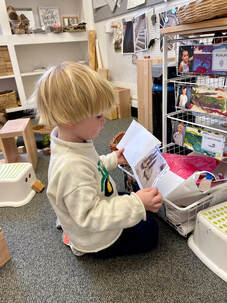
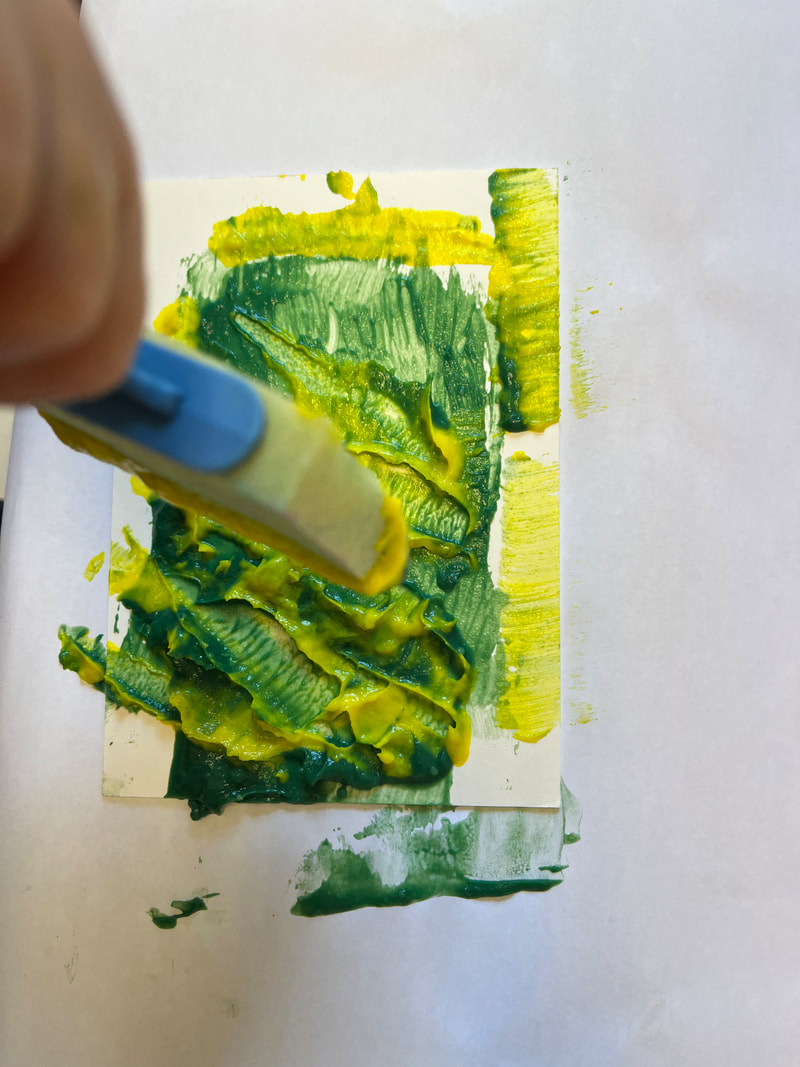
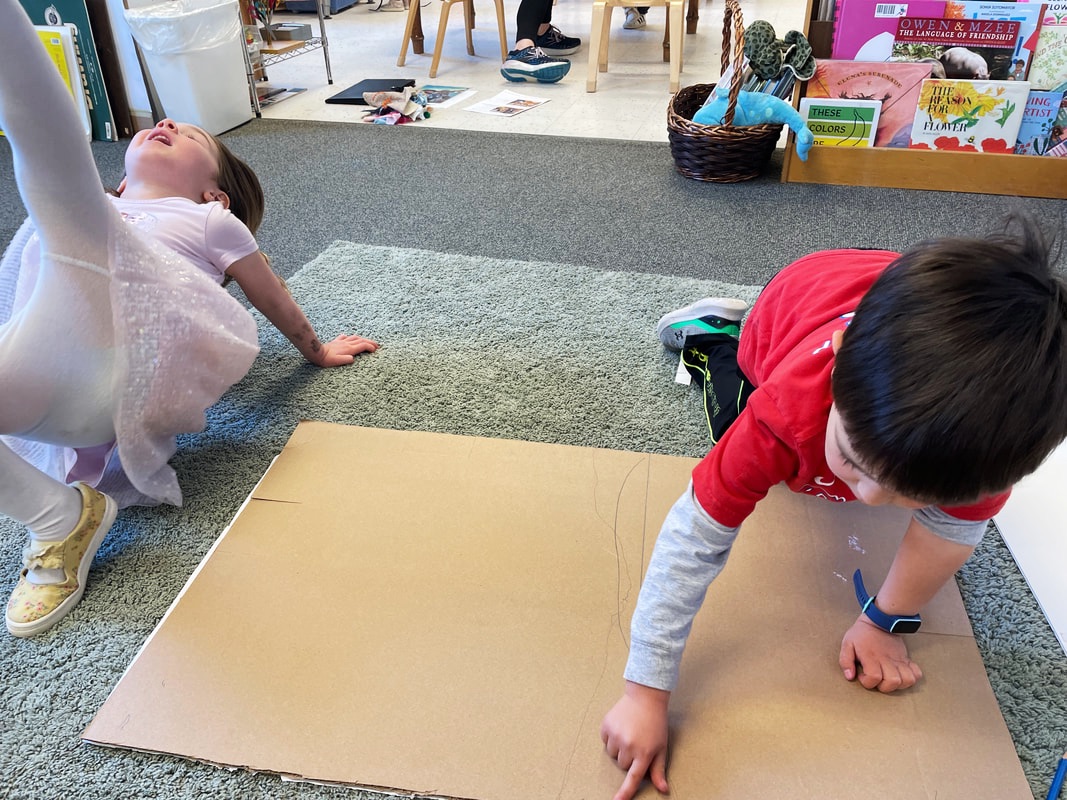
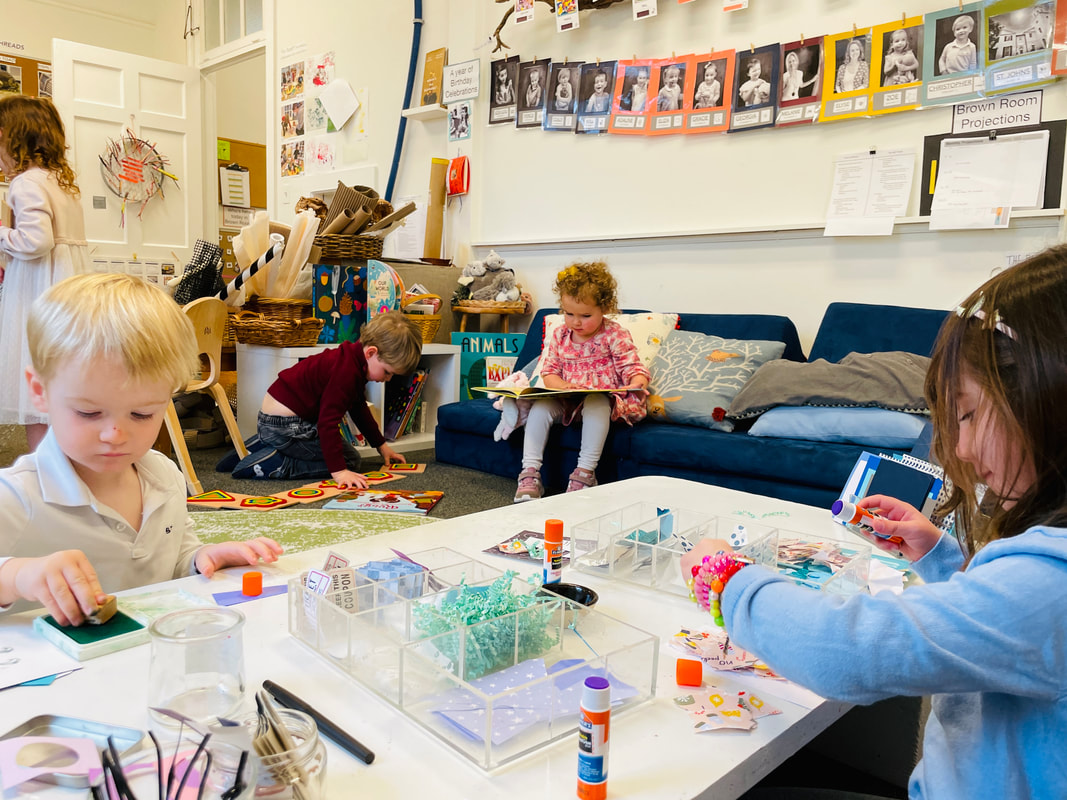
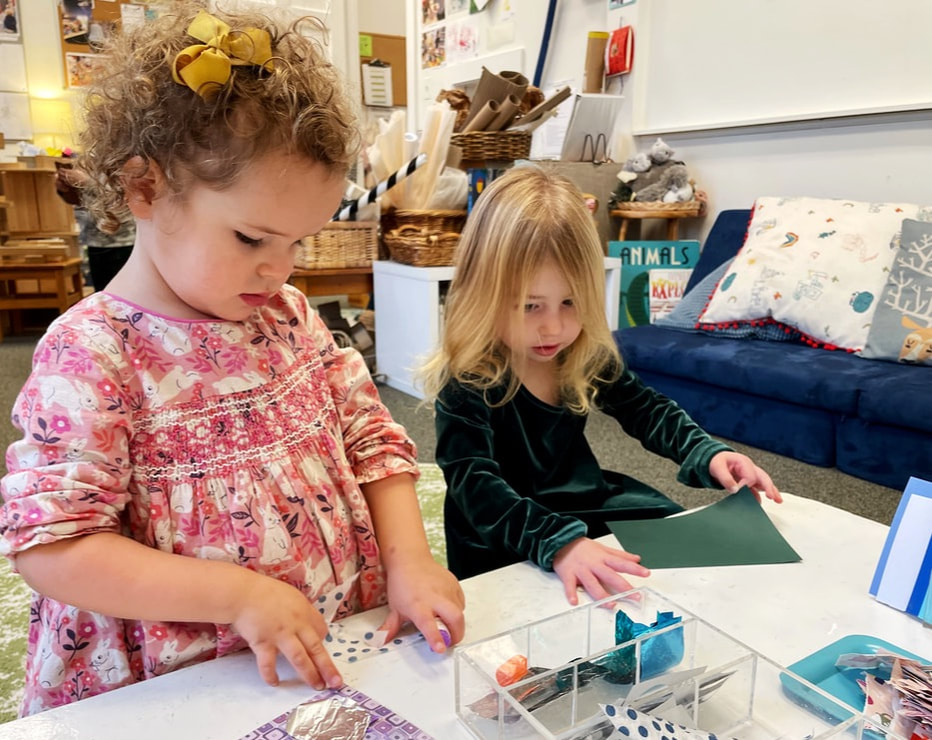
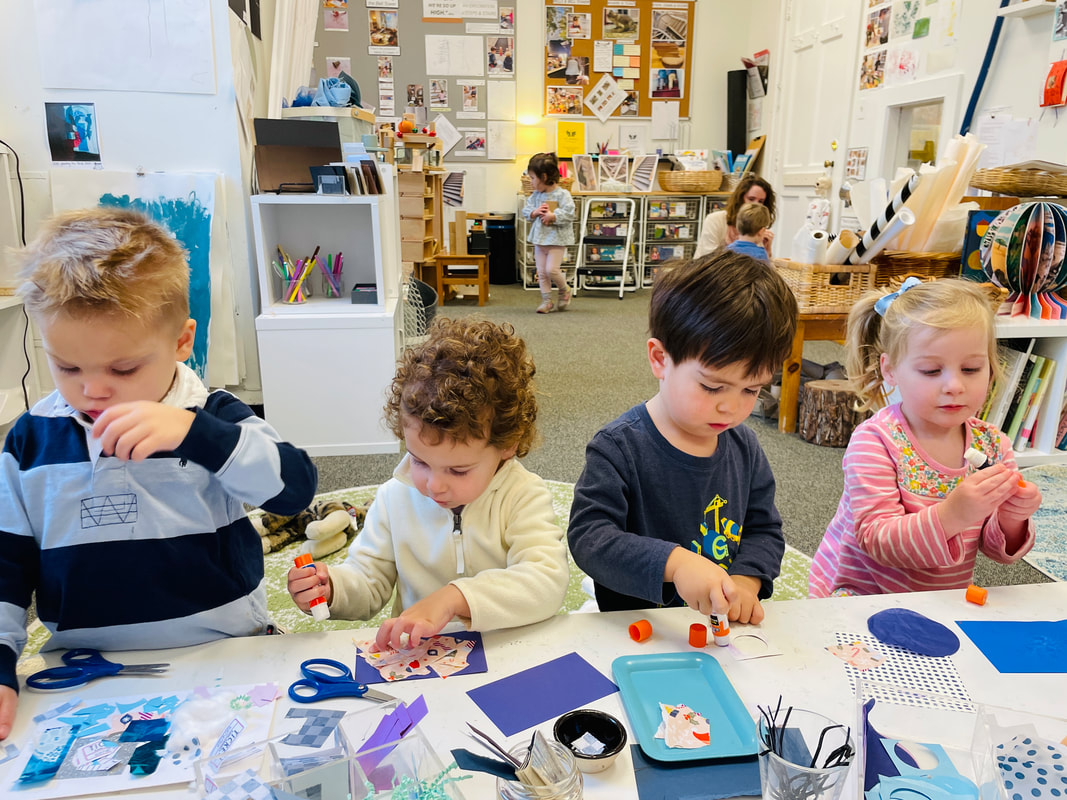
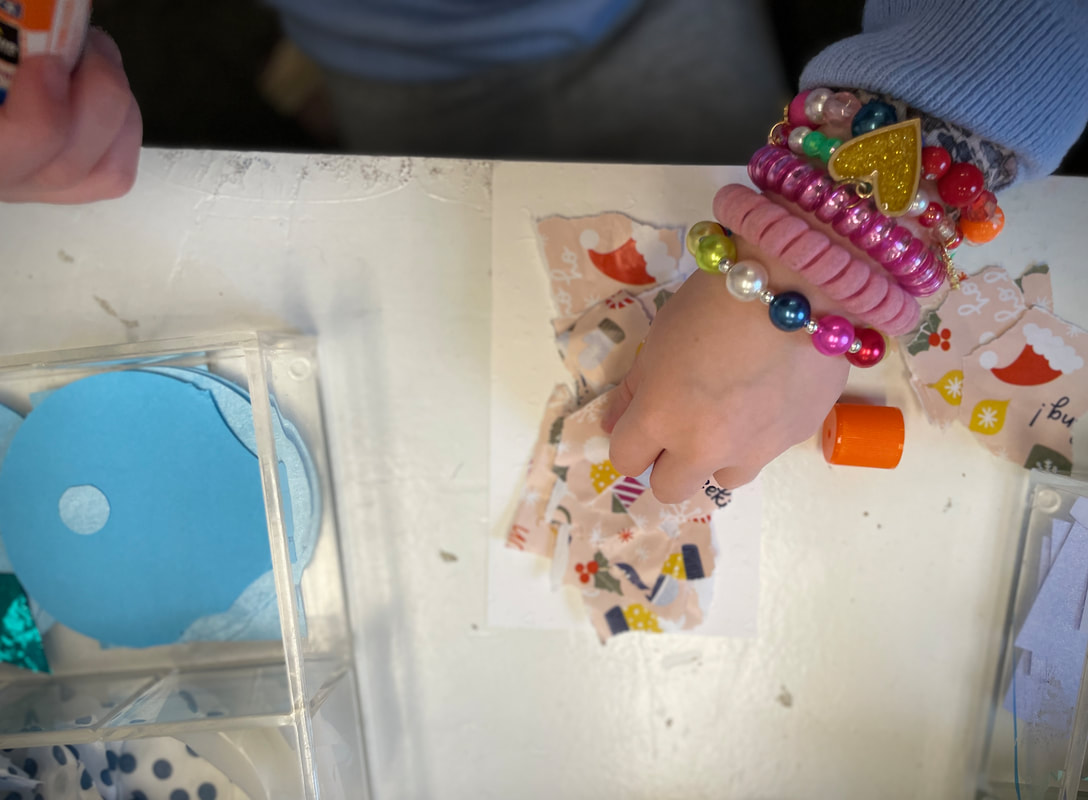
Making movable collages for our portfolio drawers
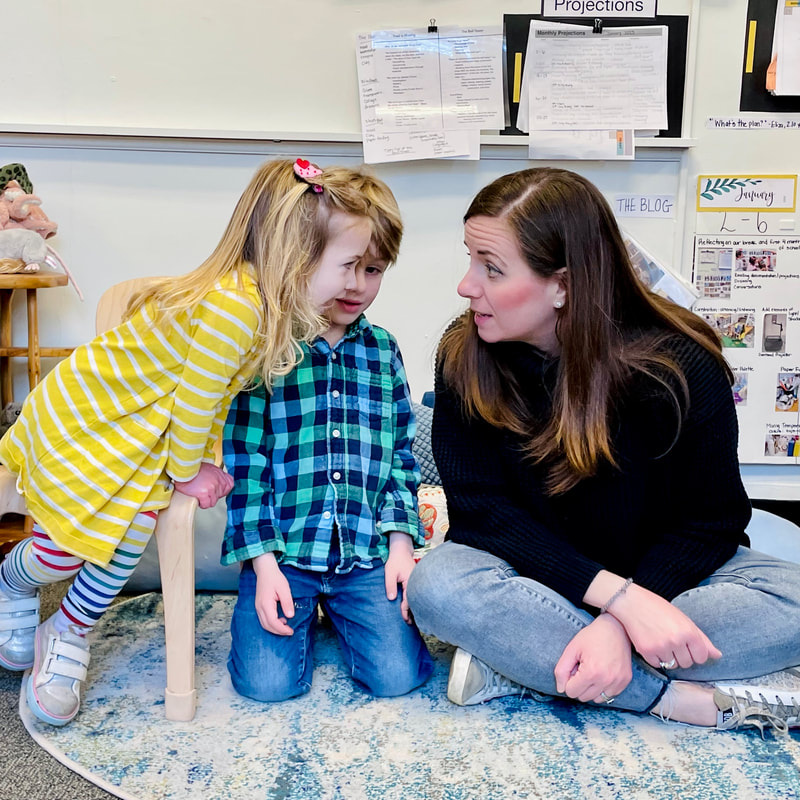
"Language links us to the world and others." - Louise Cadwell We recently read a chapter from a well known book titled, Bringing Reggio Emilia Home by Louise Cadwell. The chapter focuses on the importance of conversations with children - small group, large group, the role of the children, the role of the adult, analyzing these conversations, and using them to guide the work in the classroom. We have been discussing this in our teaching teams and as a whole staff. Conversations are central to our work with the children, and we hope to further emphasize this in our documentation (blog, classroom, presentations, etc.). We would like to share a few thoughts with you from this chapter: 1. "It is through speaking and listening to ideas [...] that shared meanings are shaped and our singular perspectives are enriched." - Cadwell, pg 62 2. "As children listen to the views and understanding of others and stretch their concepts to find common ground; as they collaborate and argue with others, consider new alternatives, and recast their ideas to communicate or to convince, they advance their ideas in the process of participation. It is a matter of social engagement that leaves the individual changed." - Rogoff, 1990 pg. 195-196 3. "The motivation for placing these conversations at the center of the curriculum is to enable children to develop their critical and creative thinking ability to its fullest; to promote cooperation, interaction, and negotiation among children and to celebrate children's natural curiosity and wonder about the world and how it works." - Fyfe and Cadwell, 1993 Conversations and DocumentationWe are always learning and adapting our approaches to documentation. A consistent goal is for the children to know and understand that their voices matter. Their words, their ideas, their contributions to our community, matter. It is their voices that drive the work that we do.
"Draw the notes." - Cully, 3.4 years
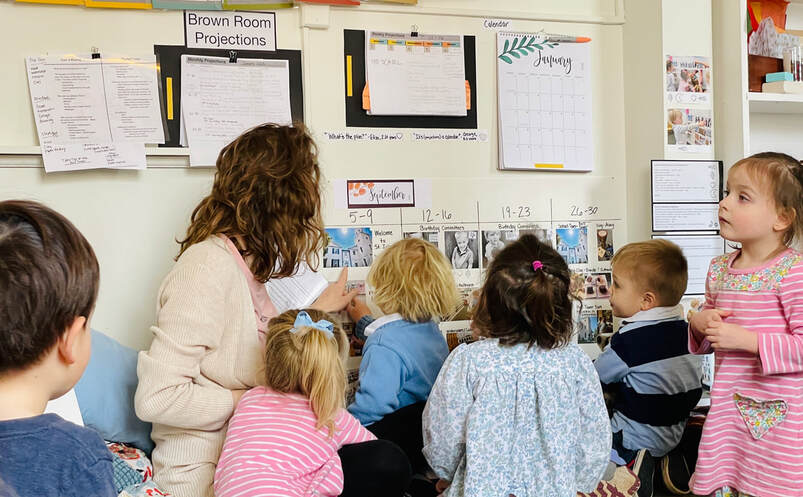
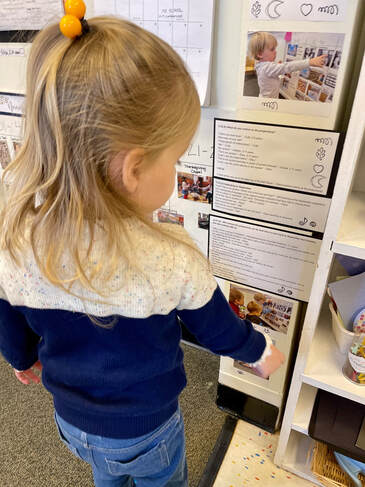
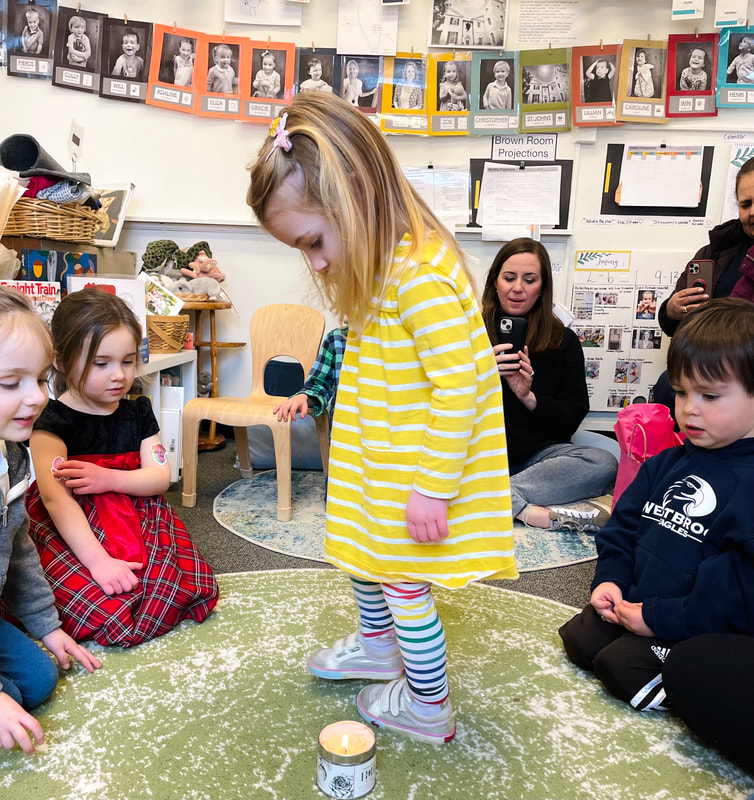
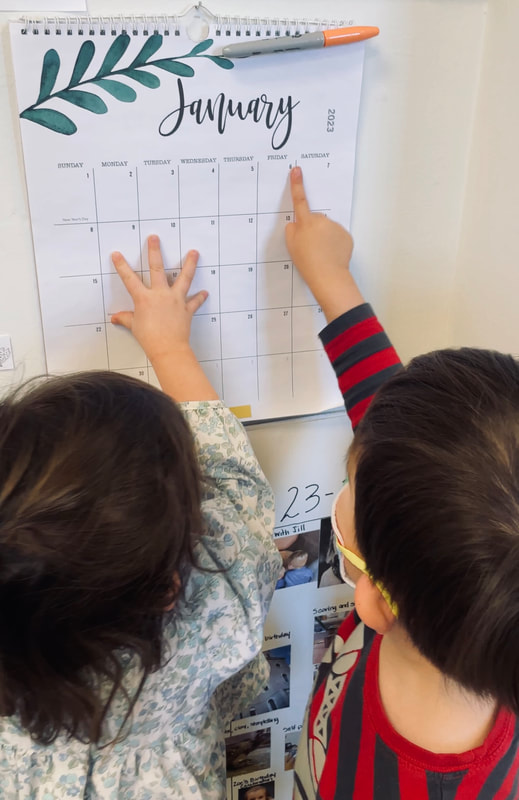
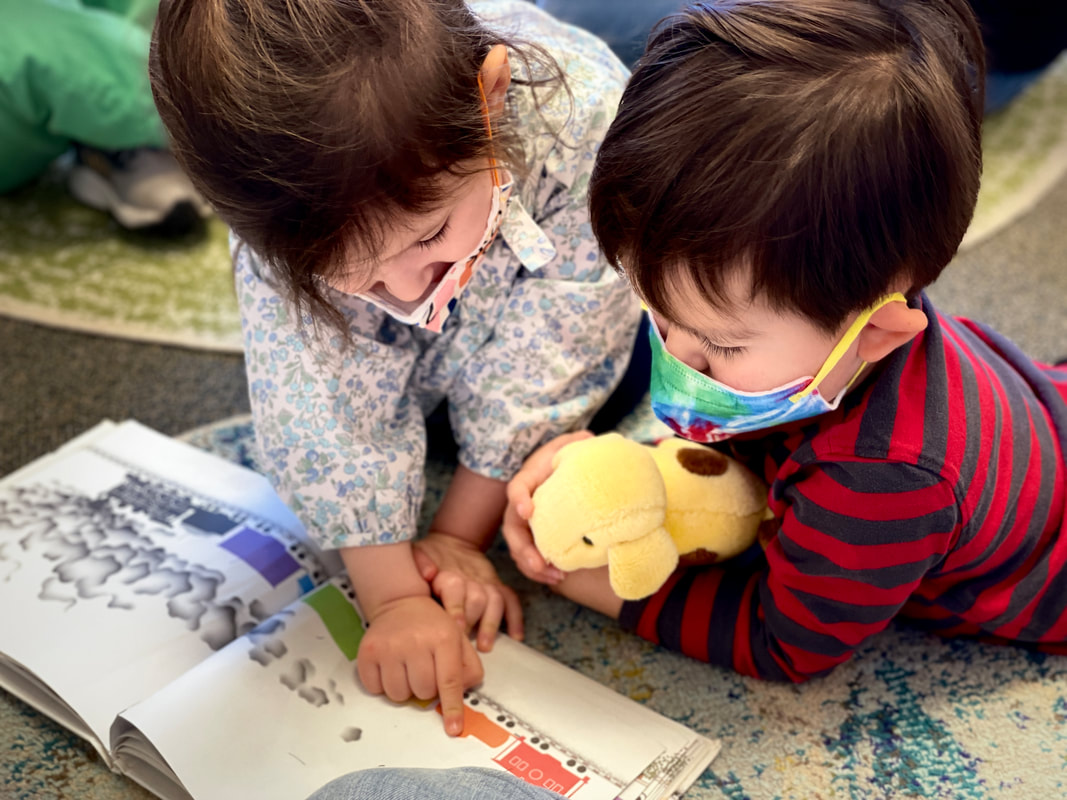
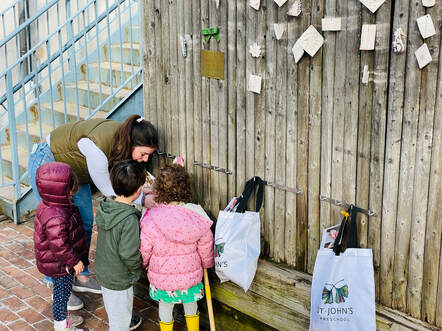
Photographs as tools for communicationChildren often associate reading with books and the written word/symbols. They are, however, always reading the environment and images in their environment. As you know, the Visual Projections have been a wonderful tool for projecting our work and involving the children in this process. From the beginning, they have been reading the images and using them to make sense of our days. As we build the habit of looking at the projections each day, while also reflecting on past weeks and months and looking forward to the coming weeks/months, the children are demonstrating the ability to read these projections for themselves.
This week, we shared a blank Visual Projections page and asked the children to help us think about what we might need for February: "Valentine's. It's to make our friends happy." - Eliza, 3.3 years "It's sing-along." - Gracie, 3.3 years "That's Jill." - Caroline, 2.8 years 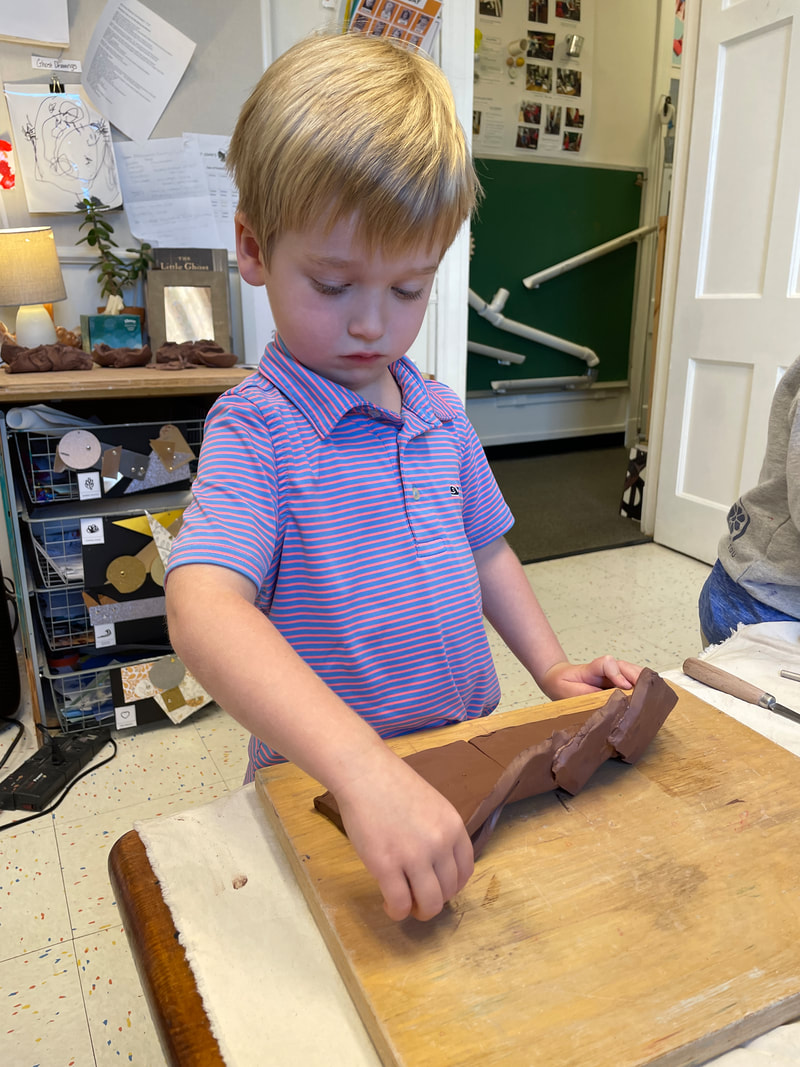 If you're interested, we'd be happy to share a copy of this chapter from the book (approximately 8 pages). It is a wonderful peek into the process of having conversations with the children, documenting them, analyzing them, and using them for projecting the work.
0 Comments
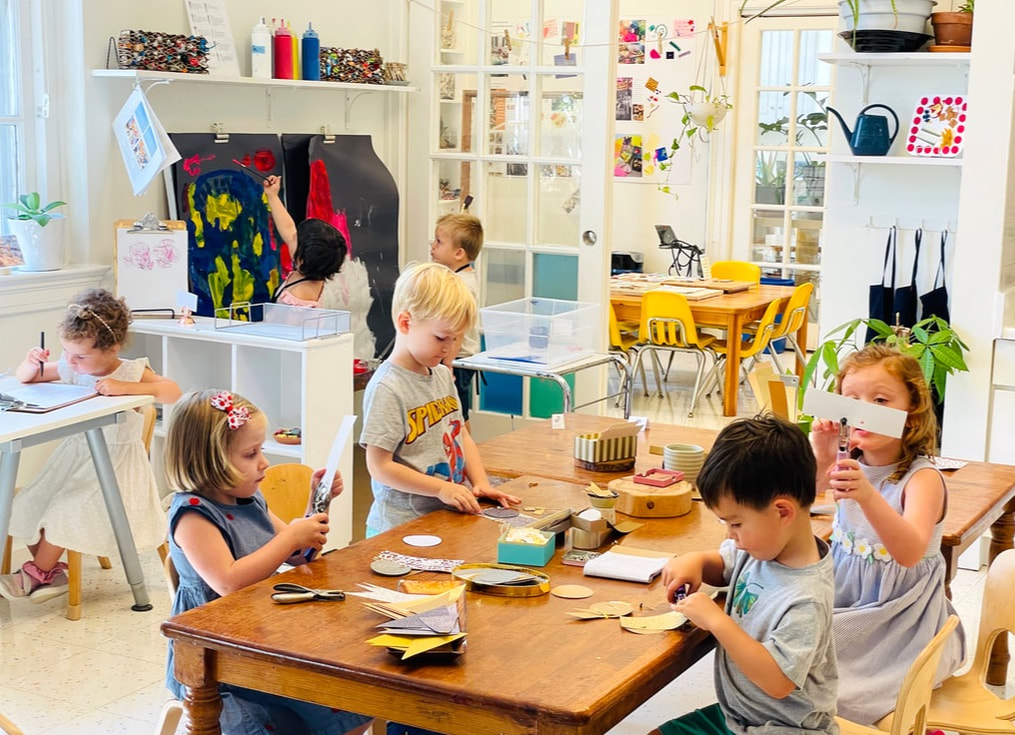
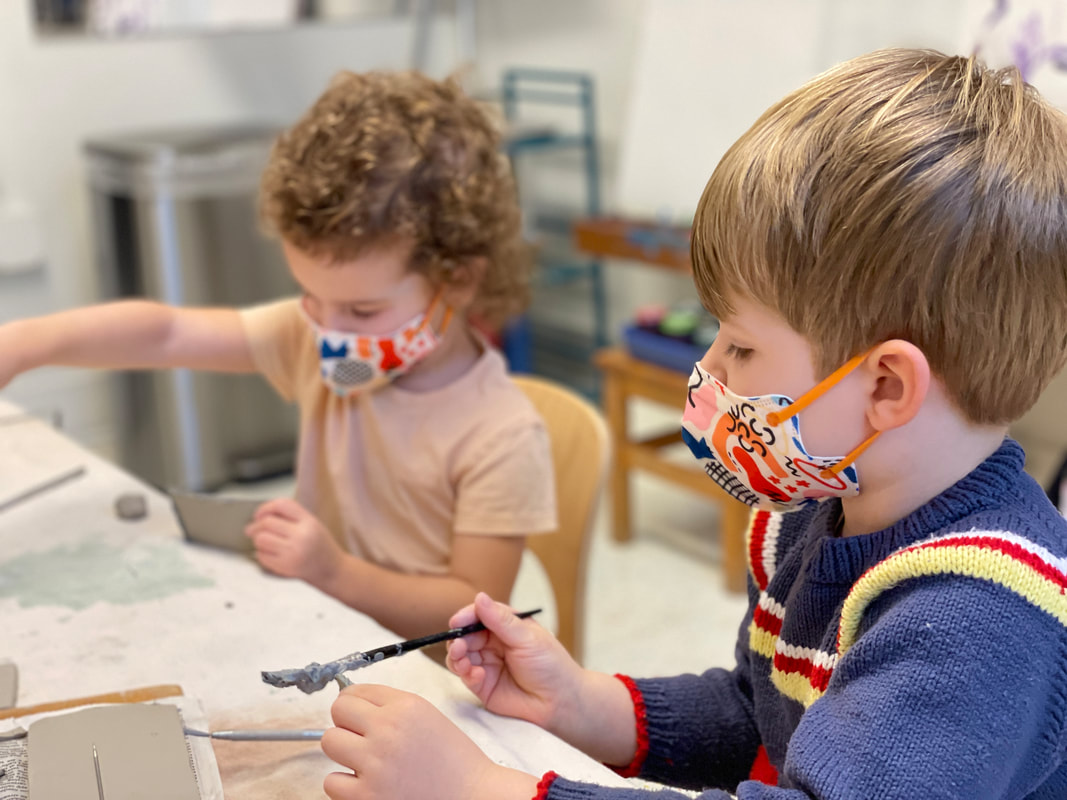
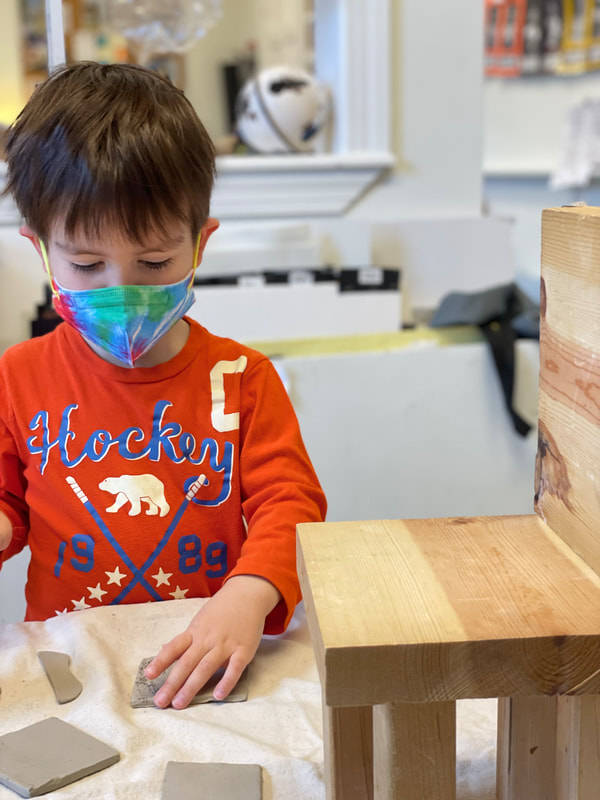
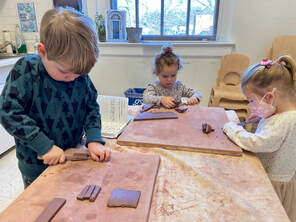
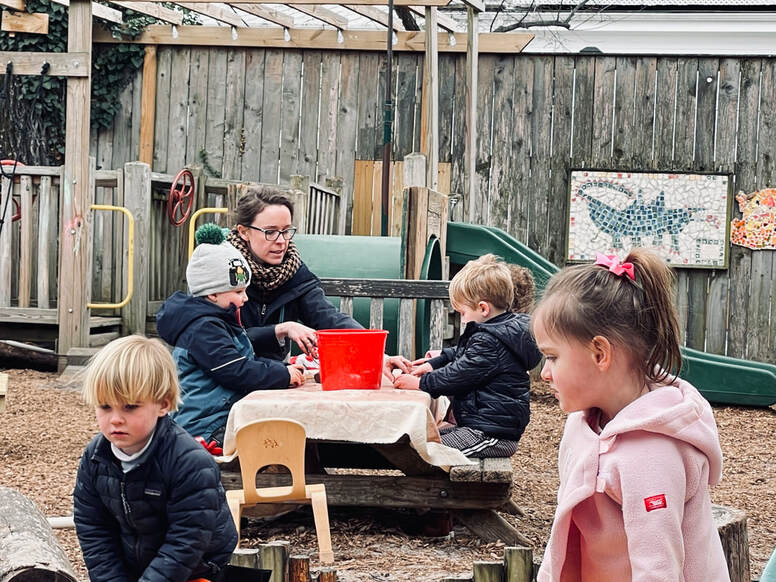
It has been an intimate and cozy week due to the low attendance numbers. While Monday was a more regular attendance day, and lucky for Zoe whose birthday we celebrated, Tuesday shifted our class size to three people. Wednesday numbers increased by two and we concluded our week with six children. This change in class size and class dynamic presented opportunities for children to connect, interact, and engage with each other and the materials more one-on-one or two-on-two. The foci of our experiences this week were continuations from last week, using clay slabs to work with the scoring and slipping technique, constructing (elaborate) buildings, racing cars on race tracks, and drawing self portraits.
Get up and dance Brown Room (all three of you)!!
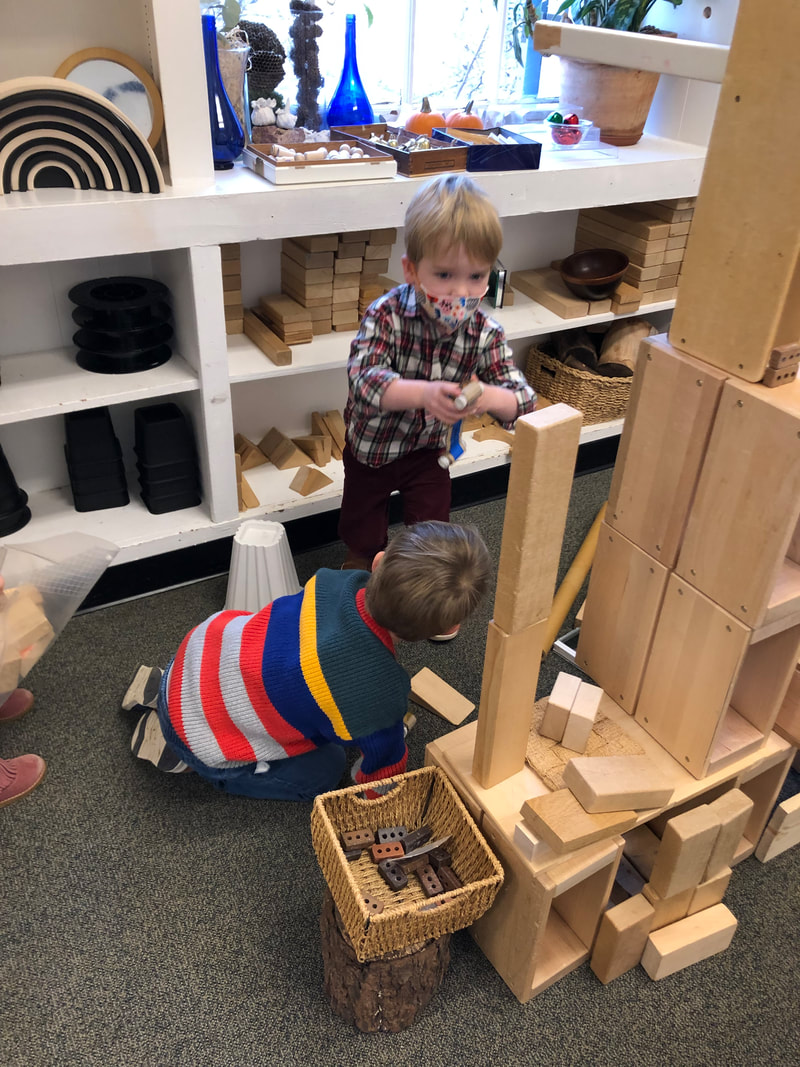
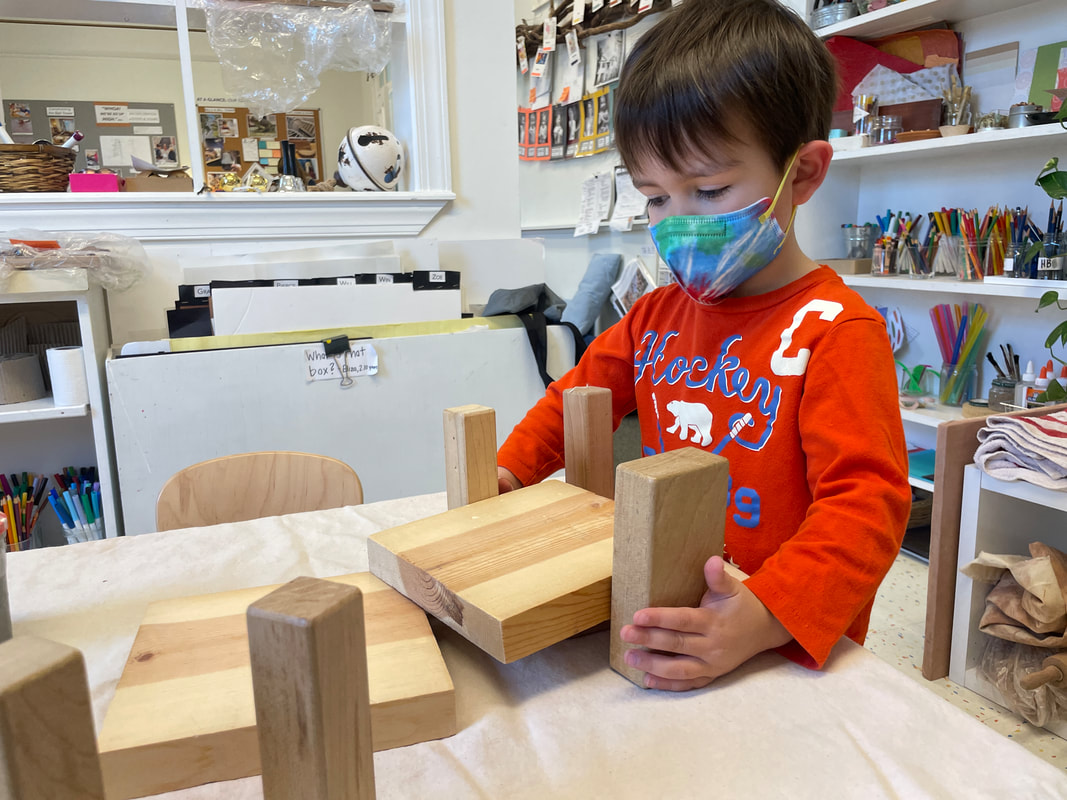
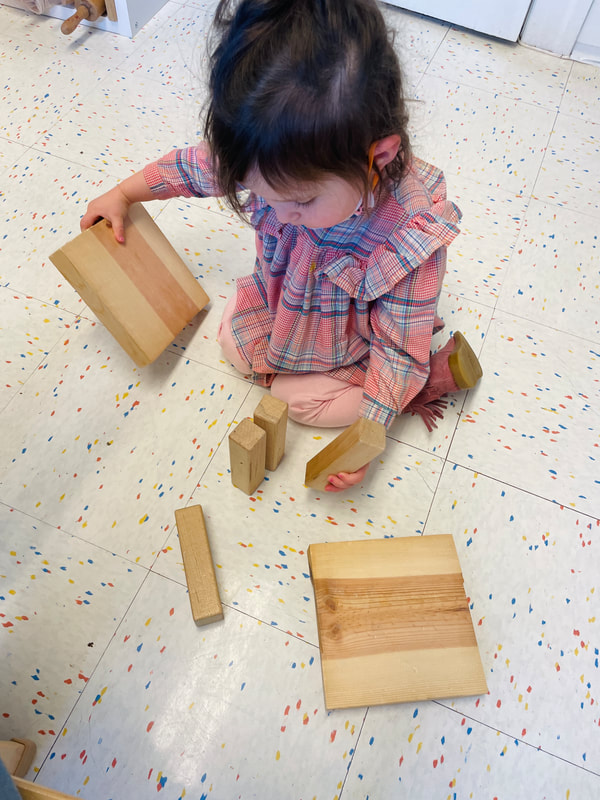
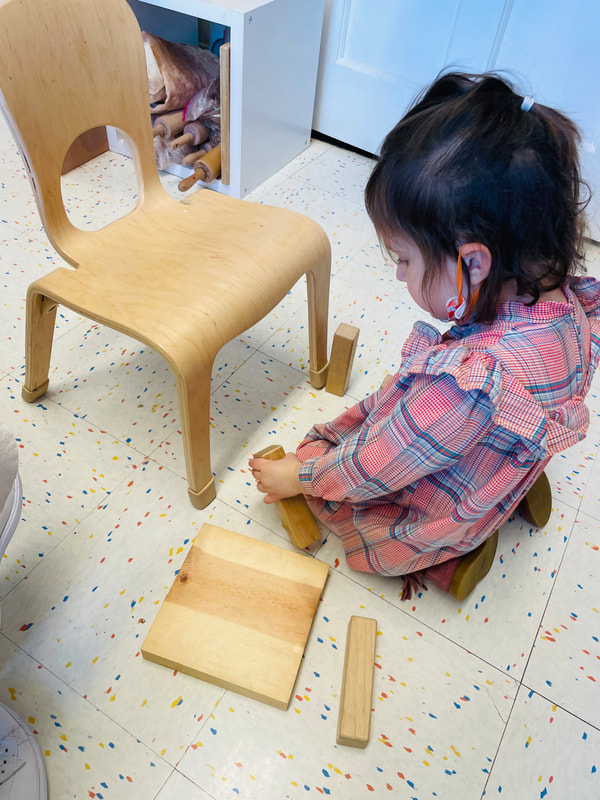
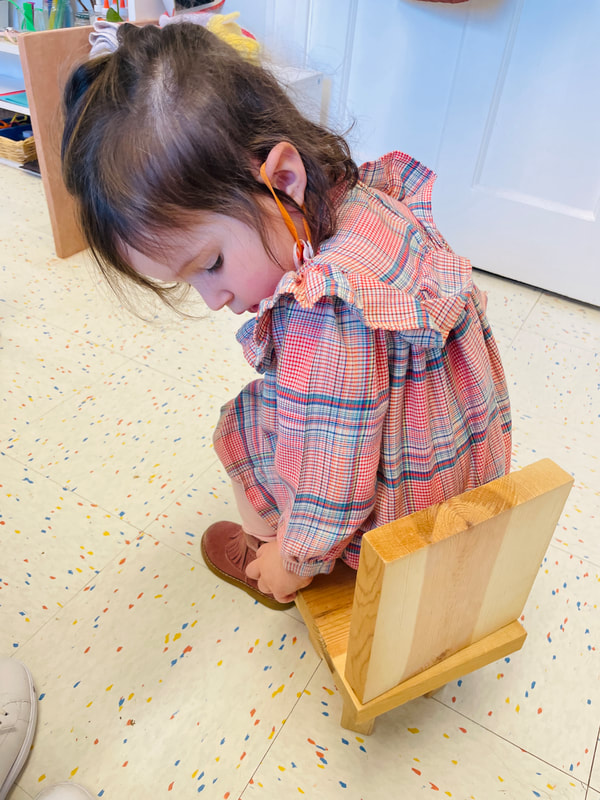
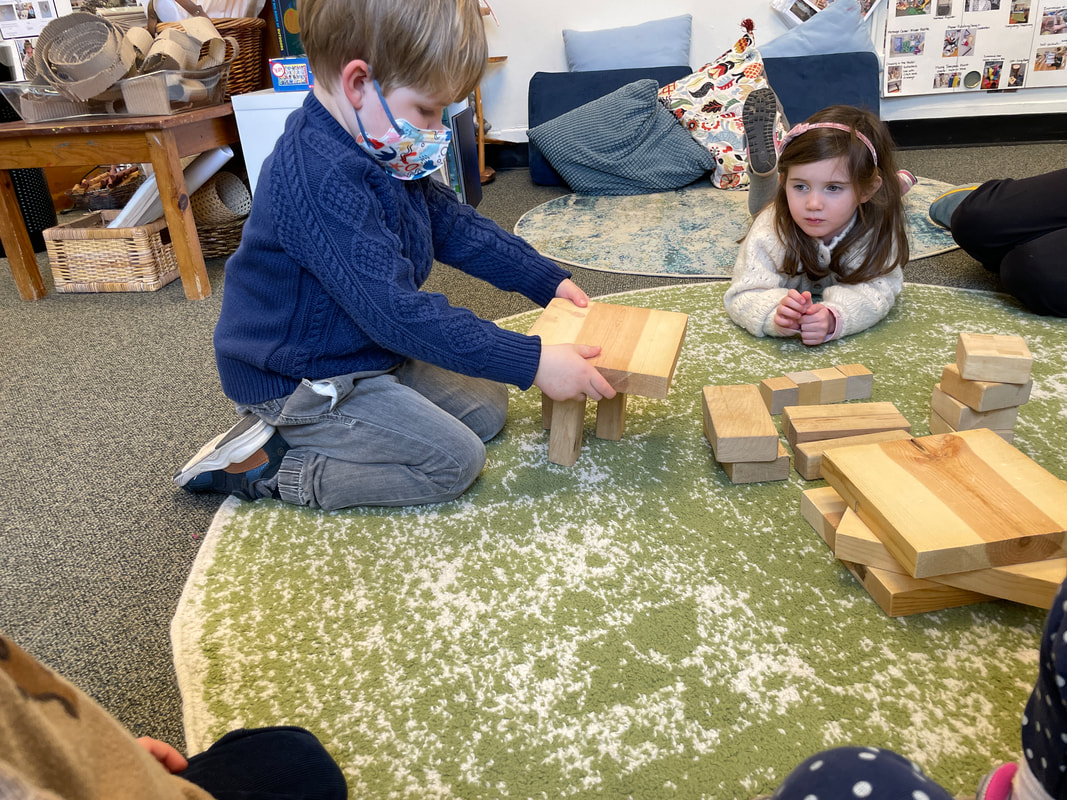
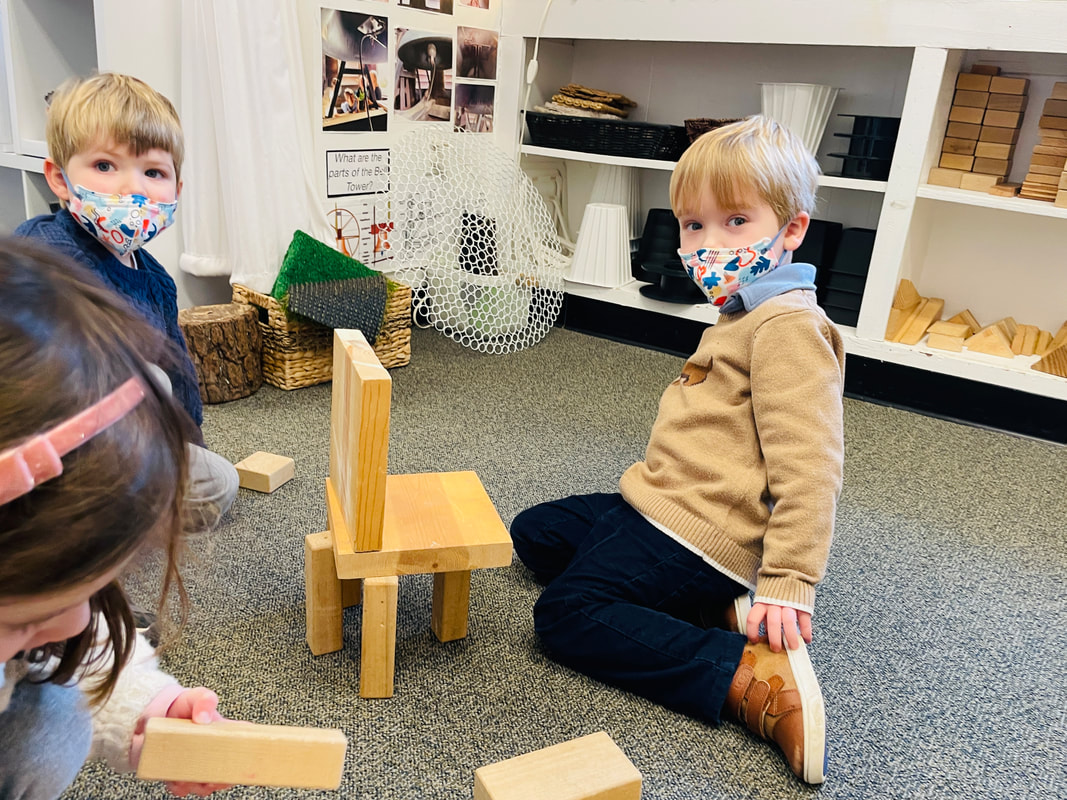
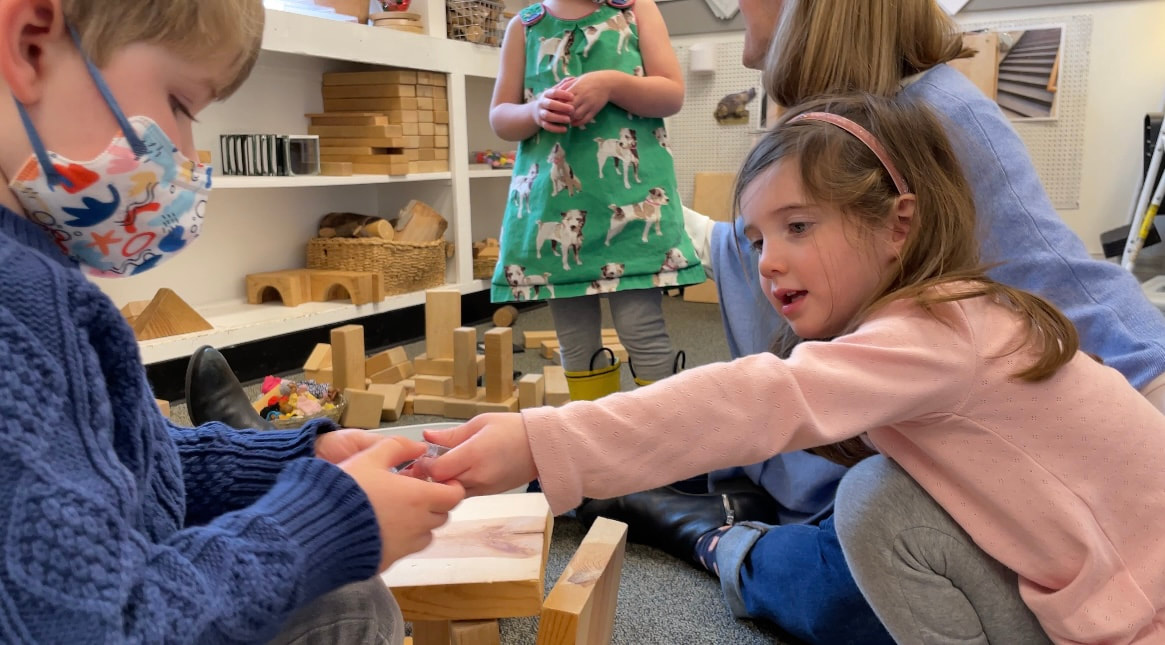
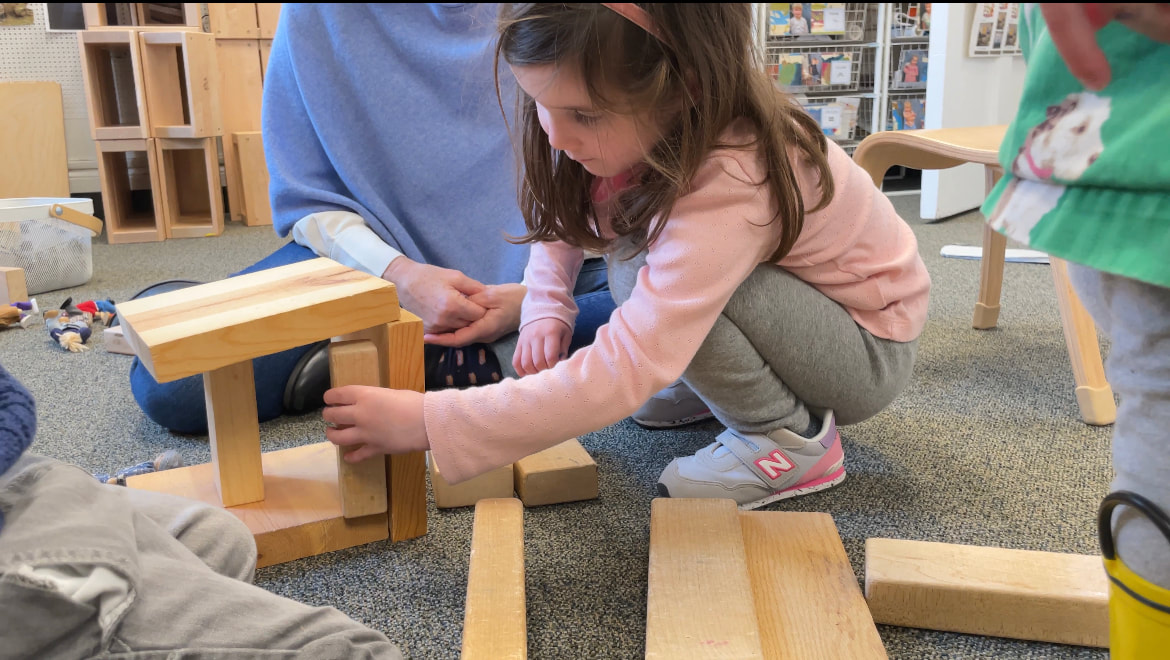
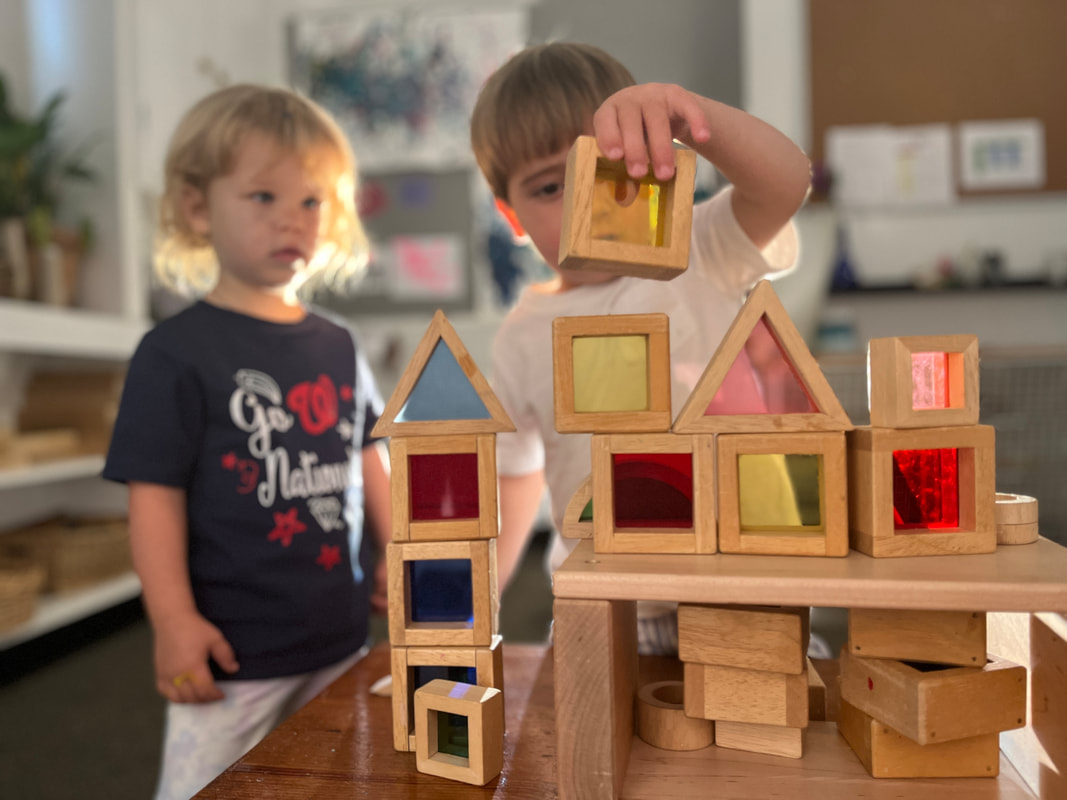
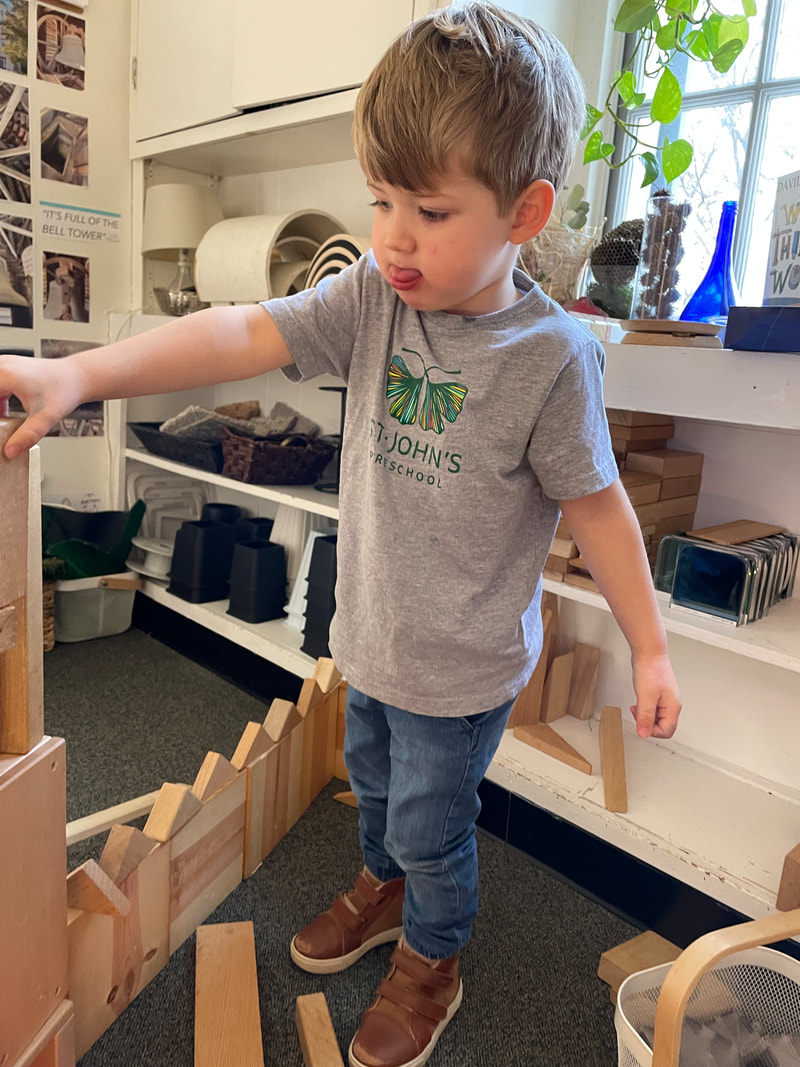
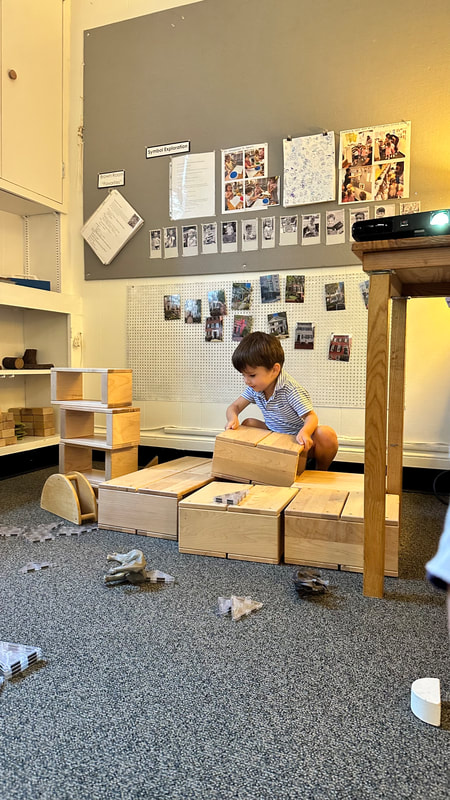
"Molly, I made a chair out of blocks and magna tiles." -George 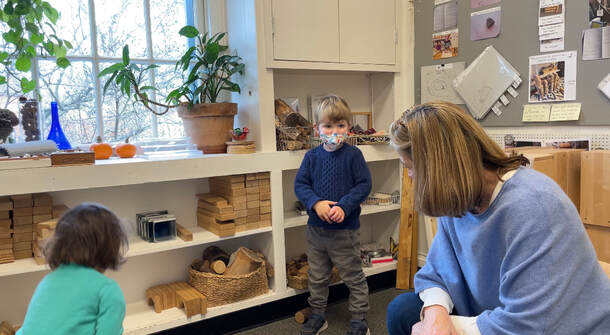 We took a break from the big (hollow) blocks to offer a block puzzle: Can you make a chair, a table, a house?
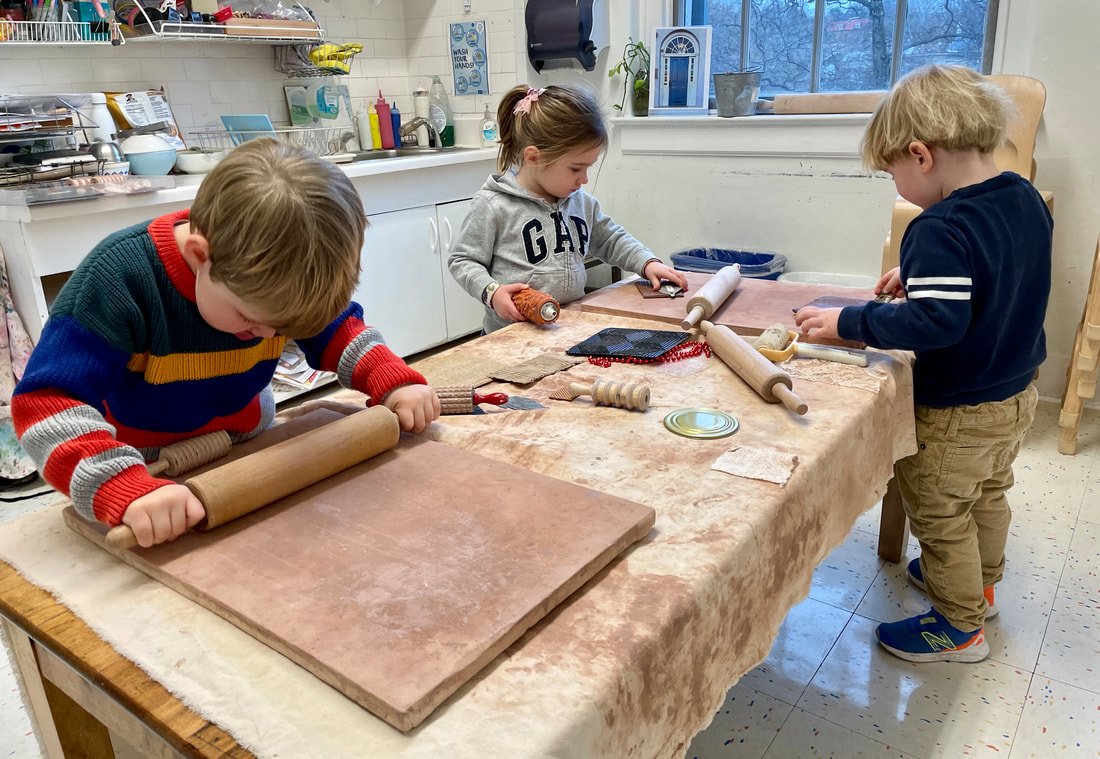
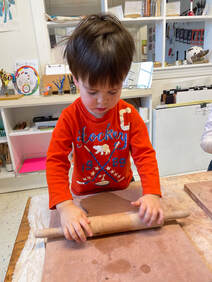
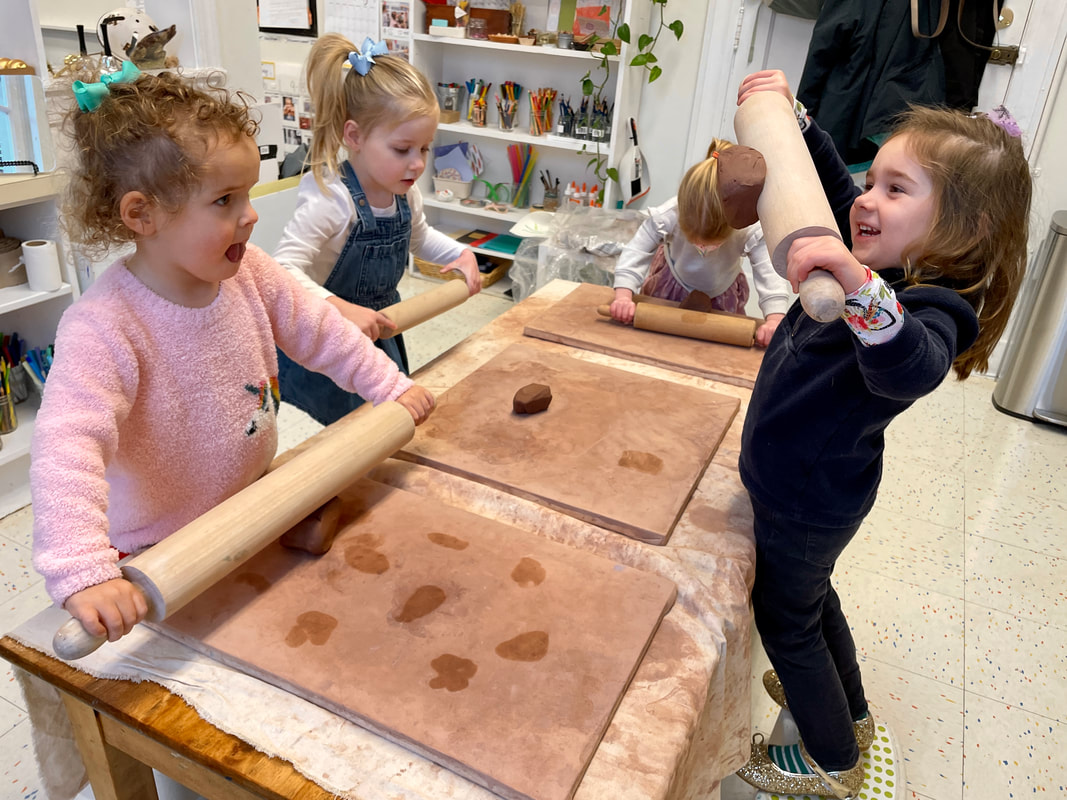
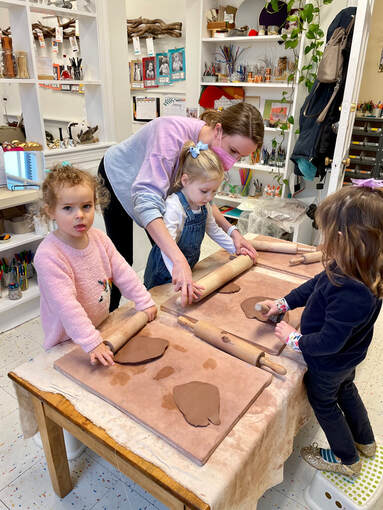
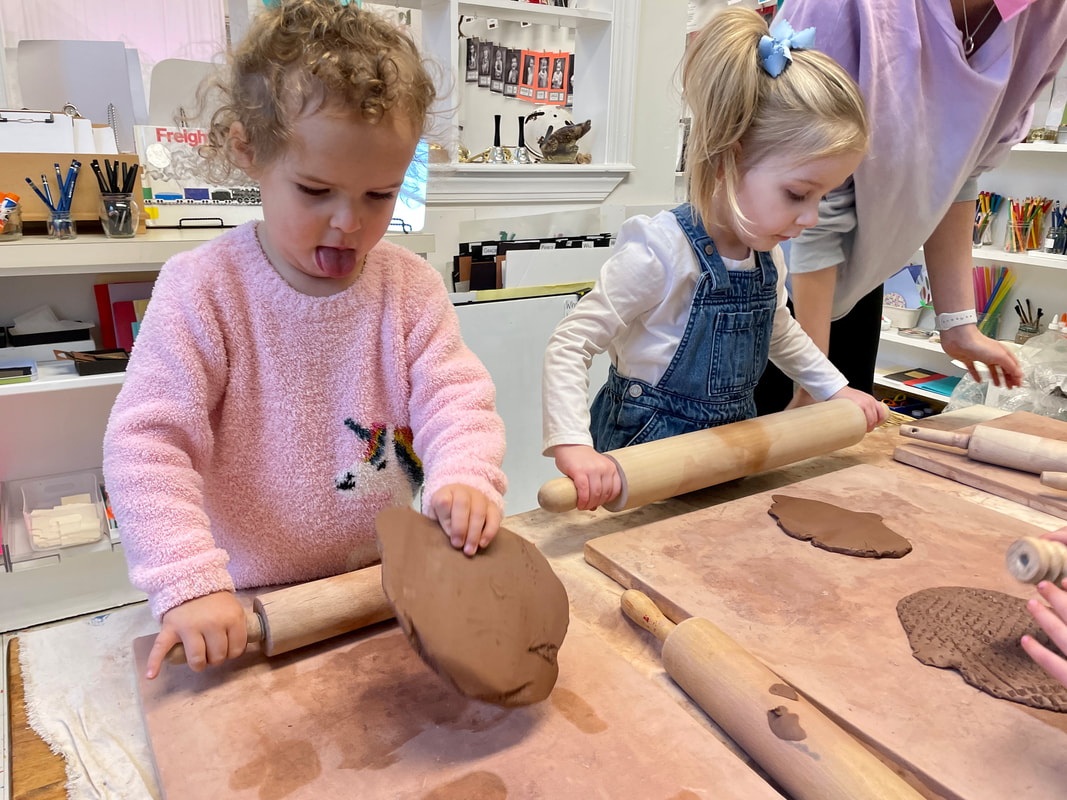
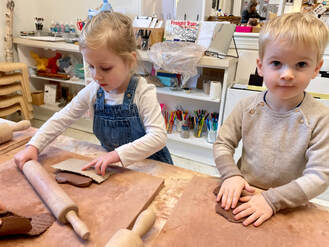
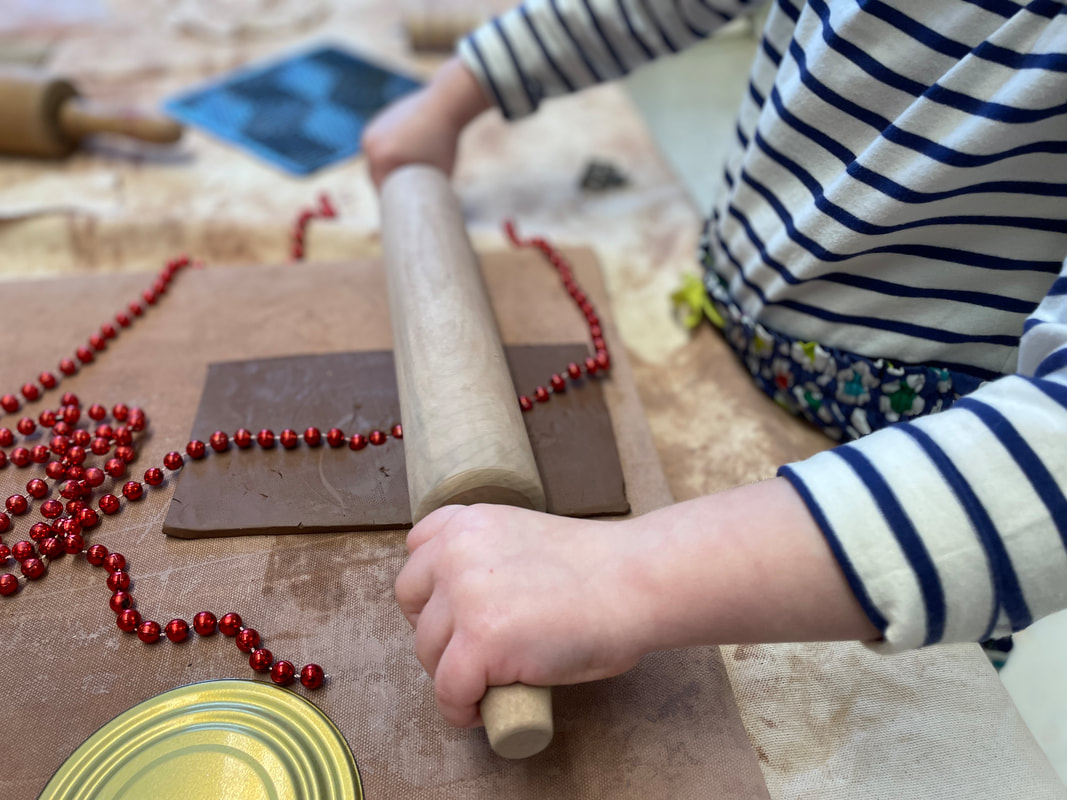
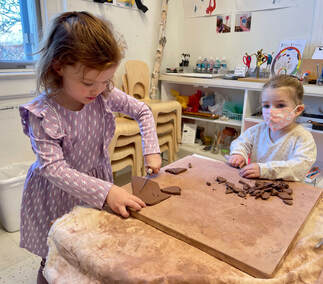
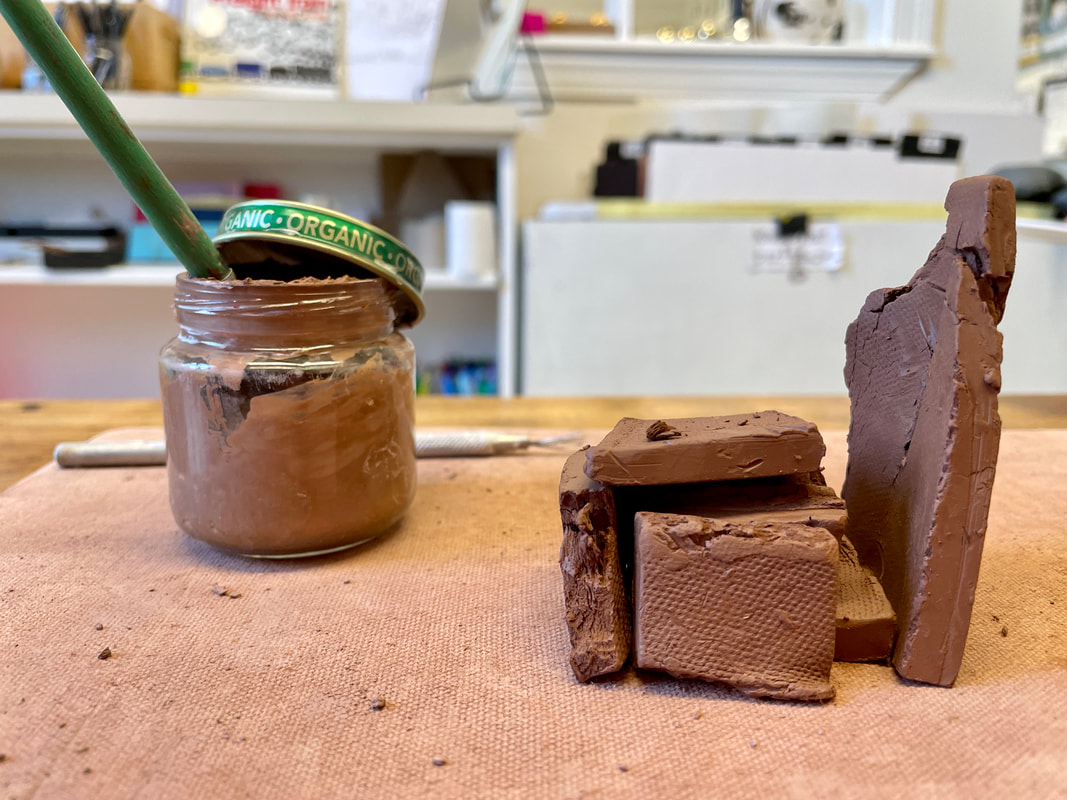
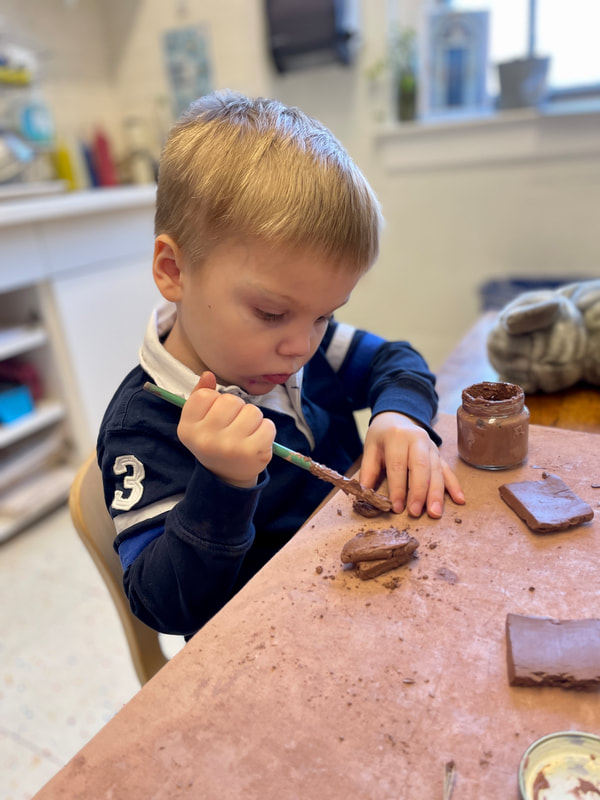
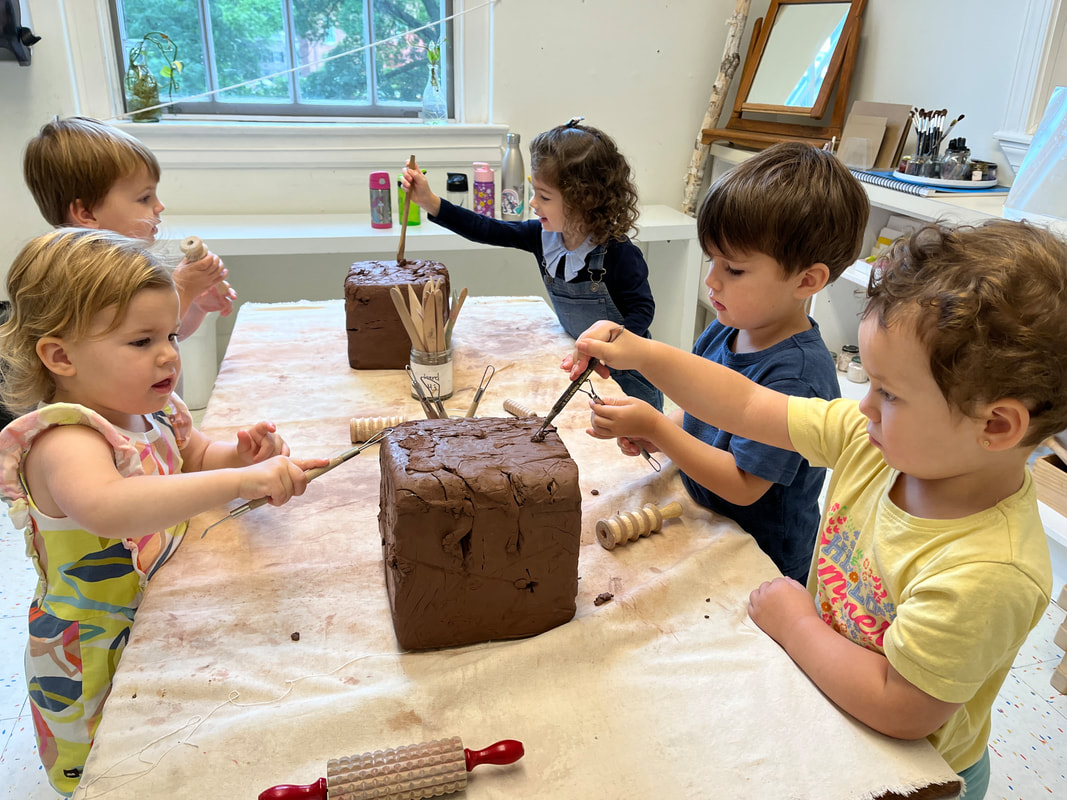
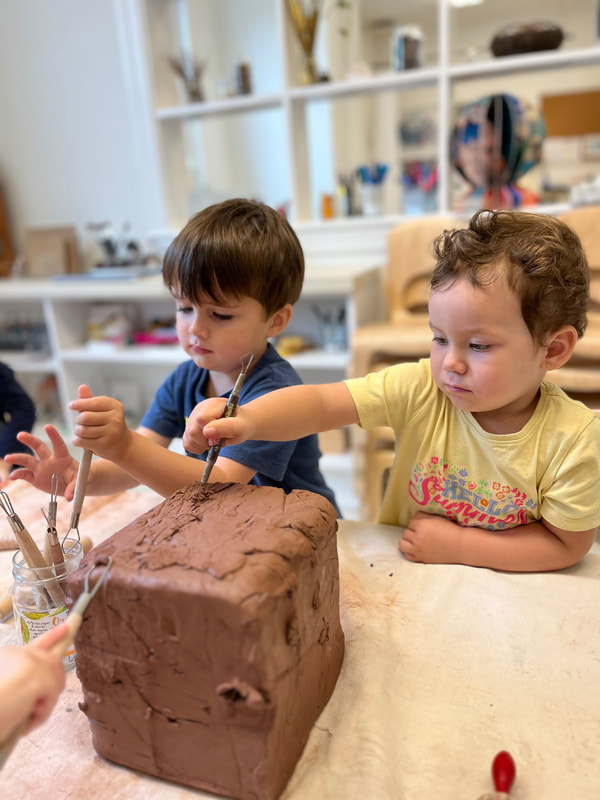
Clay has been a favorite material for our Brown Room group. We have been slowly introducing a variety of clay tools with red, wedged clay. Clay offers so many possibilites for the expression of ideas - 3D building/forms, impressions, drawing, even collaging. As we have been exploring and manipulating it, the children have quickly discovered that one advantage of clay is that it can be changed, but only before it is dry/fired in the kiln. Starting last Friday, we invited the children to use the rolling pins (a new tool for us) to roll out their own slabs of clay using wedged, red clay. This can be a tricky skill that requires quite a bit of strength. Slab rolling has it's own technique as well, which we are all learning together -- Melanie is very good at it!
"That's a good technique." - George, 3.4 years
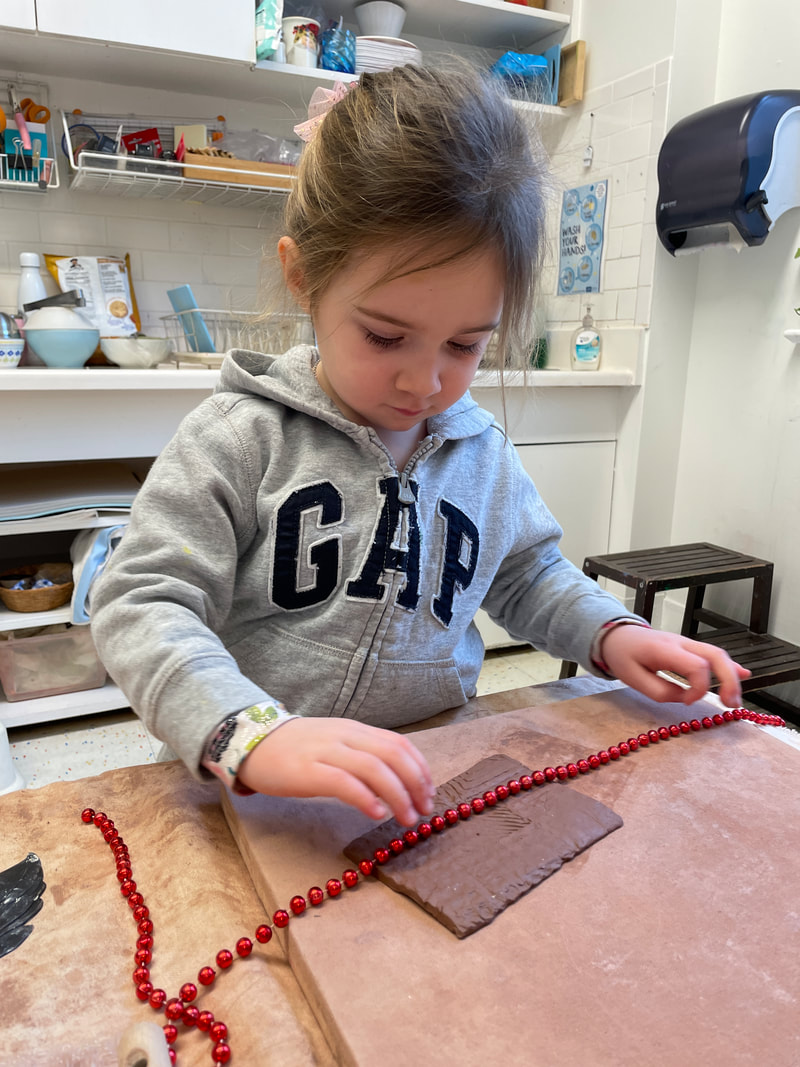
"It's nice and flat. " - Lou Lou, 3.3 years The slabs that the children were rolling and using to create impressions are fresh from the wedged clay. For the next few days, we used slabs that have been sitting for a few days, which are called leather hard slabs. Impressions in slabs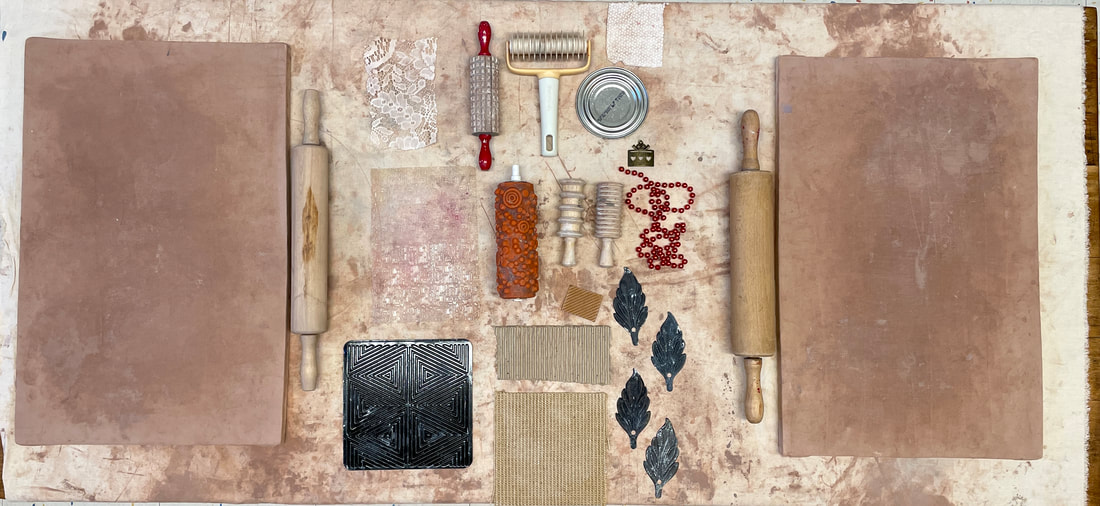 When the children entered the studio, we paused to explore the variety of impression making tools and materials, and the children made hypotheses about how they would change the clay. How do you think these tools and materials will change the clay? "This one [small metal piece] scrapes, and this one [white and yellow roller at top of photo] cuts." - Cully, 3.3 years "And this little one [metal leaf] will make shapes." - Adaline, 3.3 years "Make it bumpy." - George, 3.4 years
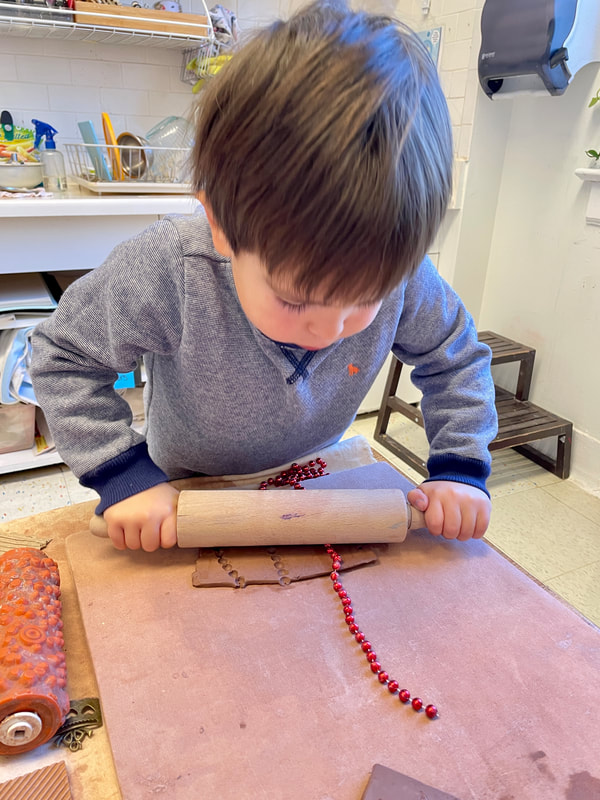
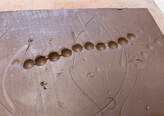
 "I need the roller for the beads." - Gracie, 3.2 years "I made a bead impression." - Will, 3.3 years "I can see the 'pressions." - Eliza, 3.2 years The most popular impression making materials were the strands of mardi gras beads. Some children used their hands to push them into the clay, while others employed the rollers to apply some additional pressure to the beads and slab.
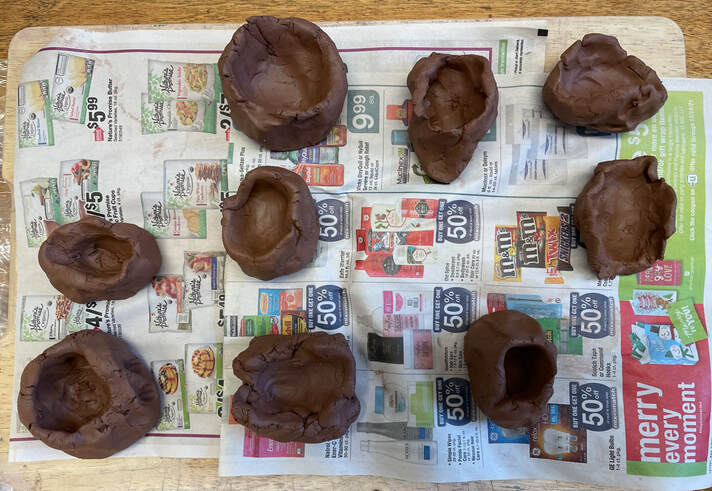
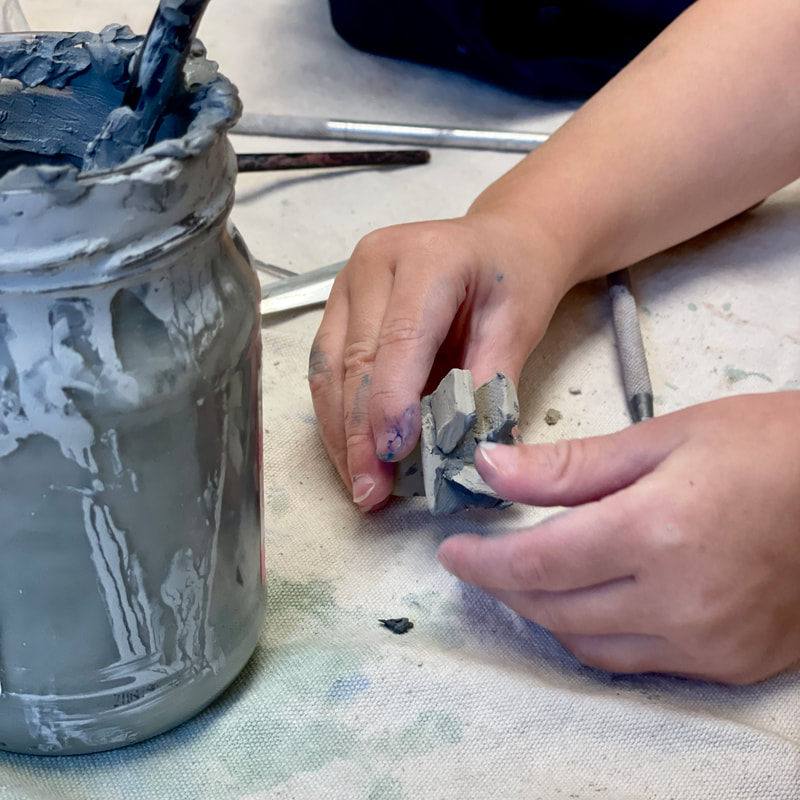
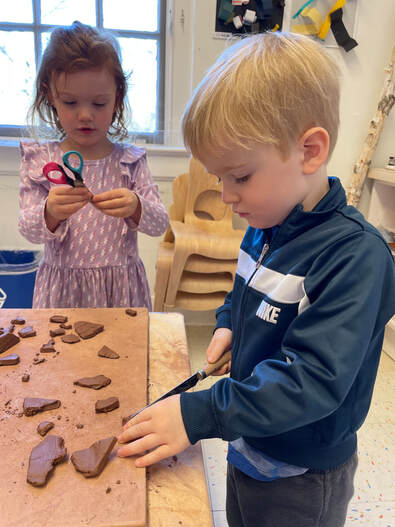
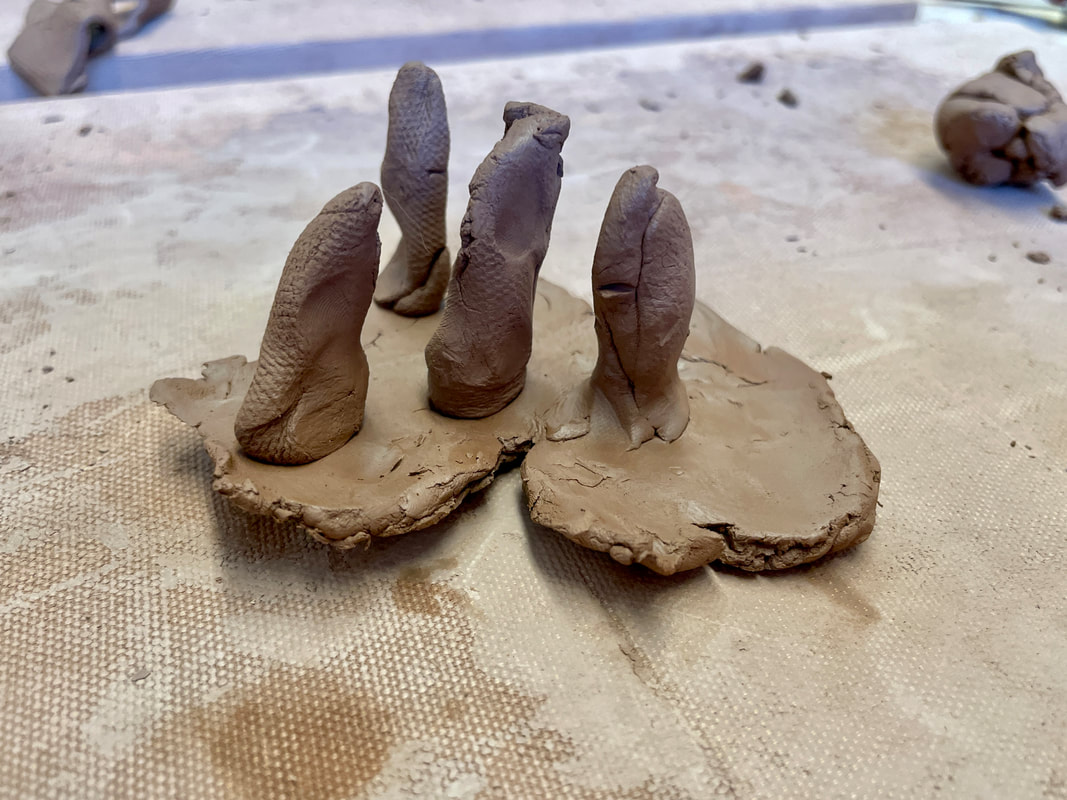
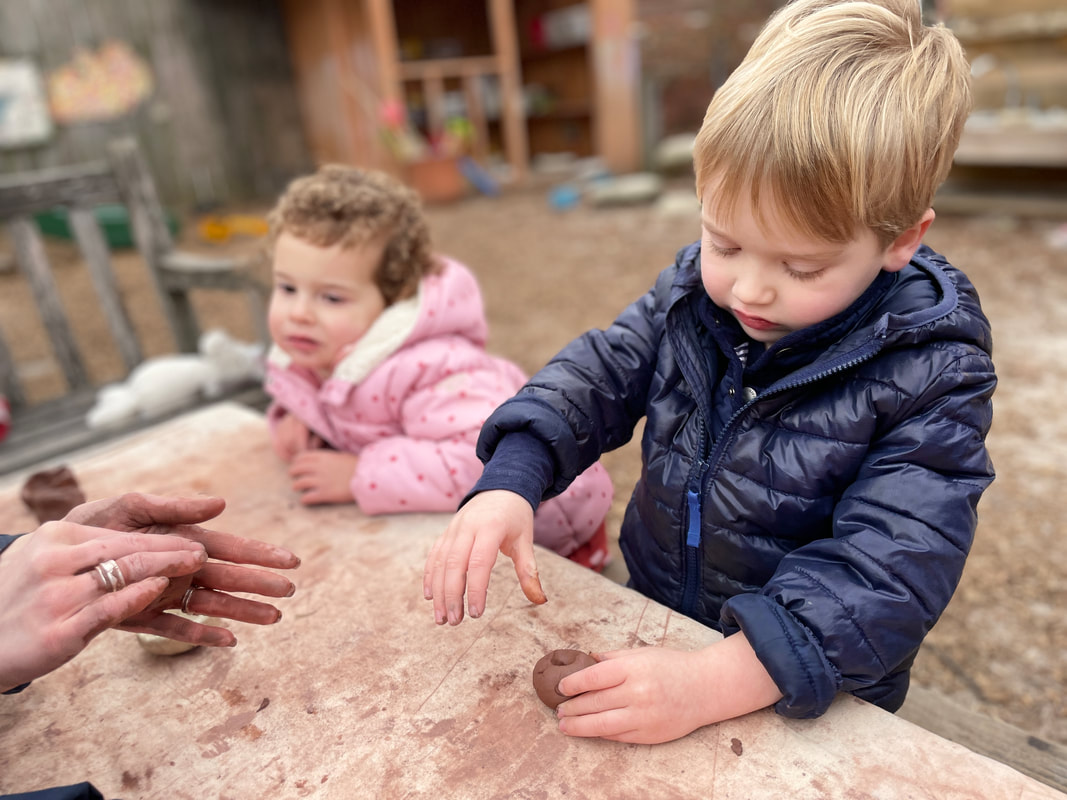
Cutting, constructing, and Score/Slip"How do I build with clay?" - Cully, 3.3 years When presented with the leather hard slab pieces without any tools, we wondered: Will they cut? fold? roll? smash? build up? line up? stack? The answer was that they did a bit of all of this. They asked for the fettling knives/scissors to cut smaller pieces of the clay slabs, some of them stacked ["Look what shape I made. I made a mountain." - Zoey, 2.11 years], smashed pieces together, and more.
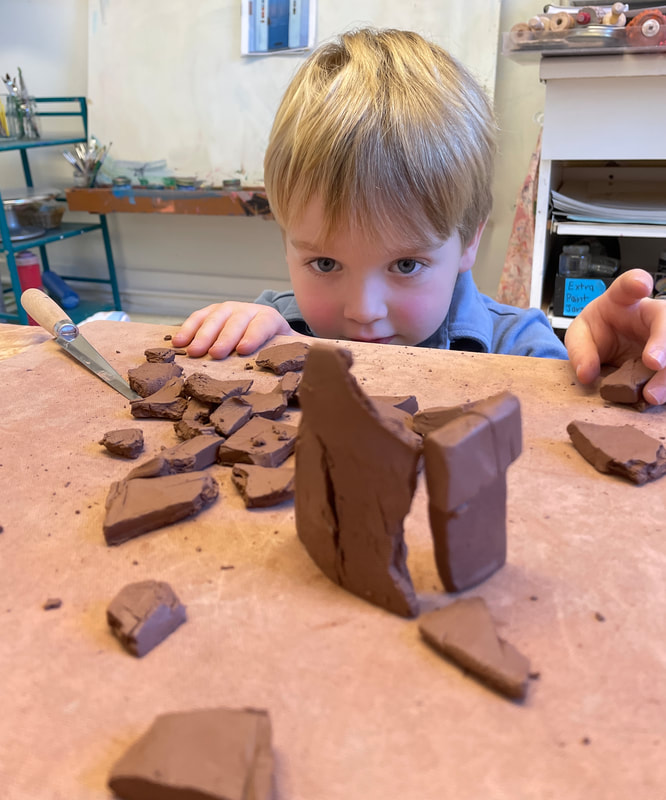
"I'm going to build something, but I need a lot of pieces." - Henri, 3.5 years Henri began to place his cut pieces together to create a structure. When we asked if he wanted to save it or put the clay back in the bag, he suggested that we could put it away. Then, Jill asked, "Well, do you want to save it forever?" He immediately lit up and said "YES!" So, this introduced the idea of scoring and slipping our clay pieces to securely attach them for firing in the kiln.
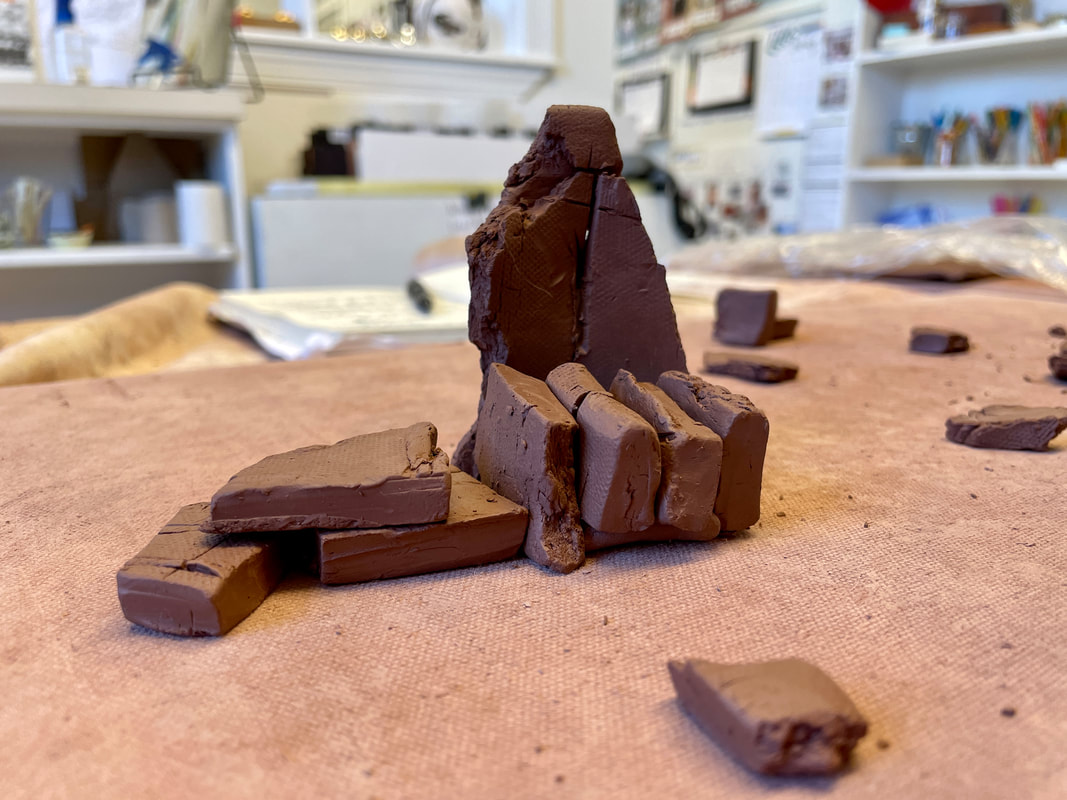
Pierce also wanted to create something out of his clay pieces that required scoring and slipping. This process takes patience and going back and forth between the scoring tool and the brush/clay slip [very, very moist clay].
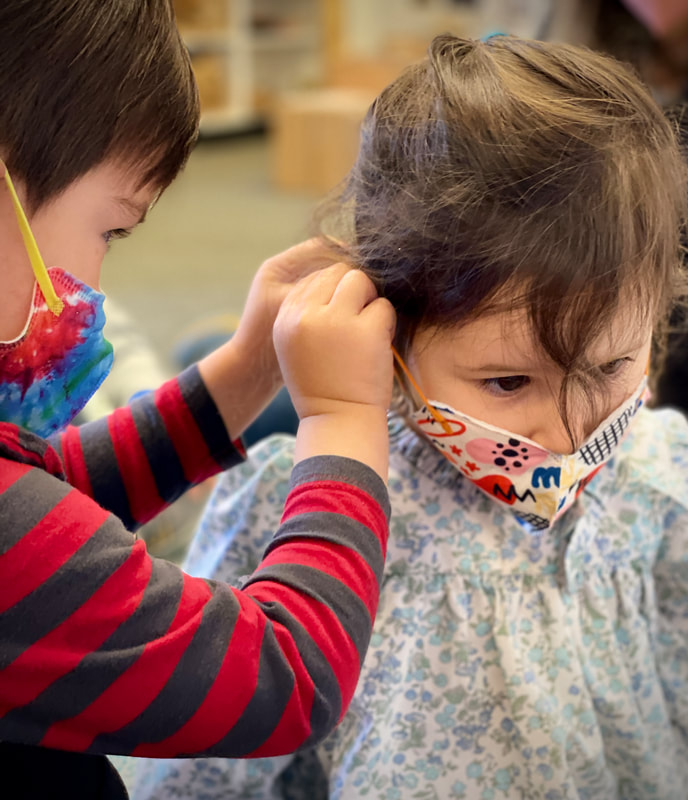
Next week, we will continue our work with the clay slabs, but we will be using different techniques to make slab collages. Stay tuned, and always feel free to look around the studio/portfolio drawers/classroom to see what we're up to! Also, Jill is going to help us load the kiln next week! Make sure to ask your child about the kiln and what it does! They are all very excited and curious! It's our first time to have a lot of clay fired! Showing some love in the Brown RoomThere will be no blog next week due to interim phone calls. We will post a few photos next Friday!
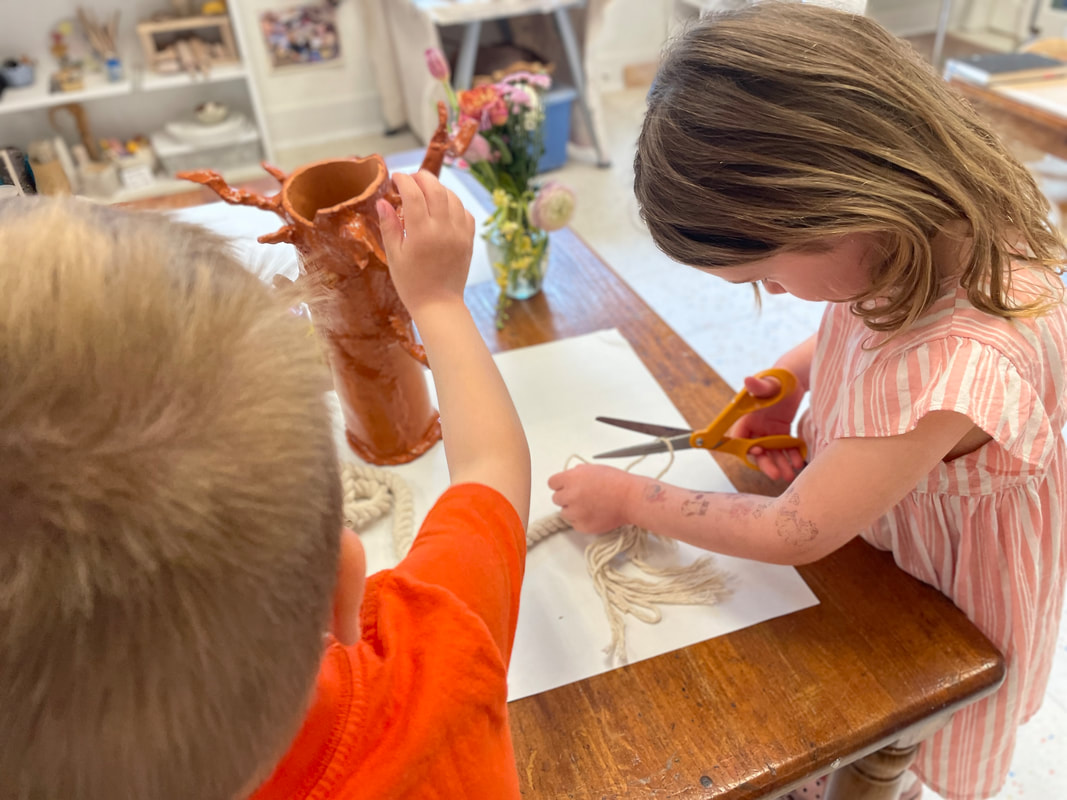
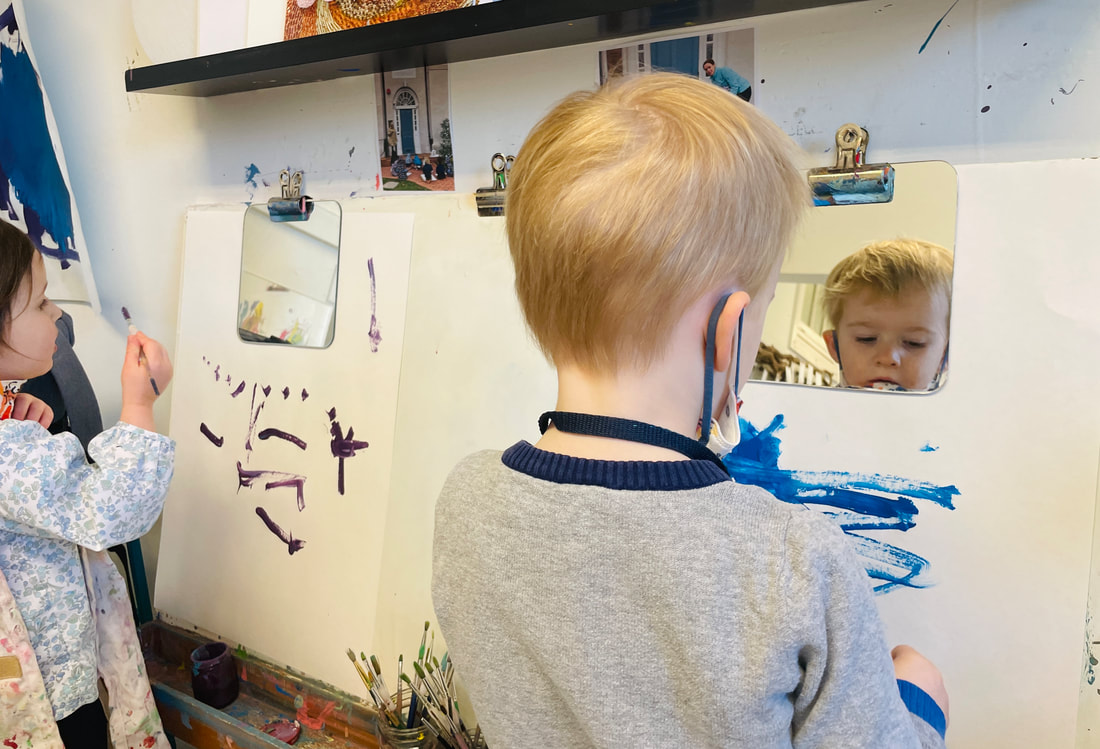
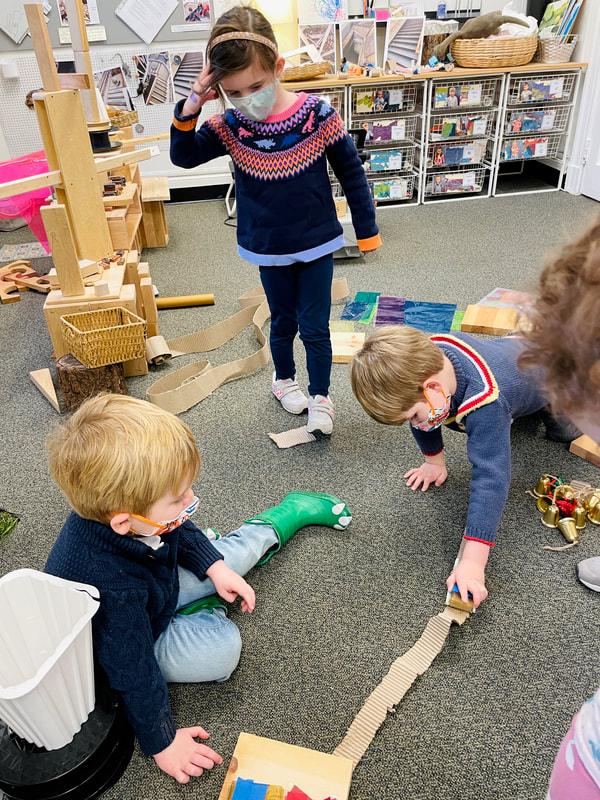
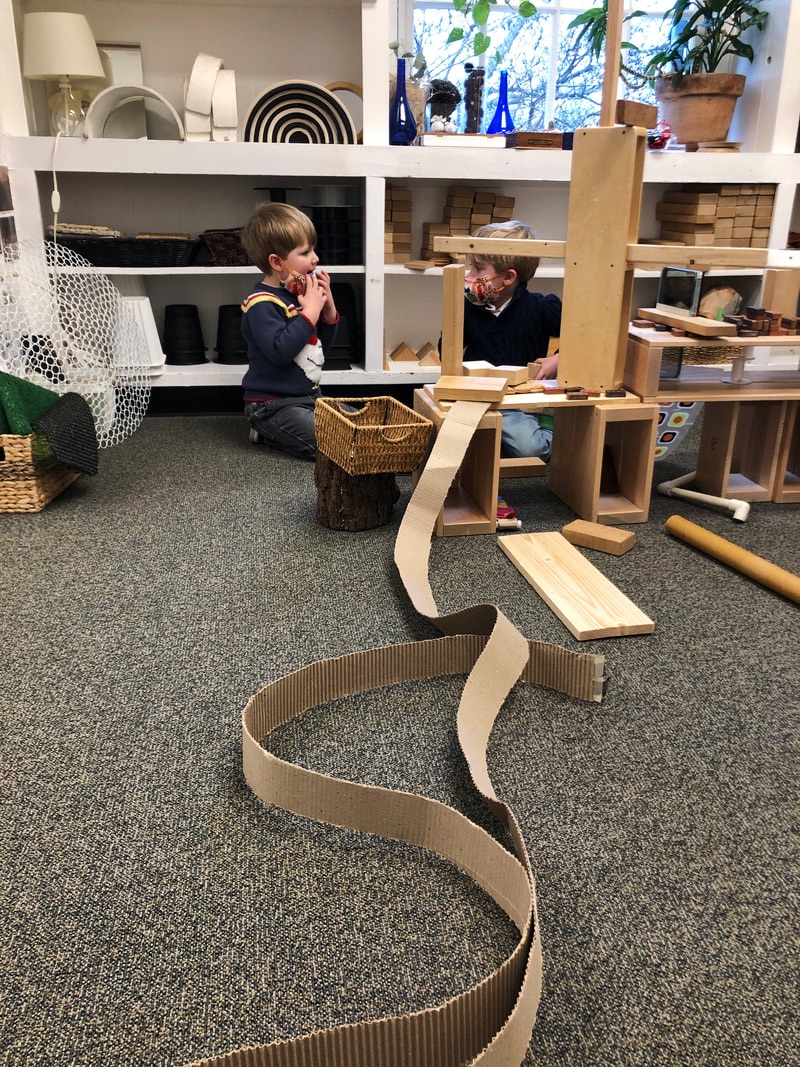
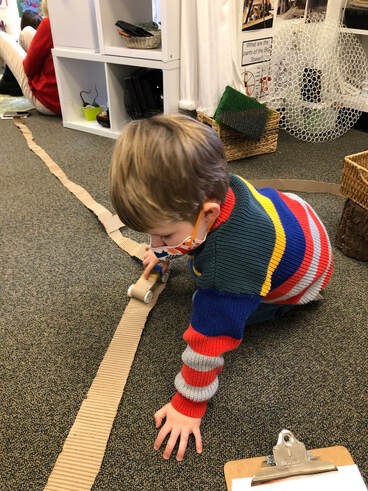
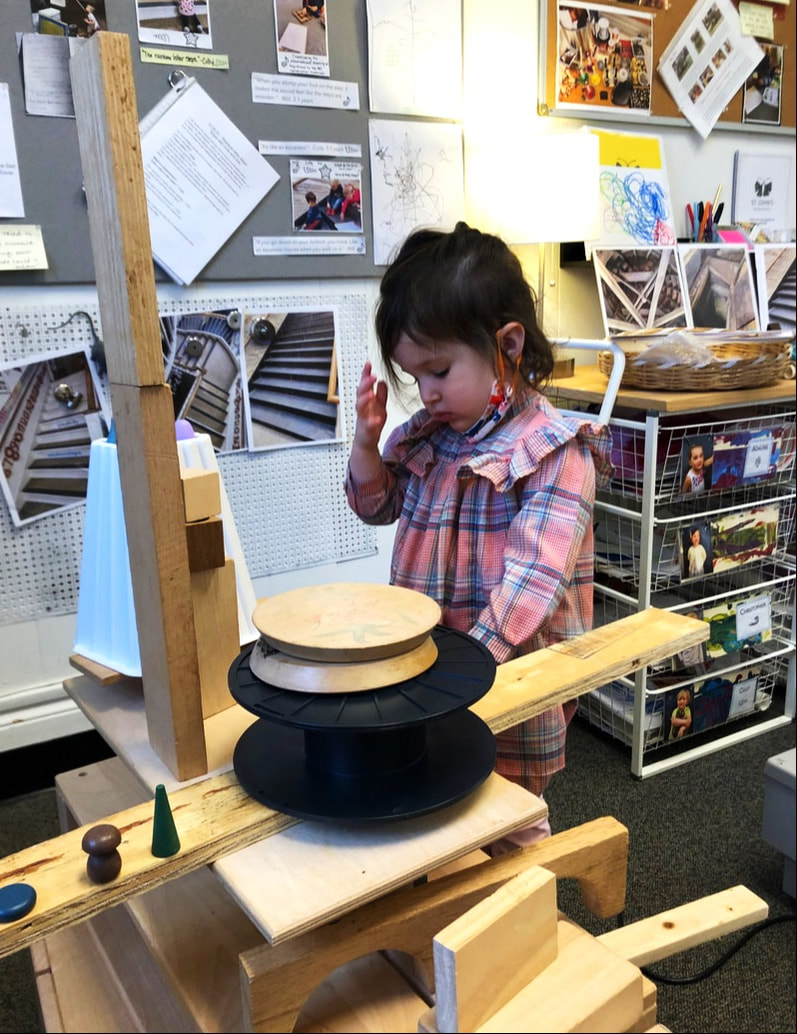
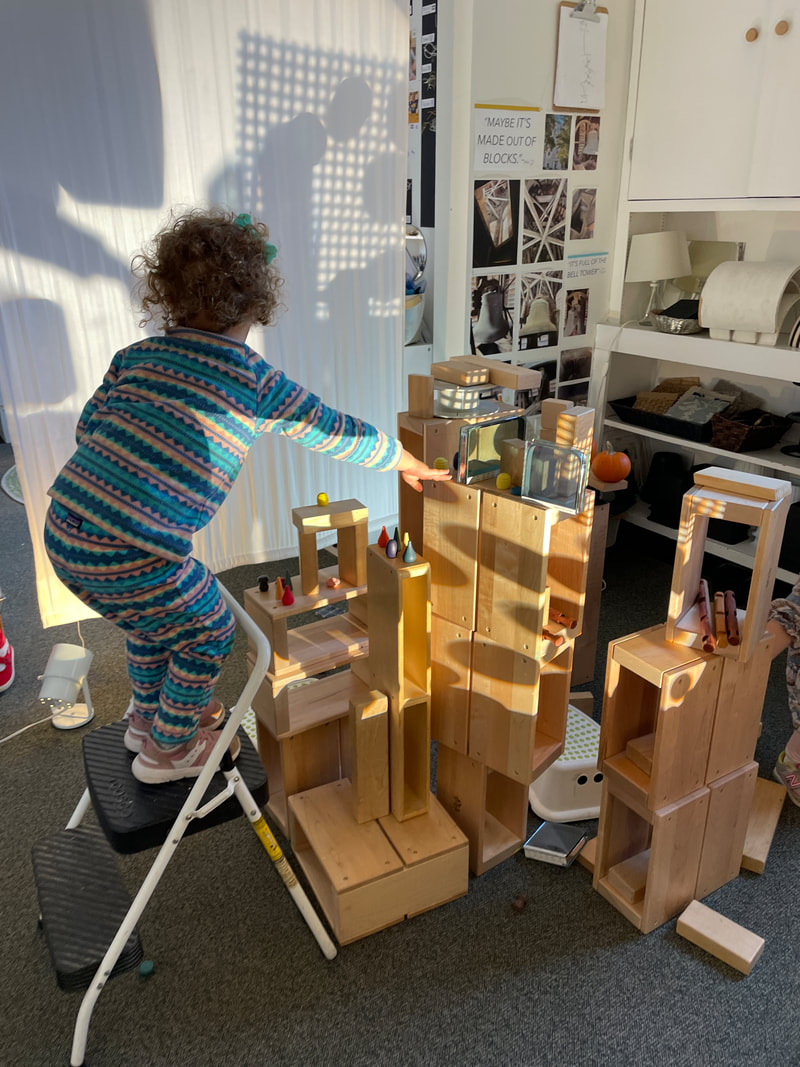
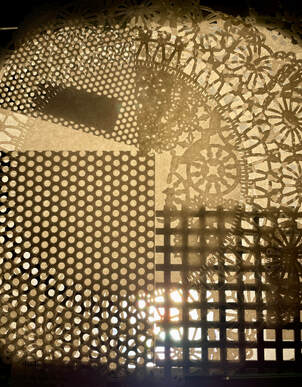
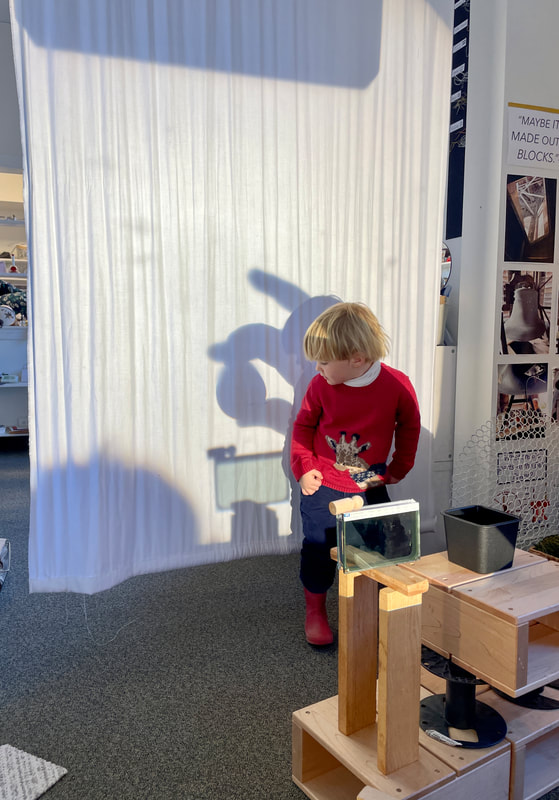
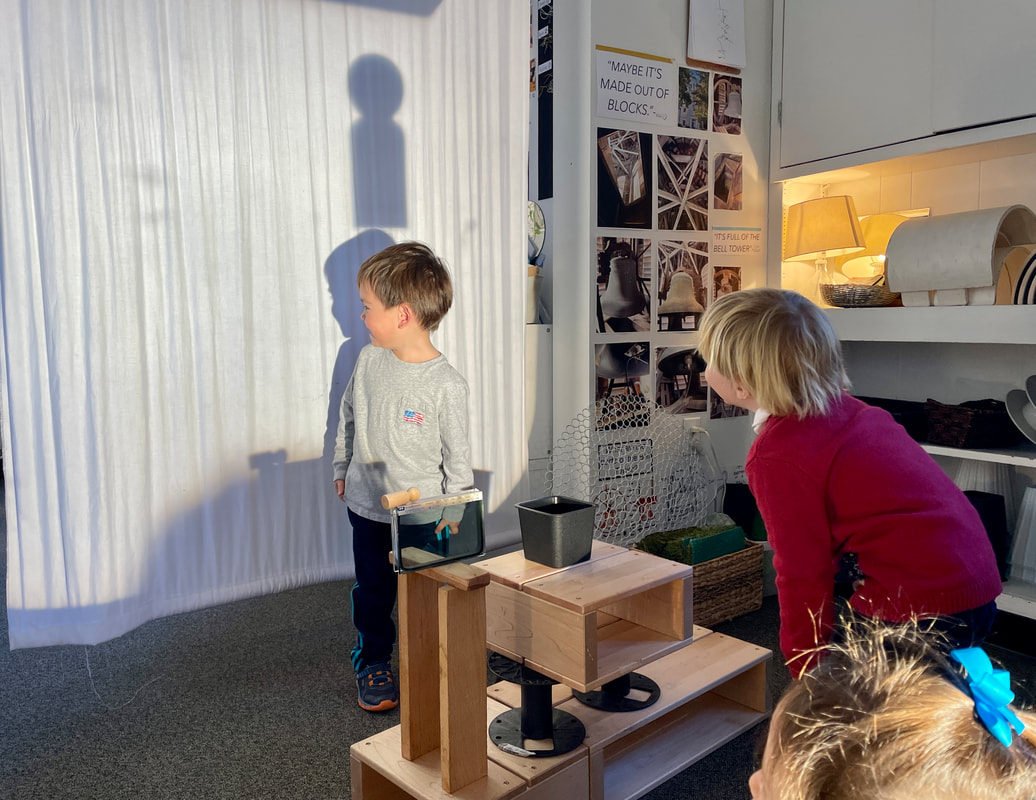
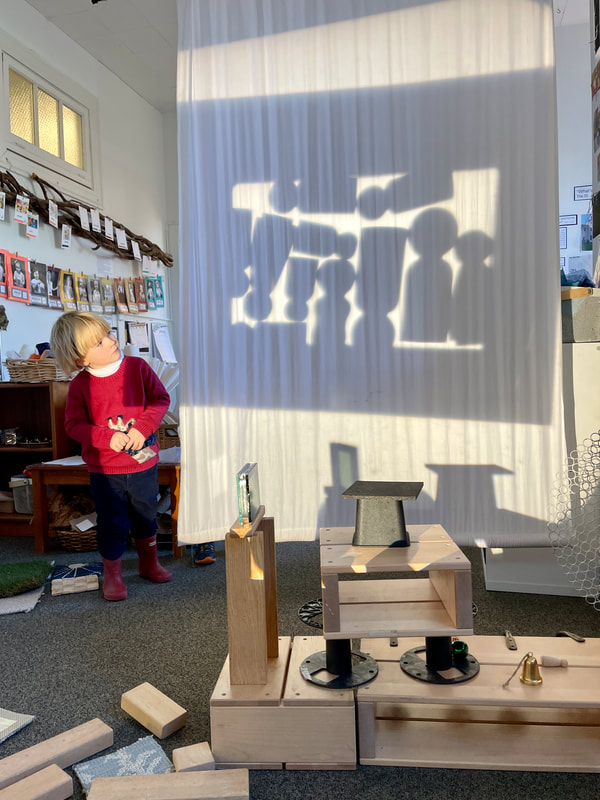
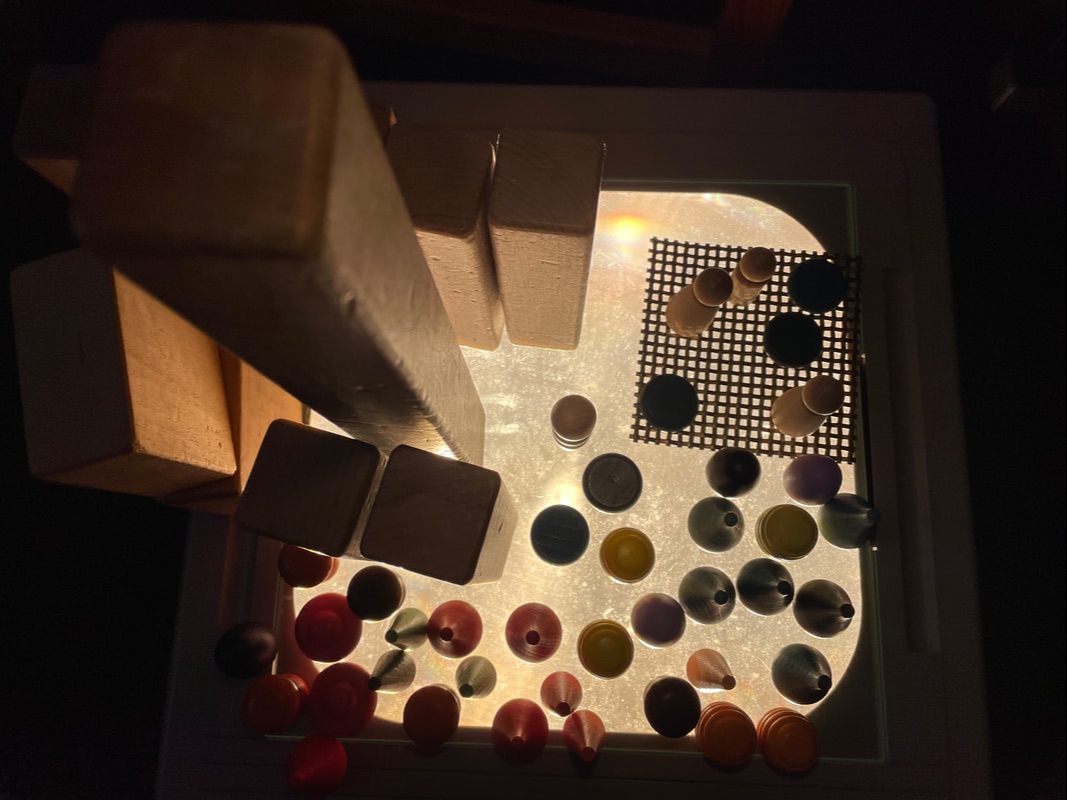
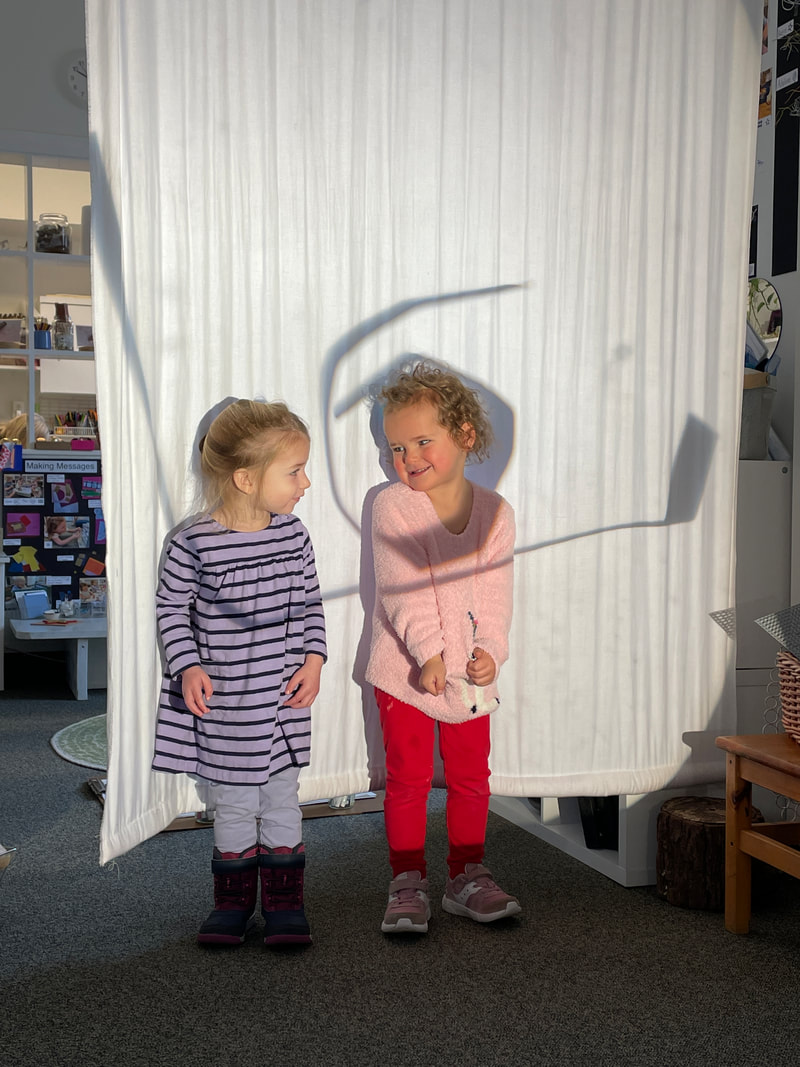
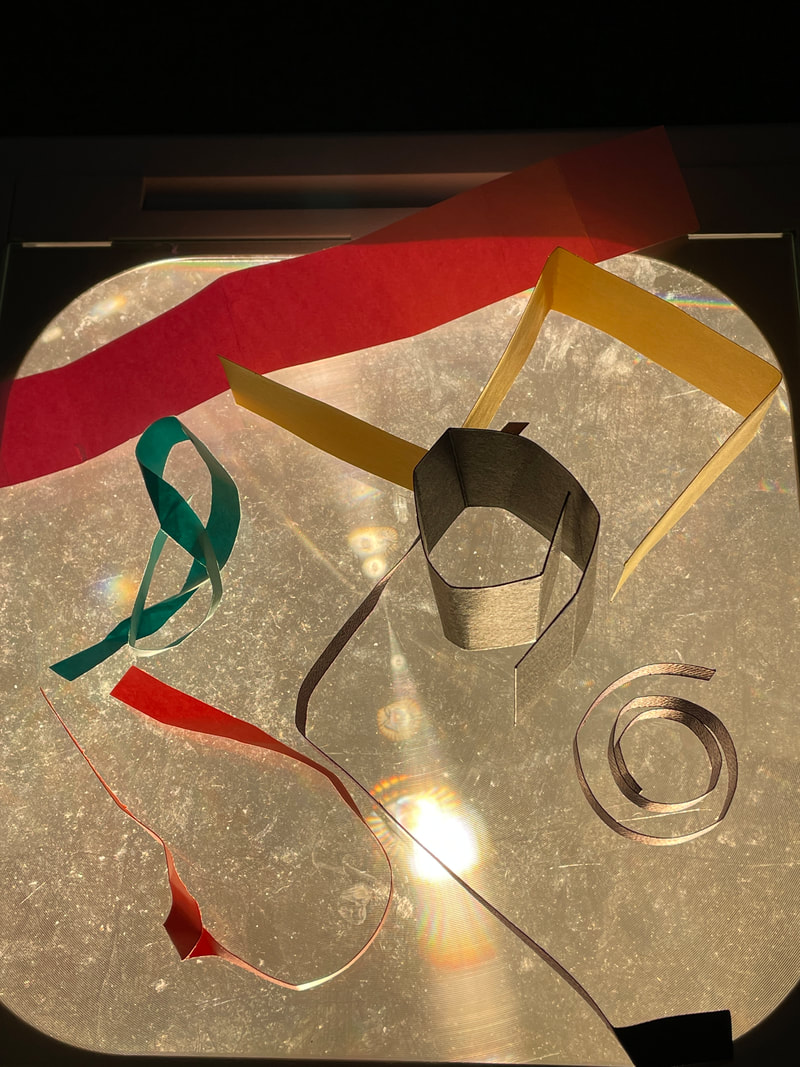
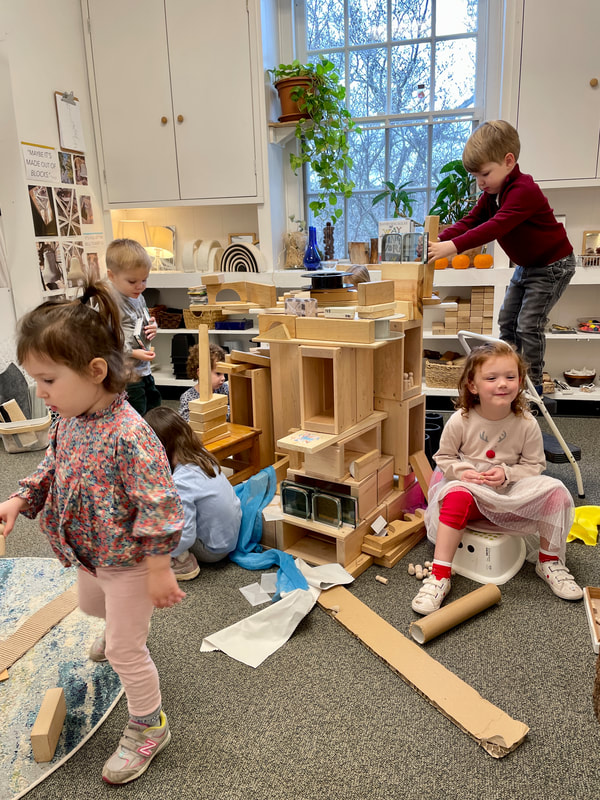
The construction area of the Brown Room is a rather popular place to be. There have been times where we have 8-9 children at a time working together to create a structure or design out of the materials there. This area of our classroom has a rich variety of materials - blocks, hollow blocks, paper, cardboard, corrugated cardboard, metal, rubber, concrete, fabric, jute, wood, fur, bells, carpet, plastic, etc. In fact, there is so much work happening here, that we had to make more space in the classroom for it (you may have noticed that the nugget has been removed. Additionally, the work in this area is not limited to the materials there, in that space - the entire room is intended to flow together. e.g. If the children need to draw something, they are welcome to find those materials and move around. One element/tool/language that had not been incorporated in this area of the classroom was light. As you will have seen in the blog from mid-December, we introduced the light table, spotlights, and rope light. We have also used a projector to project images such as the school, blue door, and bell tower. This week though, we introduced the overhead projector in the construction area. 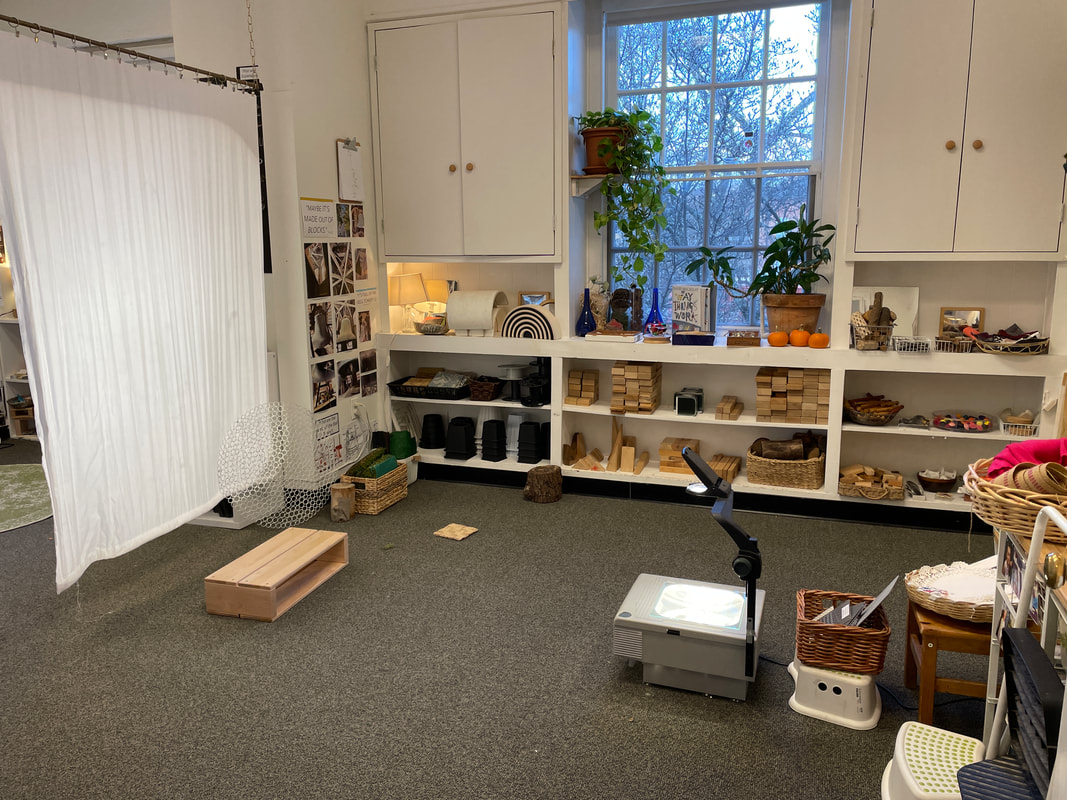 Their first reactions were mostly about the shadows that the light created. They danced, collected materials to build with, and even had the skeleton move infant of the shadow screen! “It’s a shadow.” - Gracie, 3.2 years “This is a shadow monster.” - Pierce, 3.4 years
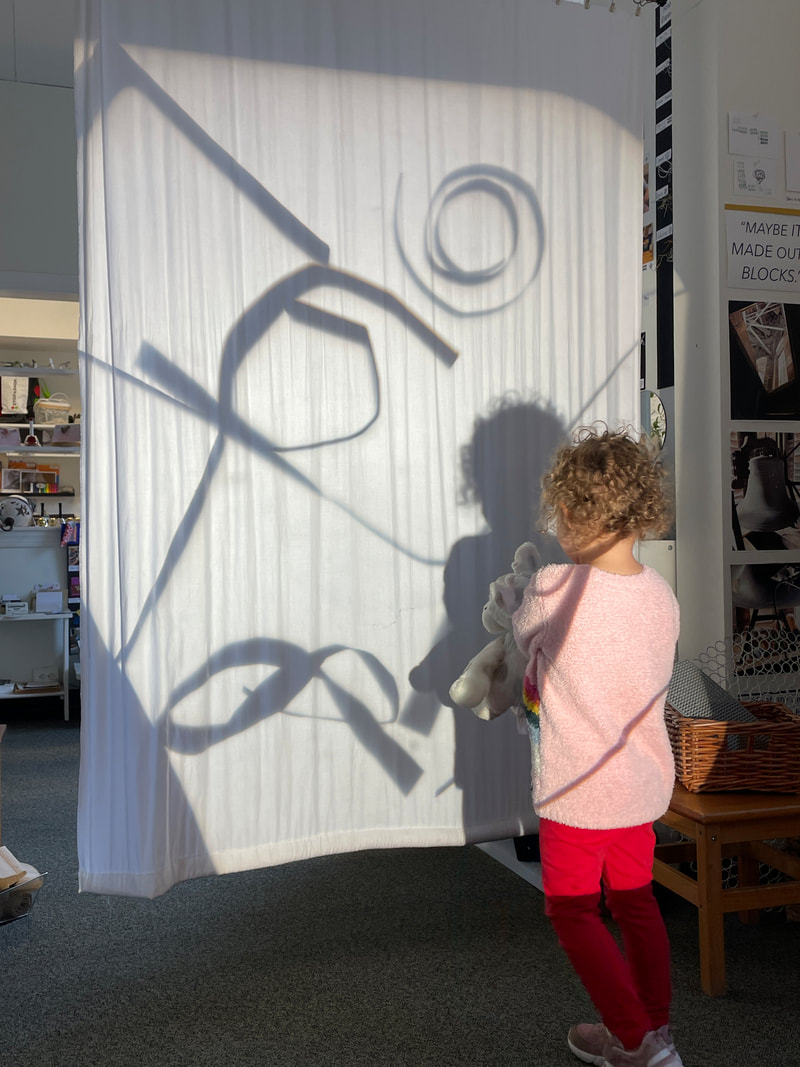
As they worked, they began to notice that the shadows could be created both in front of the screen and by adding materials to the overhead glass. This is a complex connection, and a unique perspective that the overhead presents. For example, when you move a material to the right on top of the overhead, it moves to the left on the screen. There is quite a bit of cognitive conflict as they attempt to create specific designs and shadows for their structures and play.
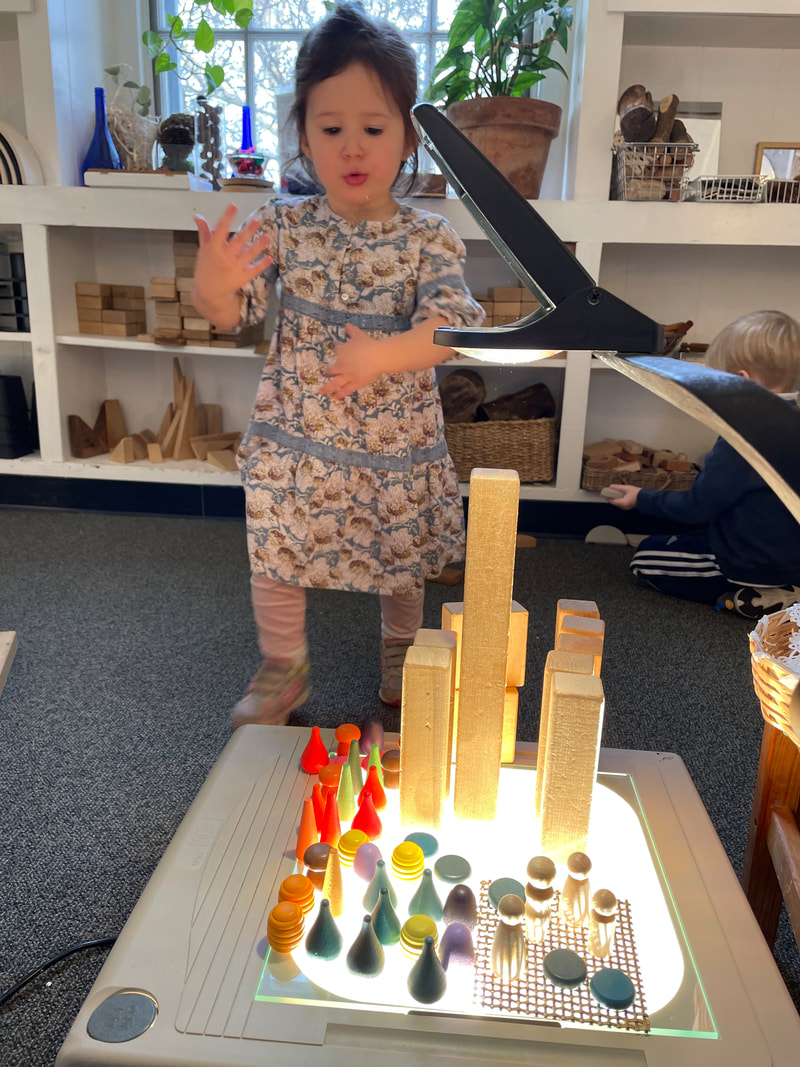
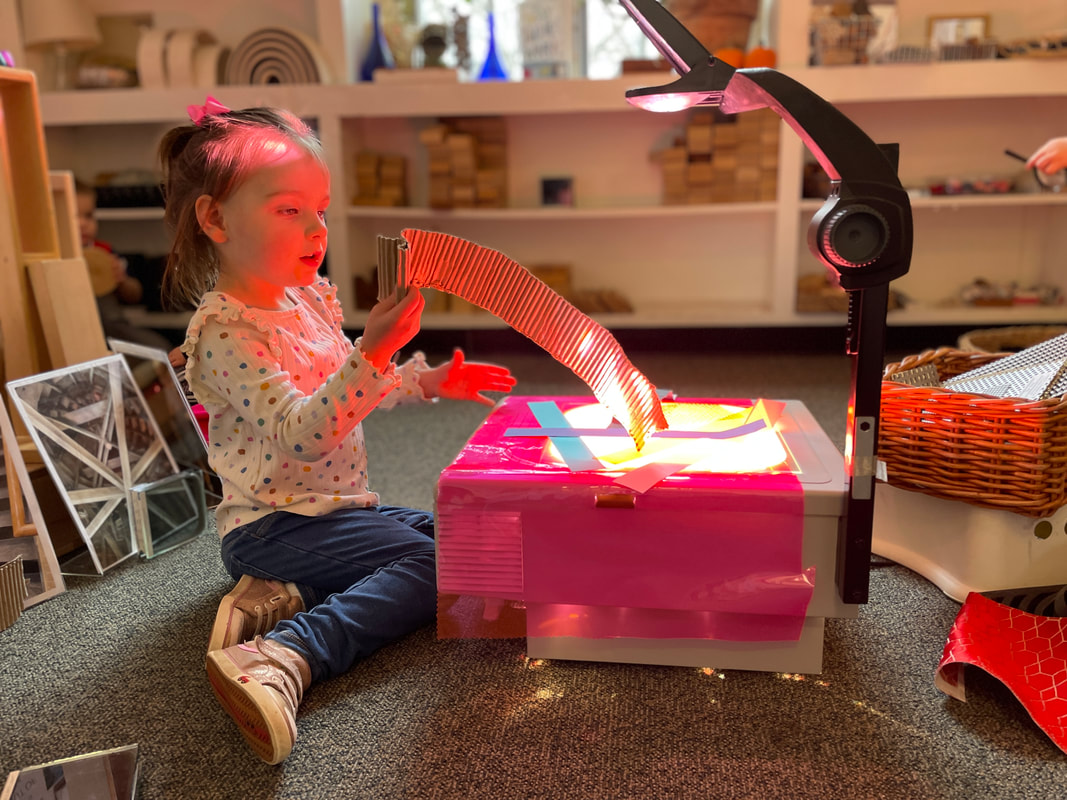
Color added an element of excitement and creativity when they discovered that the pink vinyl was transparent.
The children used a variety of materials to create their structures and set ups. Each day that they work in the space, they begin to incorporate new and different materials and/or the materials take on a new life to represent new things.
 Have a wonderful weekend everyone!
|
AuthorWrite something about yourself. No need to be fancy, just an overview. Archives
April 2024
Categories |


 RSS Feed