Making movable collages for our portfolio drawers
|
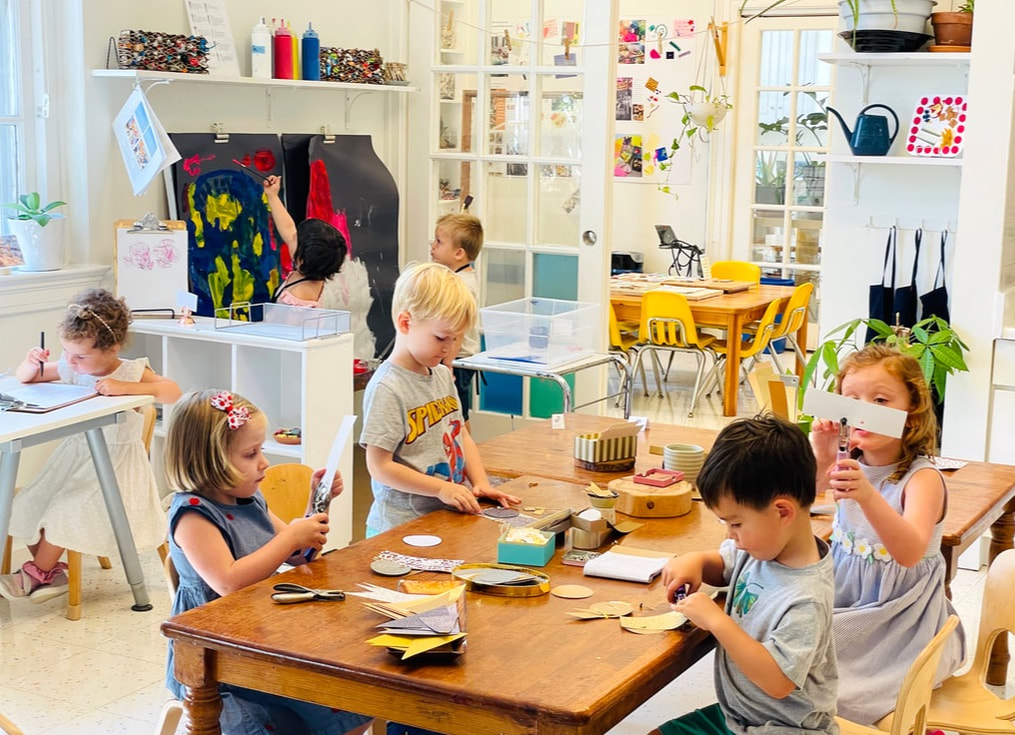
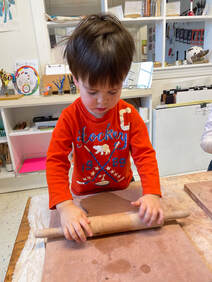
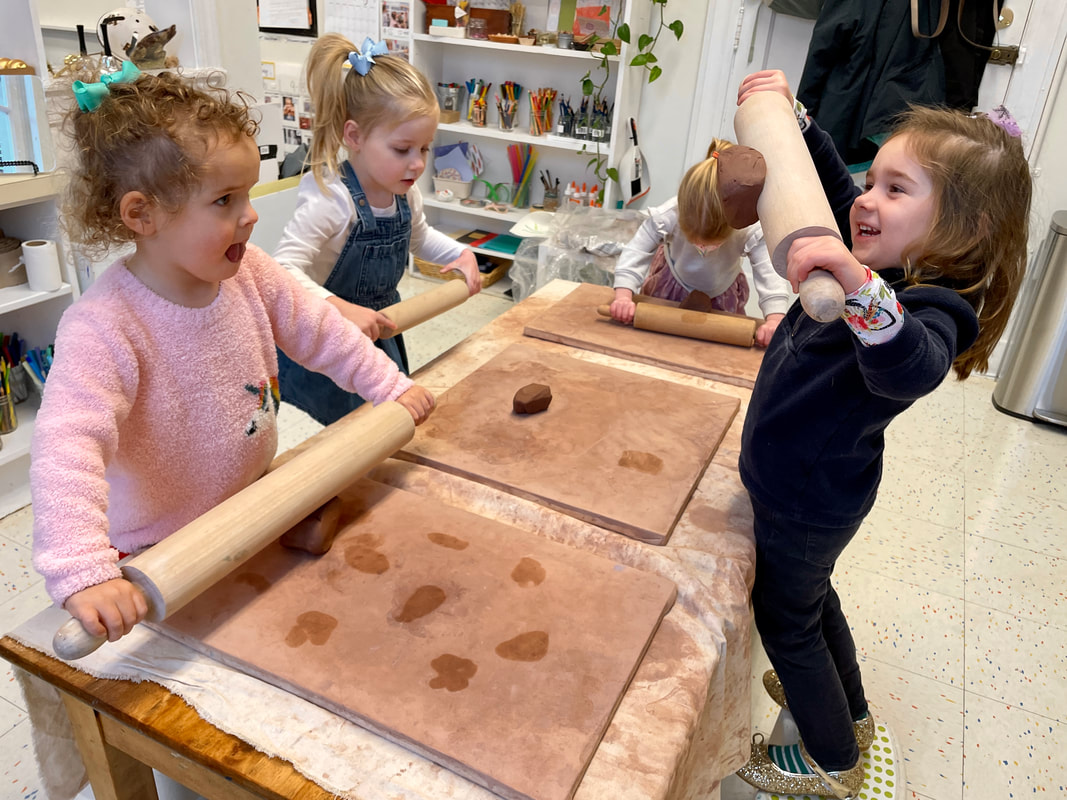
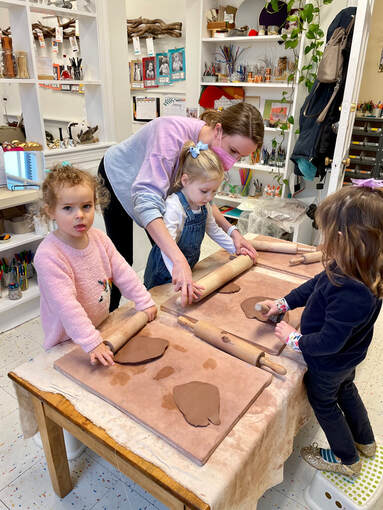
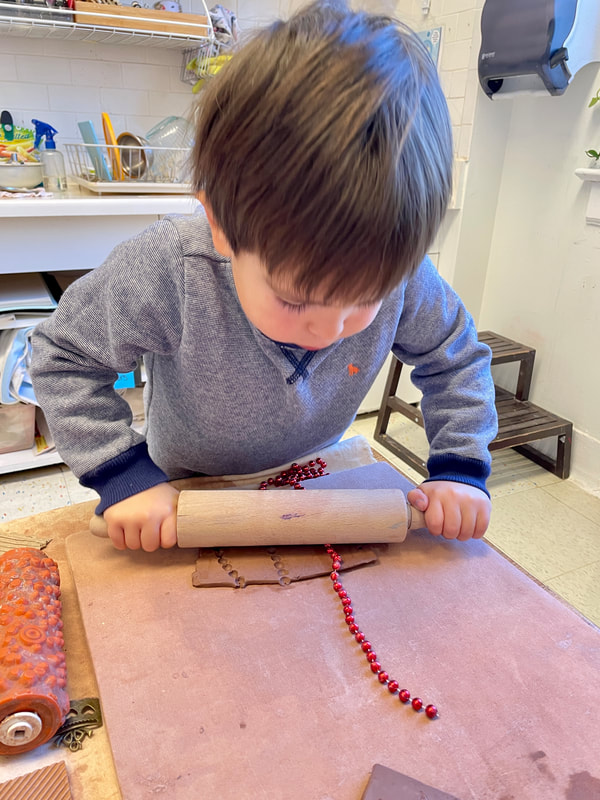
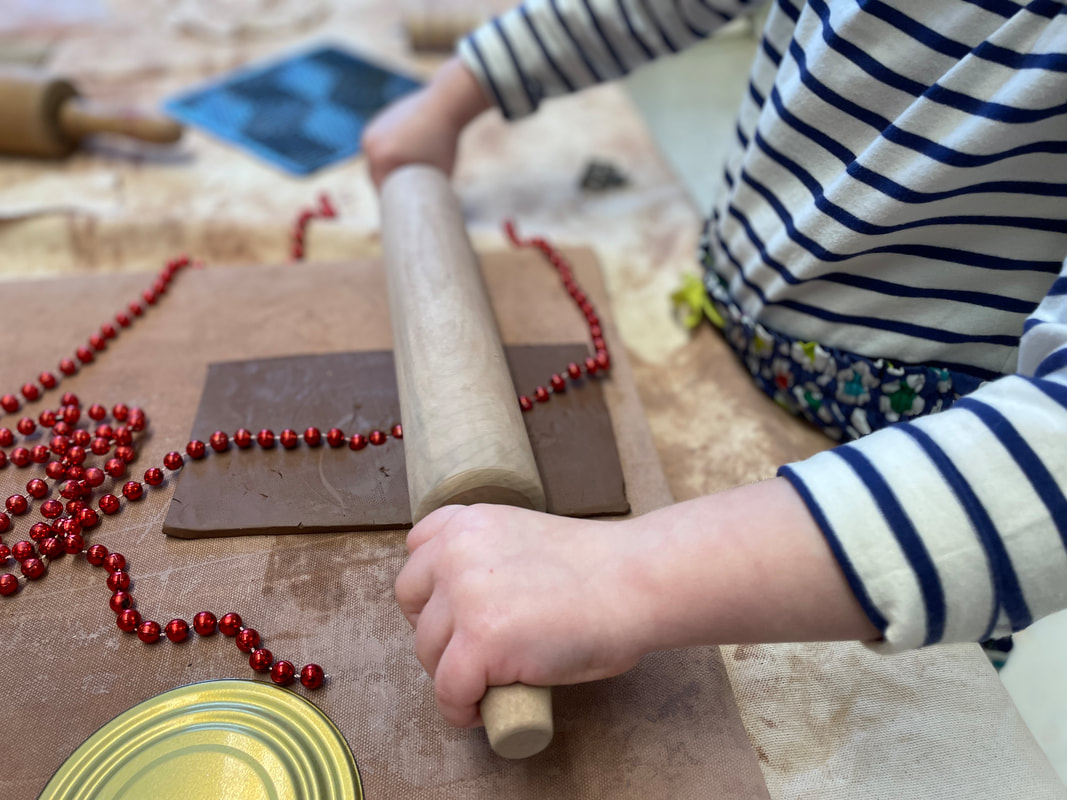
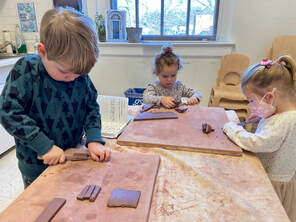
Clay has been a favorite material for our Brown Room group. We have been slowly introducing a variety of clay tools with red, wedged clay. Clay offers so many possibilites for the expression of ideas - 3D building/forms, impressions, drawing, even collaging. As we have been exploring and manipulating it, the children have quickly discovered that one advantage of clay is that it can be changed, but only before it is dry/fired in the kiln. Starting last Friday, we invited the children to use the rolling pins (a new tool for us) to roll out their own slabs of clay using wedged, red clay. This can be a tricky skill that requires quite a bit of strength. Slab rolling has it's own technique as well, which we are all learning together -- Melanie is very good at it!
"That's a good technique." - George, 3.4 years
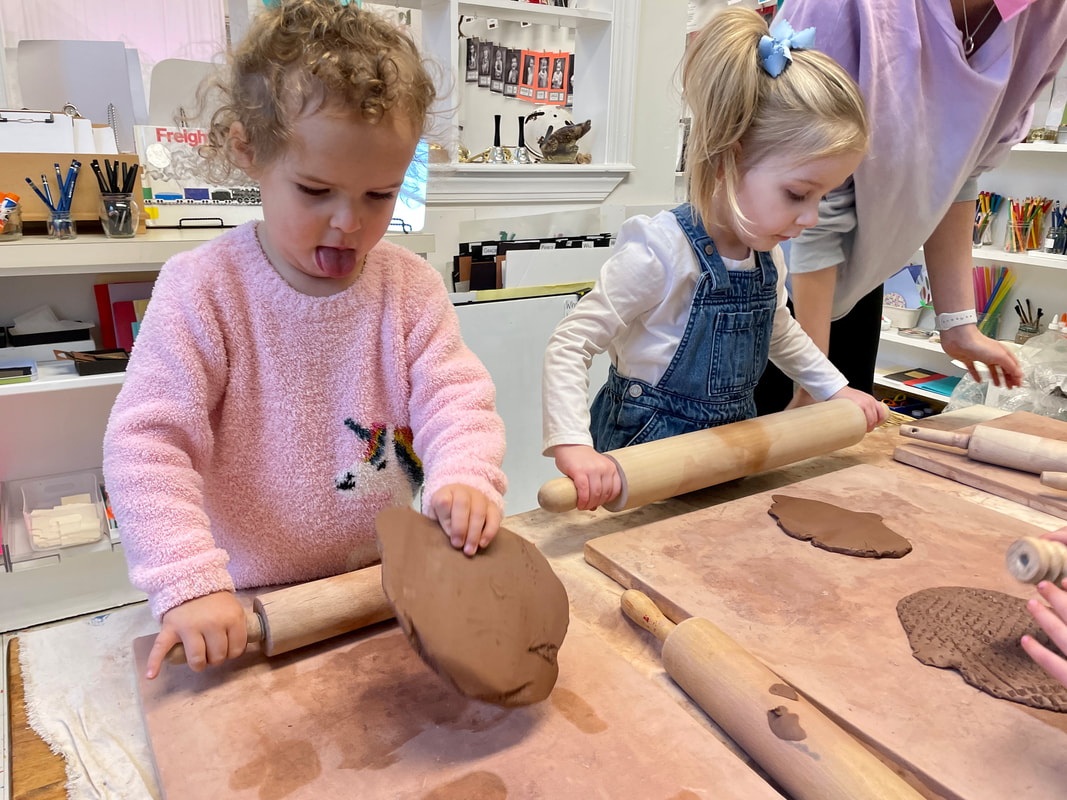
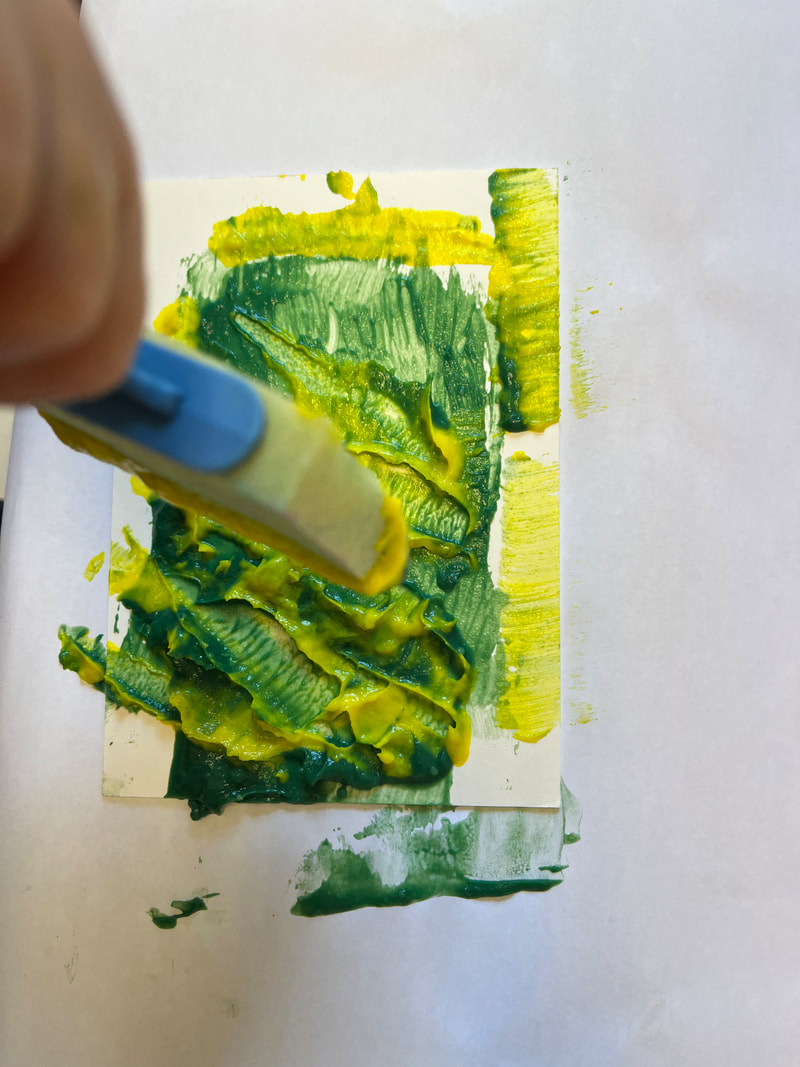
"It's nice and flat. " - Lou Lou, 3.3 years The slabs that the children were rolling and using to create impressions are fresh from the wedged clay. For the next few days, we used slabs that have been sitting for a few days, which are called leather hard slabs. Impressions in slabs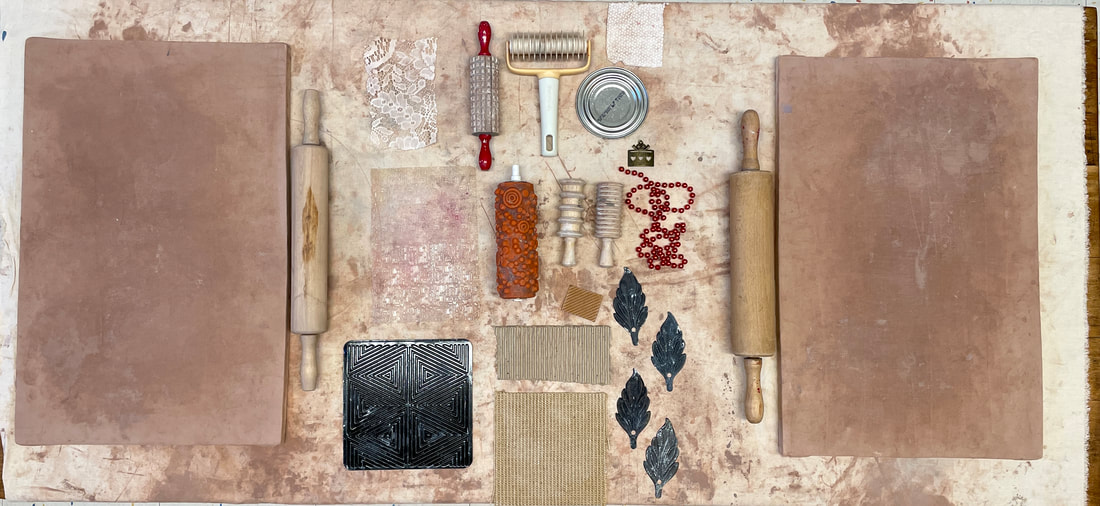 When the children entered the studio, we paused to explore the variety of impression making tools and materials, and the children made hypotheses about how they would change the clay. How do you think these tools and materials will change the clay? "This one [small metal piece] scrapes, and this one [white and yellow roller at top of photo] cuts." - Cully, 3.3 years "And this little one [metal leaf] will make shapes." - Adaline, 3.3 years "Make it bumpy." - George, 3.4 years
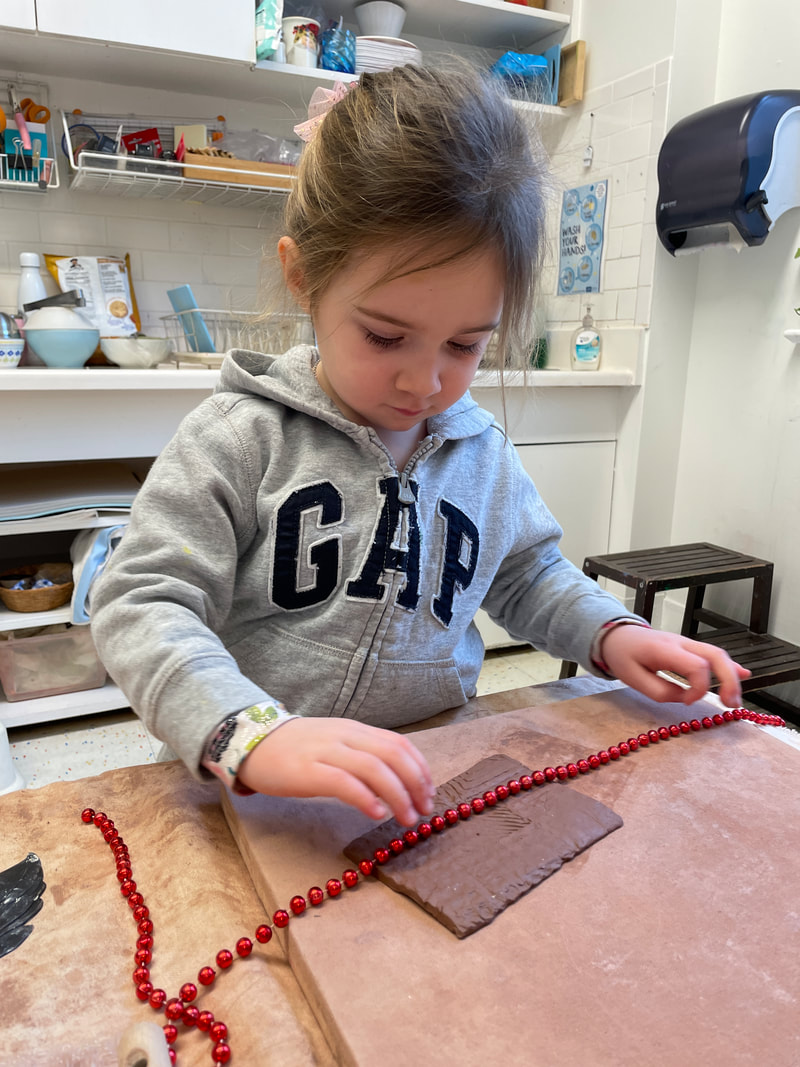
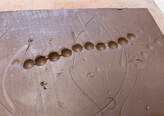
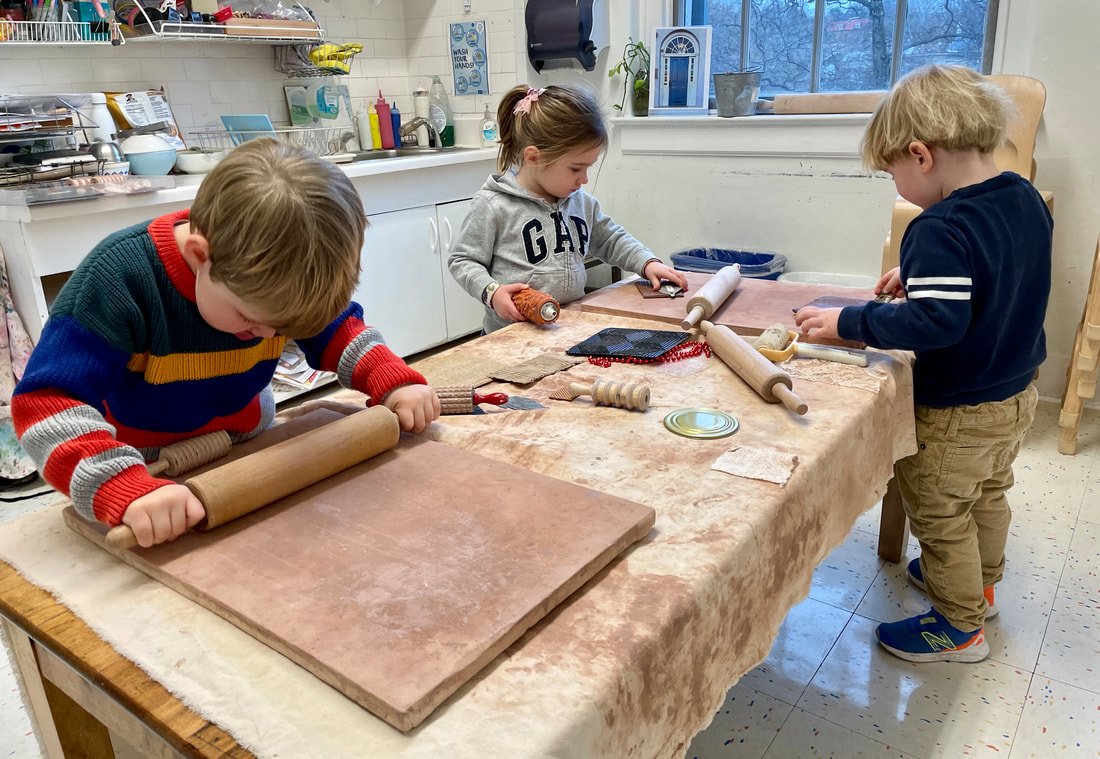 "I need the roller for the beads." - Gracie, 3.2 years "I made a bead impression." - Will, 3.3 years "I can see the 'pressions." - Eliza, 3.2 years The most popular impression making materials were the strands of mardi gras beads. Some children used their hands to push them into the clay, while others employed the rollers to apply some additional pressure to the beads and slab.
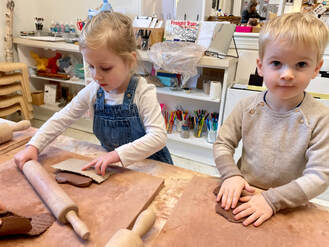
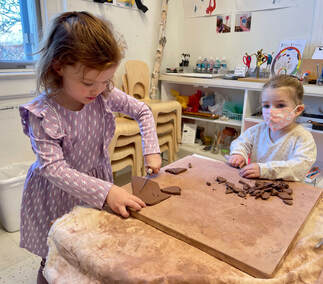
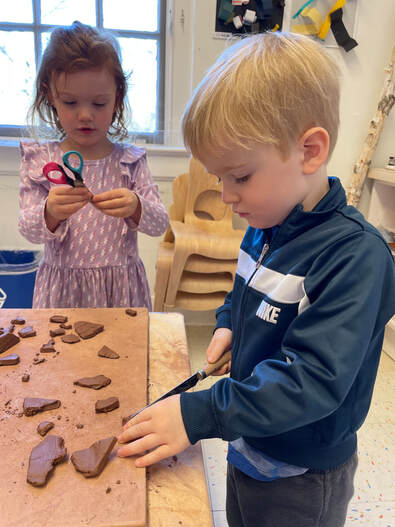
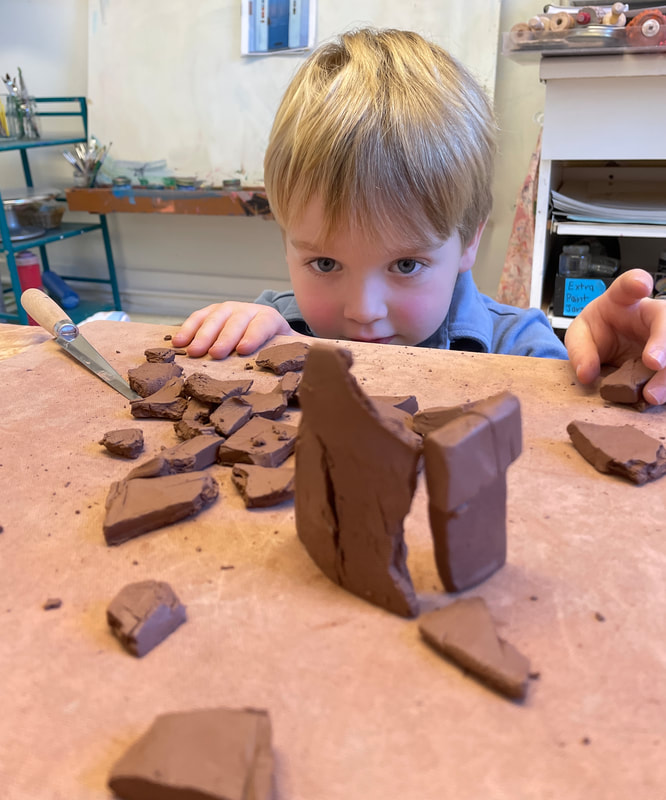
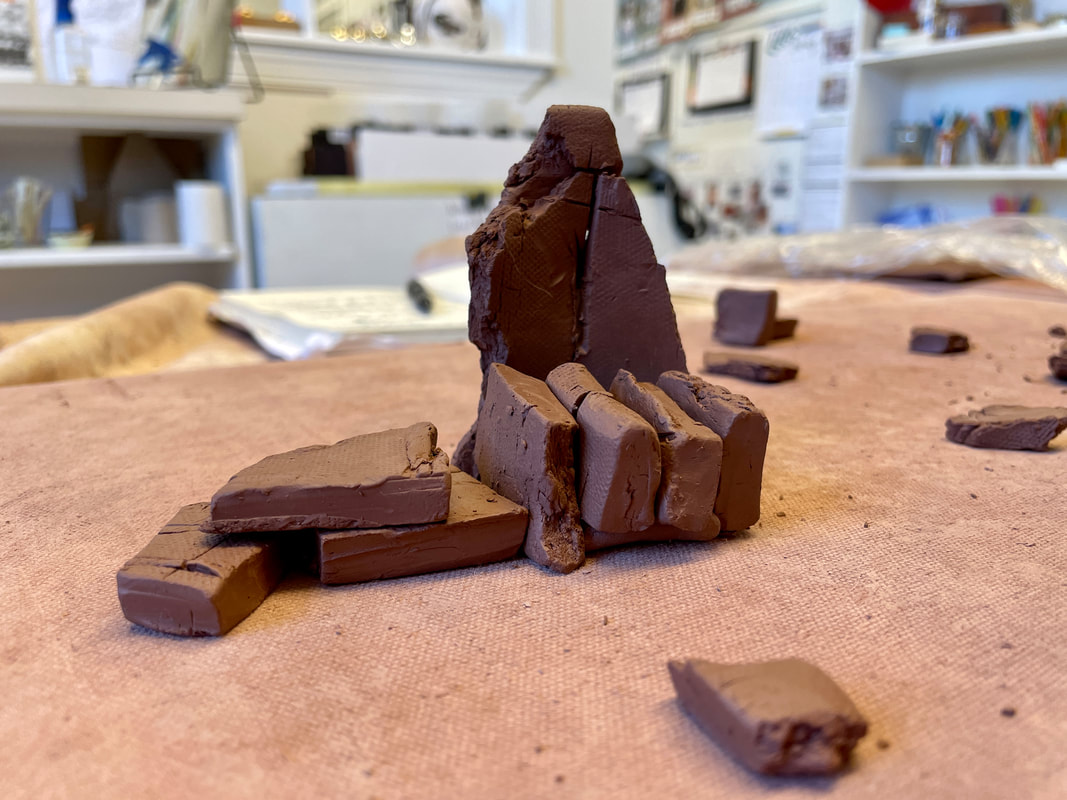
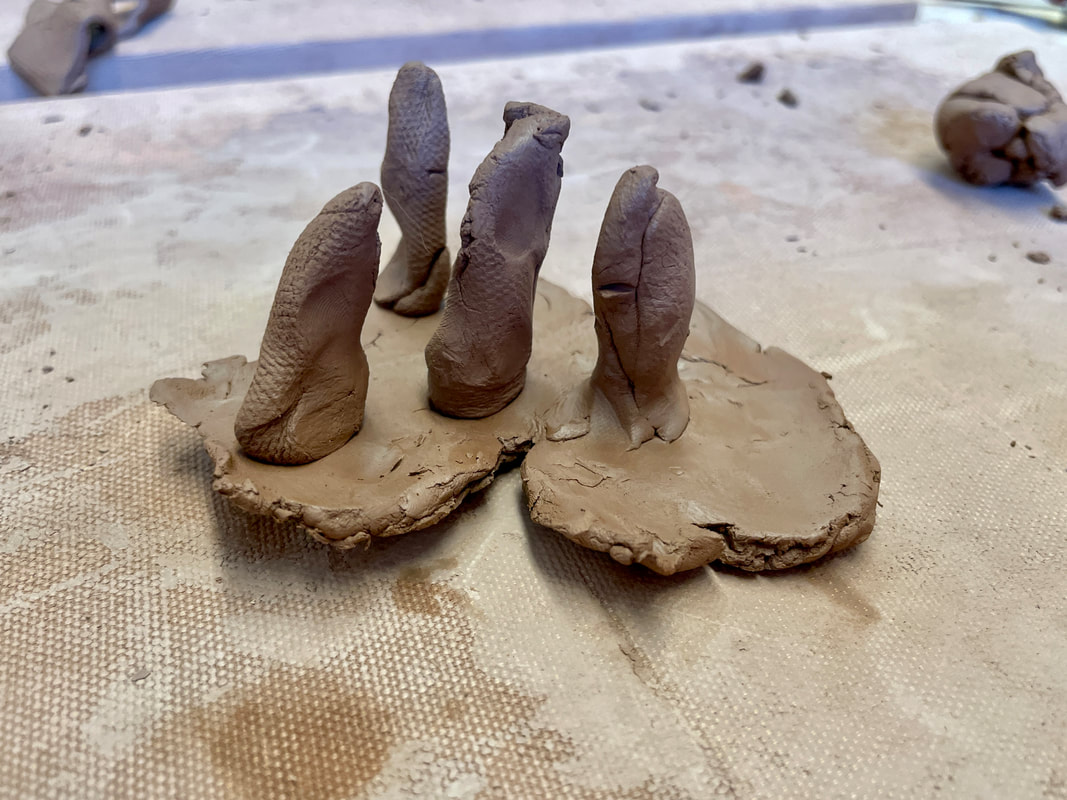
Cutting, constructing, and Score/Slip"How do I build with clay?" - Cully, 3.3 years When presented with the leather hard slab pieces without any tools, we wondered: Will they cut? fold? roll? smash? build up? line up? stack? The answer was that they did a bit of all of this. They asked for the fettling knives/scissors to cut smaller pieces of the clay slabs, some of them stacked ["Look what shape I made. I made a mountain." - Zoey, 2.11 years], smashed pieces together, and more.
"I'm going to build something, but I need a lot of pieces." - Henri, 3.5 years Henri began to place his cut pieces together to create a structure. When we asked if he wanted to save it or put the clay back in the bag, he suggested that we could put it away. Then, Jill asked, "Well, do you want to save it forever?" He immediately lit up and said "YES!" So, this introduced the idea of scoring and slipping our clay pieces to securely attach them for firing in the kiln.
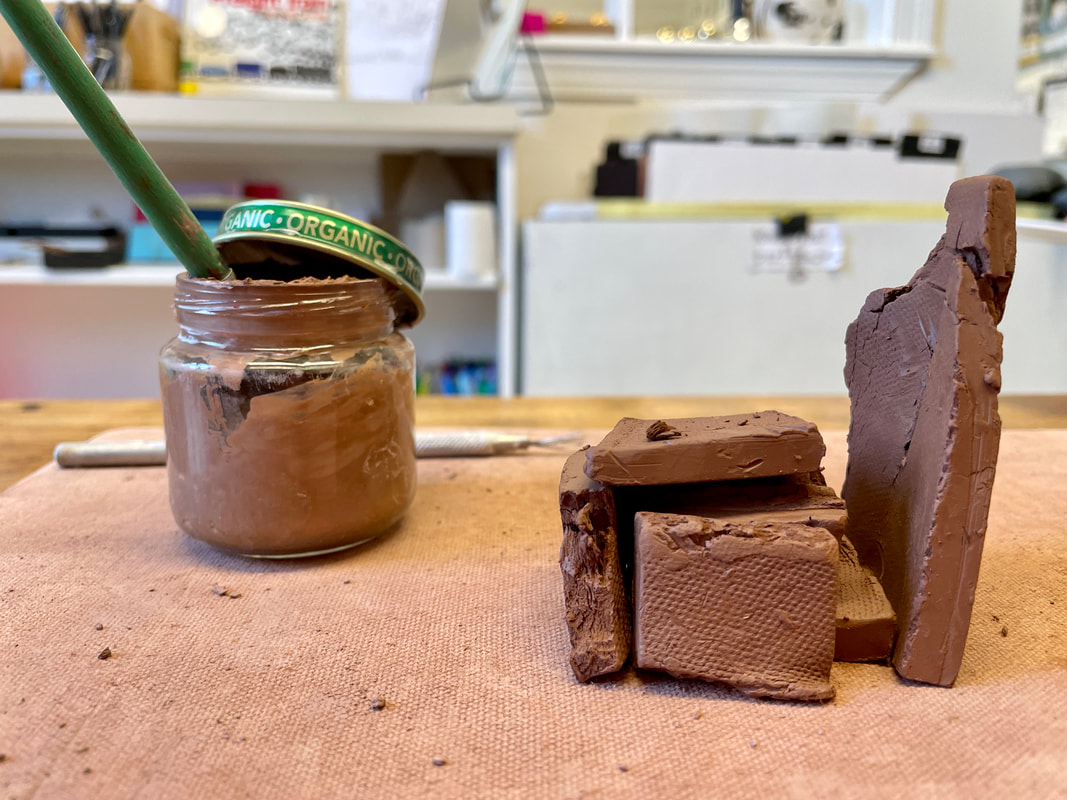
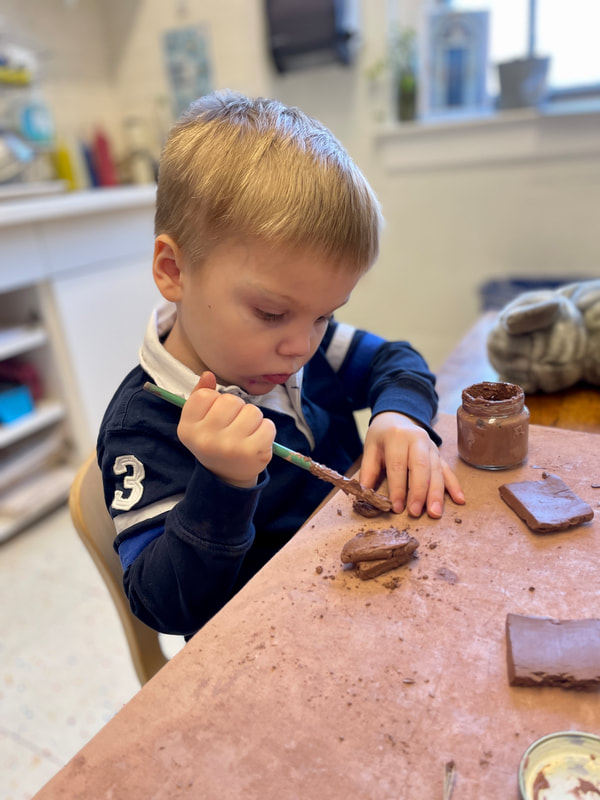
Pierce also wanted to create something out of his clay pieces that required scoring and slipping. This process takes patience and going back and forth between the scoring tool and the brush/clay slip [very, very moist clay].
Next week, we will continue our work with the clay slabs, but we will be using different techniques to make slab collages. Stay tuned, and always feel free to look around the studio/portfolio drawers/classroom to see what we're up to! Also, Jill is going to help us load the kiln next week! Make sure to ask your child about the kiln and what it does! They are all very excited and curious! It's our first time to have a lot of clay fired! Showing some love in the Brown RoomThere will be no blog next week due to interim phone calls. We will post a few photos next Friday!
0 Comments
Leave a Reply. |
AuthorWrite something about yourself. No need to be fancy, just an overview. Archives
May 2024
Categories |


 RSS Feed